
As the days grow shorter and the air turns crisp, many gardeners start to wind down their activities for the year. However, fall is not just a time for harvest and cleanup; it’s also the perfect opportunity to give your garden a head start for the next growing season. One of the most effective ways to prepare your soil for spring is by planting cover crops. These unsung heroes of the garden not only protect your soil but also enhance its fertility and structure. In this comprehensive guide, we will explore the benefits of cover crops, how to select the right ones for your garden, and the steps to plant and care for them.
Why Plant Cover Crops?
Cover crops are plants grown primarily to improve soil health rather than for harvest. They offer a range of benefits that make them a valuable addition to any garden:
- Soil Protection: Cover crops shield the soil from erosion caused by wind and rain. Their roots help bind the soil together, reducing the risk of nutrient loss and soil degradation.
- Nutrient Enrichment: Many cover crops, such as legumes, fix nitrogen from the air into the soil, enriching it with this essential nutrient. This reduces the need for synthetic fertilizers and supports healthy plant growth.
- Weed Suppression: A dense cover crop canopy shades the soil, helping to suppress weed growth. This means fewer weeds to contend with come spring.
- Soil Structure Improvement: The root systems of cover crops can help improve soil structure by creating channels in the soil. This enhances water infiltration and aeration, making the soil more conducive to plant growth.
- Organic Matter Addition: As cover crops decompose, they add organic matter to the soil, which improves its texture and moisture-holding capacity.
Choosing the Right Cover Crop
Selecting the right cover crop for your garden depends on several factors, including your climate, soil type, and garden goals. Here’s a brief overview of some popular cover crops:
- Legumes (e.g., clover, vetch, peas): These plants are excellent for fixing nitrogen in the soil. They are ideal for gardens where you want to increase soil fertility.
- Grasses (e.g., rye, barley, oats): Grasses are great for erosion control and adding organic matter. They also help improve soil structure and reduce compaction.
- Brassicas (e.g., radish, mustard): Brassicas are useful for breaking up compacted soil and adding organic matter. Some varieties also help suppress soil-borne pests and diseases.
- Mixed Cover Crops: A combination of different cover crops can provide multiple benefits, such as nitrogen fixation, soil structure improvement, and weed suppression.
Steps to Plant a Cover Crop
1. Plan Your Cover Crop:
- Determine Your Goals: Decide what you want to achieve with your cover crop. Are you looking to improve soil fertility, control erosion, or suppress weeds?
- Choose the Crop: Based on your goals and local climate, select a cover crop that fits your needs.
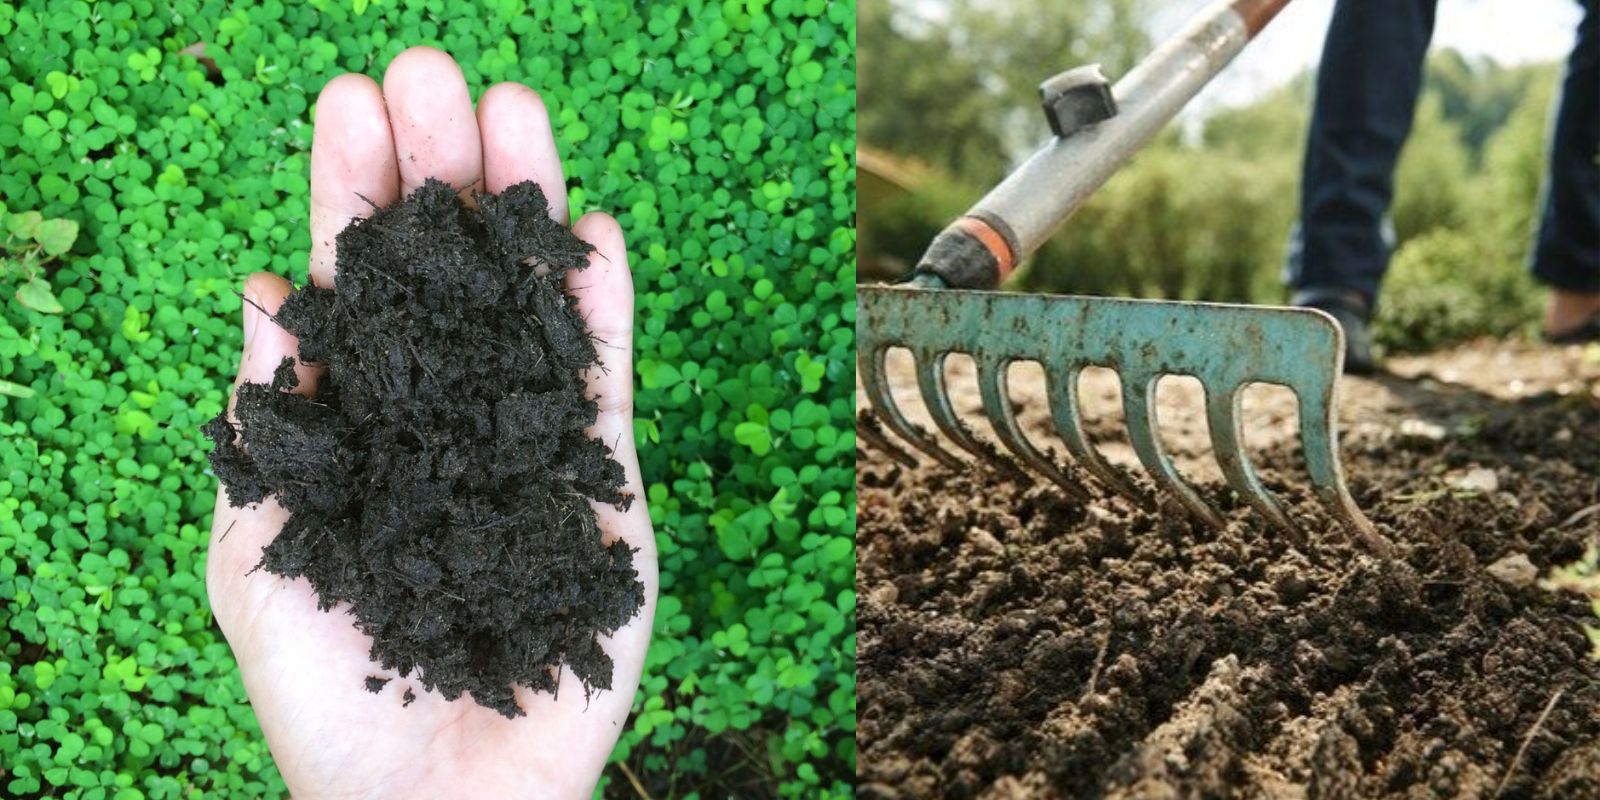
2. Prepare the Soil:
- Clear the Area: Remove any existing debris, weeds, or old plant material from the garden bed. This ensures that the cover crop seeds will make good contact with the soil.
- Loosen the Soil: Use a garden fork, tiller, or hand tool to loosen the soil. This helps improve seed-to-soil contact and promotes better germination.
3. Sow the Seeds:
- Calculate the Seeding Rate: Refer to the seed package for the recommended seeding rate. This ensures that you sow the correct amount of seeds for optimal growth.
- Broadcast the Seeds: Evenly scatter the seeds over the prepared soil. You can use a broadcast spreader for larger areas or scatter by hand for smaller plots.
4. Incorporate the Seeds:
- Rake the Soil: Lightly rake the soil to cover the seeds. This helps ensure good seed-to-soil contact and encourages germination.
- Optional Tilling: For some cover crops, especially larger seeds, you may need to lightly till the soil to incorporate the seeds more thoroughly.
5. Water and Monitor:
- Water the Area: Gently water the newly seeded area to help the seeds begin germinating. Ensure that the soil remains consistently moist until the seeds sprout.
- Monitor Growth: Keep an eye on the cover crop as it grows. Ensure it remains healthy and manage any pests or diseases that may arise.
6. Manage the Cover Crop:
- Mow or Cut: Before the cover crop goes to seed, mow or cut it down. This helps prevent it from becoming a weed problem and ensures that it decomposes effectively.
- Incorporate into Soil: Use a garden fork or tiller to incorporate the cover crop into the soil. This adds valuable organic matter and nutrients.
7. Prepare for Spring:
- Allow Decomposition: Allow the cover crop to decompose before planting your spring crops. This can take a few weeks to a few months, depending on the crop and weather conditions.
- Soil Testing: Consider testing your soil in the spring to assess the benefits of the cover crop and adjust your planting plan accordingly.
Motivational Sentence
Enhance your garden’s health and get a jumpstart on next season’s growth by planting a cover crop this fall! 🌾🌱 #CoverCrops #FallGardening #SoilHealth #EcoFriendly #GardenPrep #SustainableGardening #GrowYourOwn
Conclusion
Planting a cover crop is a simple yet powerful way to improve your garden’s health and productivity. By selecting the right crop and following these straightforward steps, you can protect your soil, enrich its nutrients, and prepare your garden for a successful growing season. Embrace the benefits of cover crops and watch your garden thrive!
Feel free to reach out if you need further advice or have questions about cover crops and their benefits. Happy gardening!