
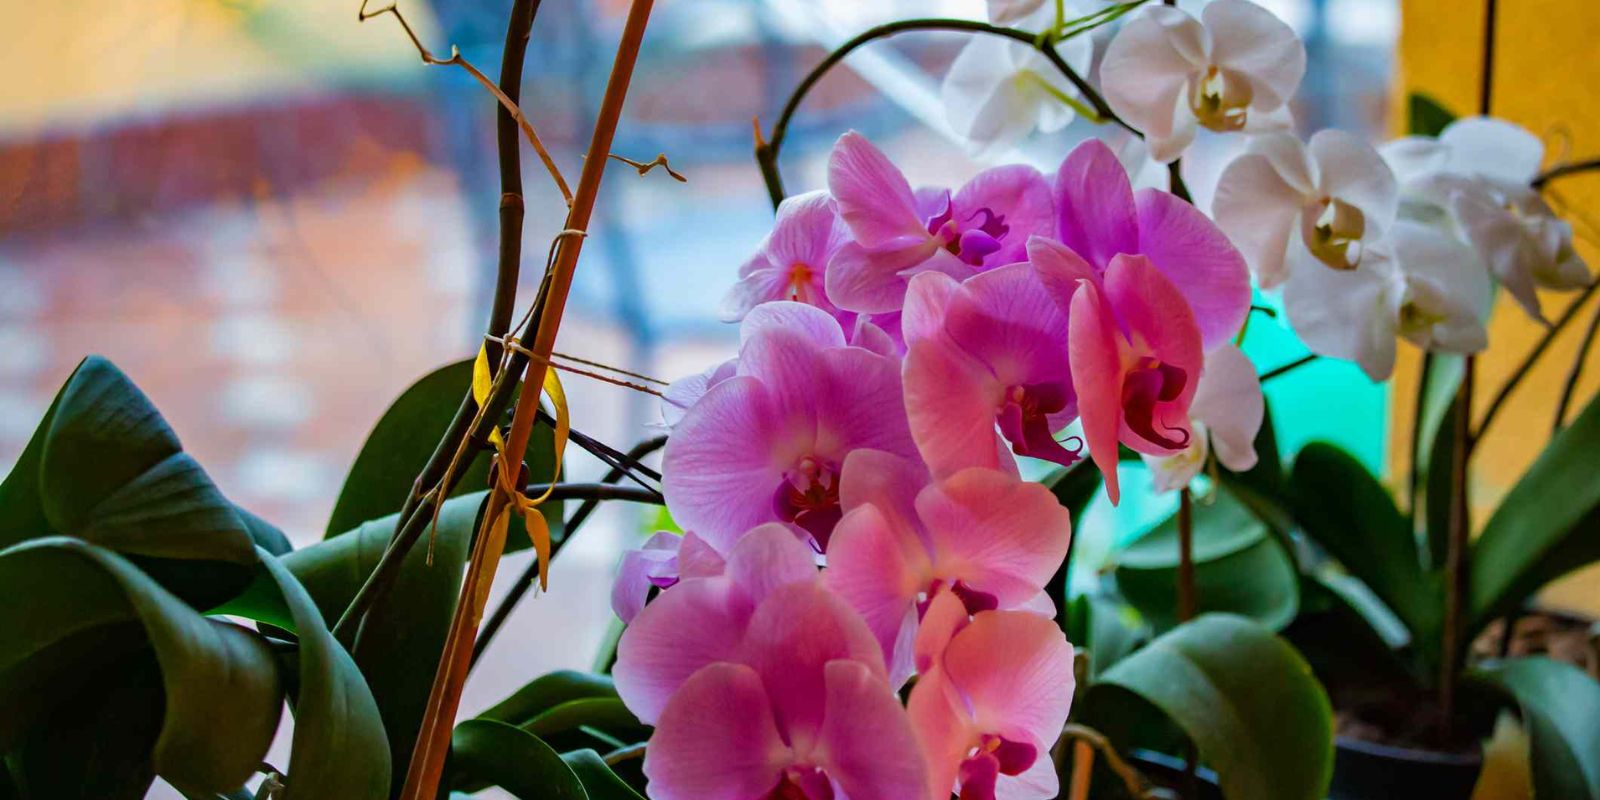
Orchids are some of the most exquisite and captivating flowers you can grow indoors. Known for their vibrant colors, intricate patterns, and long-lasting blooms, they can add elegance and beauty to any space. However, many orchid enthusiasts struggle with keeping their orchids in bloom for extended periods. The good news is that with the right care and attention, you can make your orchids bloom longer, allowing you to enjoy their stunning flowers for months on end. In this article, we will explore various expert tips and techniques to help you achieve this goal.
1. Understanding Orchid Bloom Cycles
Before diving into specific care tips, it’s important to understand the natural bloom cycle of orchids. Most orchid varieties, such as Phalaenopsis (moth orchids), bloom once or twice a year. The blooming period can last anywhere from a few weeks to several months, depending on the species and the care provided.
After the blooming phase, orchids enter a period of dormancy, during which they rest and prepare for the next cycle of growth and flowering. During this time, the plant may not produce any flowers, but it’s crucial to continue providing proper care to ensure healthy future blooms.
Key Takeaway: Understanding your orchid’s bloom cycle will help you provide the right care at each stage, ultimately leading to longer-lasting flowers.
2. Providing Adequate Light
Light is one of the most critical factors in orchid care. Orchids need plenty of light to produce energy for blooming, but the type and intensity of light can vary depending on the species.
Indirect Sunlight: Most orchids, especially Phalaenopsis, thrive in bright, indirect light. Place your orchids near an east-facing window where they can receive morning sunlight without being exposed to the harsh afternoon sun, which can scorch their delicate leaves.
Artificial Light: If natural light is insufficient, especially during the winter months, consider using artificial grow lights. LED grow lights are an excellent option, as they provide the full spectrum of light that orchids need without generating excess heat.
Light Intensity: The leaves of your orchid can tell you a lot about its light needs. Healthy orchid leaves should be a light to medium green. Dark green leaves may indicate that your orchid is not getting enough light, while yellowish or scorched leaves suggest too much light.
Key Tip: Rotate your orchid regularly to ensure all sides receive equal light exposure, which helps maintain even growth and encourages blooming.
3. Maintaining Proper Humidity Levels
Orchids are native to tropical and subtropical regions, where they thrive in high humidity environments. To replicate these conditions in your home, it’s essential to maintain a humidity level between 50-70%.
Humidity Trays: One of the easiest ways to increase humidity around your orchids is by using a humidity tray. Place a shallow tray filled with water and pebbles under your orchid pot. As the water evaporates, it creates a humid microenvironment around the plant.
Misting: Regularly misting your orchid’s leaves with water can also help maintain humidity. However, avoid misting the flowers directly, as excess moisture can cause them to rot.
Humidifiers: If you live in a particularly dry climate, consider using a room humidifier to maintain consistent humidity levels.
Key Tip: Grouping your orchids together can also create a more humid environment, as the plants release moisture through transpiration.
4. Watering Wisely
Watering is another crucial aspect of orchid care that directly affects the longevity of blooms. Orchids prefer a “drench and dry” watering method, where the roots are thoroughly soaked and then allowed to dry out before the next watering.
Frequency: Water your orchids when the top inch of the potting medium feels dry to the touch. In general, this may be once a week, but it can vary depending on the temperature, humidity, and type of orchid.
Water Quality: Use room-temperature, filtered water or rainwater for the best results. Avoid using tap water that contains high levels of chlorine or fluoride, as these chemicals can harm the roots.
Drainage: Ensure your orchid pot has proper drainage holes to prevent water from pooling at the bottom, which can lead to root rot.
Key Tip: Water your orchids in the morning to allow any excess moisture to evaporate during the day, reducing the risk of fungal infections.
5. Fertilizing Regularly
Orchids require regular feeding to support their growth and blooming. Use a balanced, water-soluble orchid fertilizer with an N-P-K ratio of 20-20-20 or 30-10-10.
Frequency: Fertilize your orchids every two weeks during the growing season (spring and summer) and reduce feeding to once a month during the dormant period (fall and winter).
Application: Dilute the fertilizer to half or quarter strength to avoid over-fertilizing, which can damage the roots and inhibit blooming.
Key Tip: Flush the potting medium with plain water once a month to remove any salt buildup from the fertilizer.
6. Pruning After Blooming
Pruning your orchids after they finish blooming is essential for encouraging new growth and future blooms.
Trim the Flower Spike: After the flowers have fallen, trim the flower spike (stem) down to the base or just above a node (the small bump on the stem). This can encourage the plant to produce new flower spikes or even a secondary bloom.
Remove Dead or Damaged Leaves: Regularly check your orchid for any yellowing, damaged, or dead leaves and carefully trim them away to keep the plant healthy and free of pests.
Key Tip: Use sterilized scissors or pruning shears to prevent the spread of disease when trimming your orchids.
7. Repotting for Healthy Growth
Orchids need to be repotted every 1-2 years to refresh the potting medium and ensure healthy root growth. The best time to repot is after the blooming period when the orchid is in its dormant stage.
Potting Medium: Use a well-draining orchid potting mix made of bark, perlite, and sphagnum moss. This allows air to circulate around the roots while retaining the right amount of moisture.
Pot Size: Choose a pot that is slightly larger than the current one to accommodate the growth of new roots. Avoid pots that are too large, as they can retain excess moisture and lead to root rot.
Key Tip: After repotting, water your orchid sparingly for the first week to allow the roots to adjust to the new medium.
8. Providing a Rest Period
After your orchid finishes blooming, it enters a rest period, during which it prepares for the next cycle of growth and flowering. During this time, it’s important to adjust your care routine to support the plant’s recovery.
Reduce Watering: Water less frequently during the rest period, allowing the potting medium to dry out more between waterings.
Lower Temperature: If possible, provide a slight drop in nighttime temperatures to mimic the natural conditions orchids experience in the wild. A temperature range of 55-65°F (13-18°C) at night is ideal.
Minimize Fertilizing: Reduce the frequency of fertilizing during the dormant period, as the plant’s growth slows down.
Key Tip: Keep an eye on new root growth or the emergence of new flower spikes, which indicate that your orchid is ready to enter its next blooming phase.
9. Conclusion
With the right care, orchids can reward you with long-lasting and repeat blooms that bring beauty and elegance to your home. By understanding their natural bloom cycles, providing adequate light, maintaining proper humidity, watering wisely, fertilizing regularly, pruning after blooming, repotting as needed, and giving your orchids a rest period, you can significantly extend the blooming period of these stunning flowers.
Whether you’re a seasoned orchid grower or just starting, these tips will help you get the most out of your orchids, allowing you to enjoy their breathtaking blooms for as long as possible. Happy orchid growing! 🌸