
Orchids are one of the most exquisite and delicate flowers to grow, known for their long-lasting beauty and unique characteristics. However, many orchid owners struggle with getting their plants to bloom again after the first round of flowers fade. Fortunately, with the right care and attention, you can easily bring your orchid back to its full glory.
This comprehensive guide will provide you with the essential steps to encourage your orchid to bloom again, ensuring you enjoy vibrant flowers year after year. From light requirements to pruning techniques and watering strategies, we’ll cover it all so you can help your orchid thrive.
1. Understanding Orchid Blooms: The Life Cycle of Your Orchid
Before we dive into how to care for your orchid, it’s important to understand the plant’s blooming cycle. Orchids generally bloom once a year, but the length and timing of their blooms can vary depending on the species. After the blooms have faded, the plant enters a period of dormancy. During this time, it’s crucial to adjust your care routine to support its recovery and to encourage new growth.
Orchids are different from many other plants in that they can bloom for several weeks or months, and then go through a rest period before starting the cycle again. For an orchid to bloom successfully again, it needs to regain its strength and be nurtured in a way that mimics its natural environment.
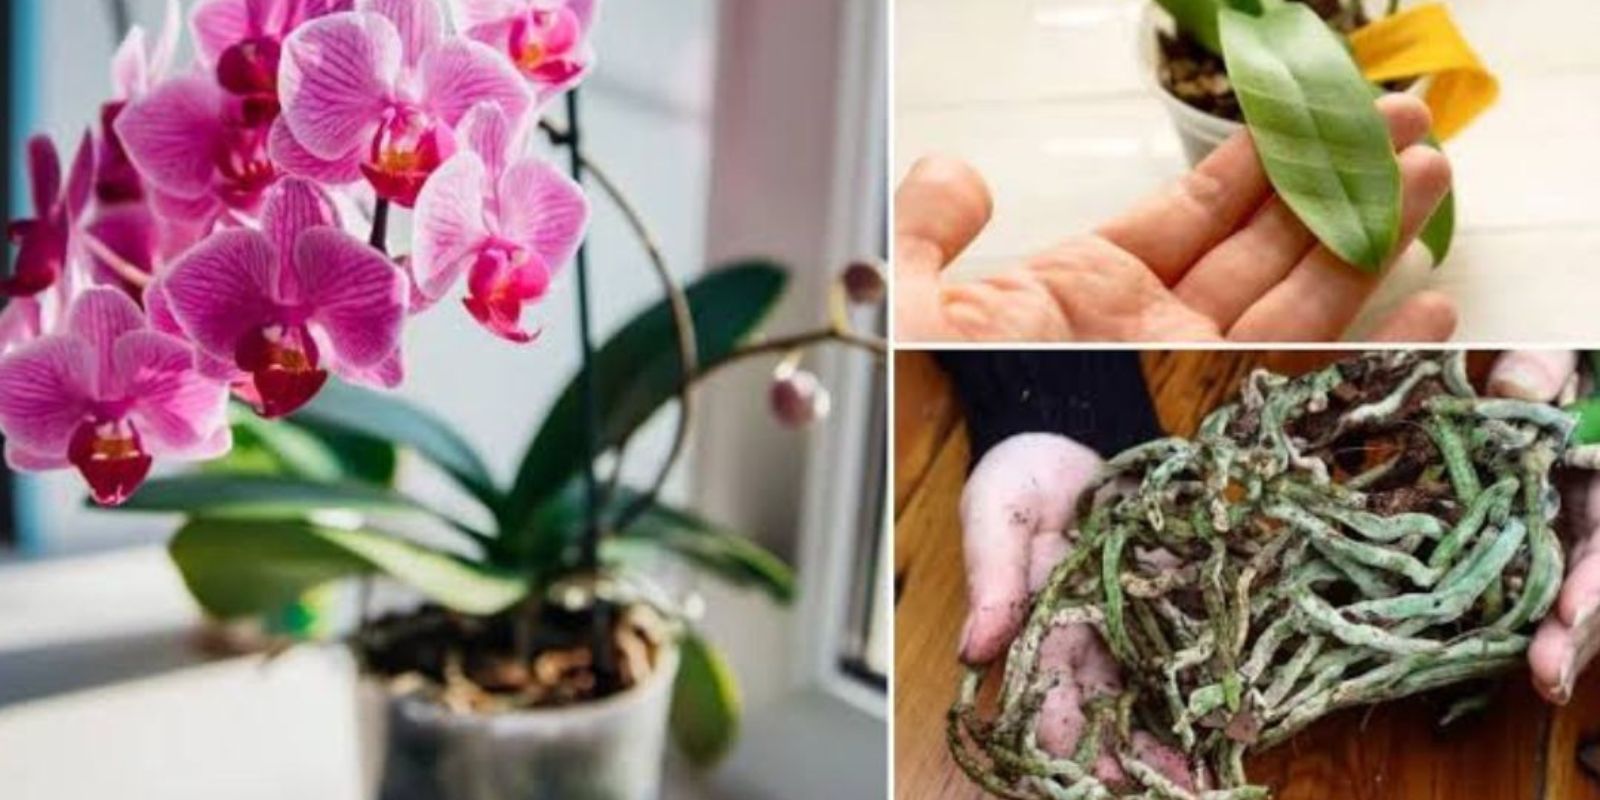
2. Step-by-Step Guide to Getting Your Orchid to Bloom Again
Step 1: Remove Dead Blooms and Prune the Flower Spike
Once your orchid’s flowers begin to wilt and fall off, it’s time to take action. The first thing you should do is remove the dead blooms. Not only does this improve the appearance of the plant, but it also helps redirect the plant’s energy towards healthy growth rather than trying to revive spent flowers.
Next, prune the flower spike. Depending on the type of orchid, there are different techniques for cutting the flower spike. If you have a Phalaenopsis orchid, for example, you should cut the flower spike approximately 1 cm (half an inch) above the node (the small bump where a leaf or flower stem would emerge). This encourages the plant to produce a new flower spike or can lead to the plant producing more blooms from the existing stem.
3. Provide the Right Amount of Light
Light is one of the most crucial factors in the blooming process of orchids. Orchids need a substantial amount of light, but it should never be direct sunlight, as this can lead to burned leaves. Bright, indirect light is the best for orchids, as it allows them to photosynthesize effectively without the stress of too much heat or sun exposure.
To ensure your orchid gets enough light, place it near a window with sheer curtains or in a room that gets plenty of natural light. Orchids generally need between 12 to 14 hours of light per day. During the winter months when natural light may be scarce, consider using grow lights to supplement the light needs of your orchid.
4. Watering: Less Is More
Watering is another key factor in promoting blooming. Orchids are native to tropical regions and are accustomed to a very specific watering routine. Overwatering can lead to root rot, which can harm your orchid and prevent it from blooming.
To water your orchid properly, wait until the potting mix feels dry to the touch. When you do water, thoroughly soak the potting mix, ensuring that the water flows out of the drainage holes. Never let your orchid sit in standing water, as this can lead to root rot.
During the winter months or when the orchid is in its dormant phase, reduce the frequency of watering. In general, orchids need less water during the cooler months, so be mindful of their water intake based on the season.
5. Fertilizing Your Orchid for Optimal Growth
Fertilizing your orchid regularly can help it stay healthy and support the blooming process. Orchids require a specific type of fertilizer that provides the nutrients they need to thrive. You can find special orchid fertilizers in stores that are balanced to meet the needs of these delicate plants.
The general rule of thumb is to fertilize your orchid once a month. Use a liquid orchid fertilizer mixed with water according to the instructions on the label. Some orchid enthusiasts also recommend using a diluted fertilizer solution to avoid over-fertilizing, which can harm the plant.
Be sure to fertilize your orchid only when it’s actively growing and not during its dormant phase, as the plant won’t be able to absorb the nutrients as effectively during this time.
6. Repotting Your Orchid Every Two Years
Repotting your orchid is essential to maintaining healthy roots and encouraging blooming. Orchids grow best when they have room to expand their roots, so it’s important to refresh the potting mix every two years. Over time, the potting mix breaks down and loses its ability to retain moisture and nutrients, which can stunt your orchid’s growth.
When repotting, use a well-draining orchid potting mix, such as one made of bark, sphagnum moss, or perlite. Gently remove the orchid from its old pot, carefully trim away any dead or damaged roots, and place the plant into the new pot. Be sure to leave enough room for the roots to grow and spread.
Repotting should also be done when you notice that the roots are overcrowded or when the potting mix becomes compacted. This will prevent waterlogging and encourage healthy growth, ultimately leading to new blooms.
7. Temperature and Humidity: The Ideal Environment for Orchids
Orchids thrive in a warm and humid environment. The ideal temperature for most orchids is between 65°F and 75°F (18°C to 24°C) during the day and slightly cooler at night. Keeping your orchid in a space that is too cold or too hot can disrupt its blooming cycle and may cause the plant to become stressed.
Humidity is equally important for orchids. In their natural habitats, orchids grow in humid conditions, so it’s essential to replicate that environment indoors. You can increase humidity by placing a humidity tray beneath your orchid pot, misting the plant regularly, or using a room humidifier.
A well-humidified environment helps your orchid produce strong blooms and prevents the leaves from drying out or becoming scorched.
8. Be Patient: Orchids Take Time to Bloom
One of the most important things to remember when caring for orchids is that they require time and patience. Orchids do not bloom instantly, and it may take several months of consistent care before you see any buds forming. However, the payoff is worth the wait, as orchids produce some of the most stunning flowers in the plant kingdom.
If your orchid doesn’t bloom after a season, don’t be discouraged. Keep up with the care routine, and your orchid will eventually reward you with new flowers. Every orchid is different, and the time it takes to bloom will depend on the species and the conditions in which it’s growing.
Conclusion: How to Achieve Orchid Blooms Year After Year
Getting your orchid to bloom again requires patience, dedication, and a bit of knowledge about its needs. By following the steps outlined above—pruning dead blooms, ensuring the right light, providing proper watering and fertilizing, repotting every two years, and maintaining the right humidity and temperature—you’ll create the perfect conditions for your orchid to thrive and bloom again.
Remember, orchids are long-lived plants that can bloom year after year with the right care. Whether you’re a novice orchid grower or an experienced enthusiast, following these tips will help you keep your orchid healthy and encourage it to produce beautiful, fragrant flowers for years to come.
So, are you ready to make your orchid bloom again? Start implementing these tips today, and get ready to watch your orchid blossom into a beautiful masterpiece!
Join the Orchid Care Community 🌸
Have you successfully made your orchid bloom again? Share your tips, tricks, and experiences with us! Let’s keep the conversation going, and help each other nurture our beloved orchids.