
In today’s world, where sustainability and environmental awareness are paramount, making your own liquid fertilizer is an effective way to nourish your plants without breaking the bank. This ancient method not only promotes healthy growth in your garden but also minimizes waste by recycling kitchen scraps and garden debris. This article will guide you through the process of creating your own liquid fertilizer, highlighting its benefits, materials needed, and step-by-step instructions to achieve nutrient-rich results.
The Benefits of Homemade Liquid Fertilizer
- Cost-Effective: Creating your own liquid fertilizer is free, aside from the initial setup costs. Instead of purchasing commercial fertilizers that can be expensive, you can repurpose organic waste.
- Sustainable: This method reduces waste by utilizing materials that would typically be discarded. By recycling, you contribute to a circular economy, reducing landfill waste.
- Nutrient-Rich: Homemade liquid fertilizer can be rich in essential nutrients that support plant growth, including nitrogen, phosphorus, and potassium. These nutrients are vital for promoting lush, vibrant plants.
- Environmentally Friendly: Many commercial fertilizers contain chemicals that can harm the environment. Homemade fertilizers are organic and help maintain a healthy ecosystem.
- Customization: You can tailor your liquid fertilizer to meet the specific needs of your plants by adjusting the ingredients based on their nutrient requirements.
Materials Needed
Before diving into the process, gather the following materials:
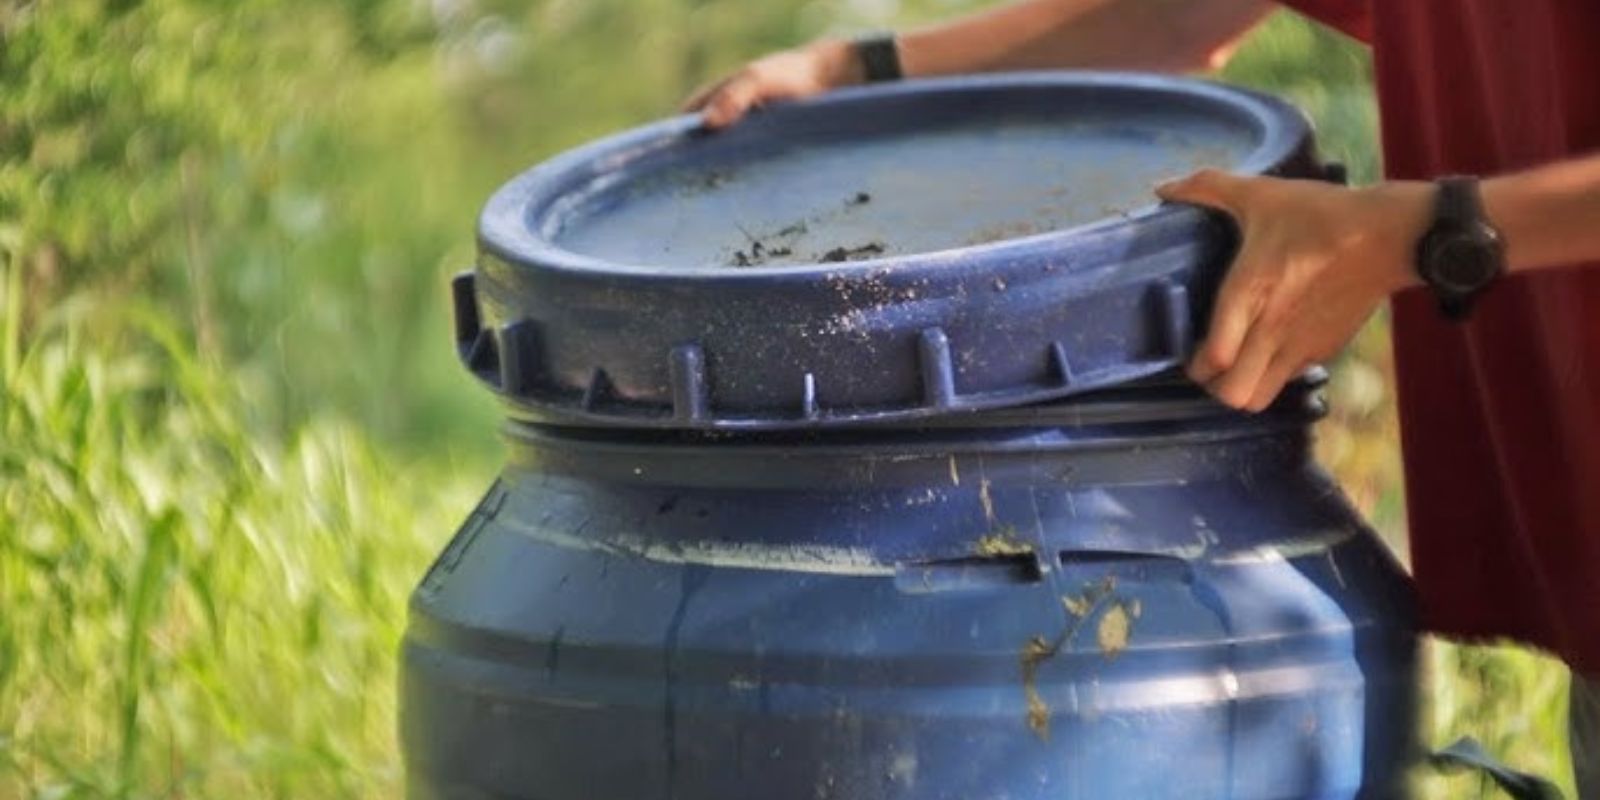
- Container: A large bucket or container with a lid (5-10 gallons) is ideal for brewing your fertilizer. Ensure it is clean and has drainage holes at the bottom to prevent water from accumulating.
- Kitchen Scraps: Collect vegetable peels, fruit scraps, coffee grounds, eggshells, and any other organic kitchen waste.
- Garden Waste: Gather leaves, grass clippings, and small branches. These add bulk and nutrients to the fertilizer.
- Water: Use tap water or rainwater to dilute the mixture.
- Strainer or Cloth: To separate the liquid fertilizer from the solid scraps after brewing.
Step-by-Step Guide to Making Liquid Fertilizer
Step 1: Collect Your Materials
Start by gathering kitchen scraps and garden waste. Here are some examples:
- Vegetable scraps: Carrot tops, potato peels, onion skins, etc.
- Fruit scraps: Apple cores, banana peels, citrus peels, etc.
- Coffee grounds: Rich in nitrogen, coffee grounds are a great addition.
- Eggshells: Crush them into small pieces to add calcium.
- Garden debris: Grass clippings, fallen leaves, and old plants.
Step 2: Prepare the Container
Choose a clean bucket or container for your fertilizer. Make sure it has a lid to keep odors contained and to prevent pests. If you’re using a container without drainage holes, you may want to drill a few to allow excess water to escape.
Step 3: Combine Ingredients
Start filling the container with your collected scraps. Layer the kitchen scraps and garden waste, leaving some space at the top. For best results, aim for a mix of both green (nitrogen-rich) and brown (carbon-rich) materials. The ideal ratio is about 2:1 (green to brown).
Step 4: Add Water
Pour enough water into the container to cover the scraps completely. This water will extract the nutrients from the organic matter as it sits. If you’re using rainwater, that’s even better, as it is free from chemicals found in tap water.
Step 5: Let it Brew
Cover the container with the lid and place it in a warm, sunny location. This allows for the fermentation process to occur. Stir the mixture every few days to aerate it, which helps speed up the decomposition process. Let it brew for about 1-2 weeks. The longer it sits, the stronger the fertilizer will become.
Step 6: Strain the Liquid
After 1-2 weeks, the mixture should smell earthy and have a darker color. To separate the liquid fertilizer from the solid scraps, use a strainer or cloth. Place the strainer over another container or bucket and pour the mixture through it, allowing the liquid to drain completely.
Step 7: Dilute and Use
The liquid fertilizer can be quite potent, so it’s essential to dilute it before use. Mix one part of your liquid fertilizer with ten parts water (1:10 ratio) to prevent over-fertilizing your plants. Use this diluted fertilizer every 2-4 weeks during the growing season for best results.
Tips for Best Results
- Rotate Ingredients: Try different kitchen and garden scraps to see what works best for your plants. Each type of waste provides various nutrients.
- Monitor Odor: If the mixture begins to smell foul, it may be due to anaerobic conditions. Stirring the mixture regularly and ensuring it is not too wet can help maintain a pleasant smell.
- Use Fresh Materials: The fresher your scraps, the better the nutrient quality. Avoid using moldy or rotten scraps, as they can introduce harmful pathogens.
- Store Properly: If you have leftover liquid fertilizer, store it in a sealed container away from direct sunlight. It can last for several months.
Common Mistakes to Avoid
- Using Non-Organic Materials: Avoid adding meat, dairy, or oily foods, as they can attract pests and create unpleasant odors.
- Neglecting Aeration: Regularly stirring the mixture helps prevent foul smells and promotes a healthy fermentation process.
- Overwatering: Make sure not to add too much water at once. The mixture should be moist but not soggy.
- Ignoring Dilution: Always dilute the liquid fertilizer before applying it to your plants to prevent nutrient burn.
Conclusion
Creating your own liquid fertilizer is an effective way to support your garden’s growth while embracing sustainable practices. By recycling kitchen scraps and garden waste, you not only reduce waste but also create a nutrient-rich solution that can benefit your plants. With just a few simple steps, you can produce an abundant supply of homemade liquid fertilizer that will keep your garden thriving.
Start your journey towards self-sufficiency today by trying this ancient method of liquid fertilizer production. You’ll be amazed at how easy and rewarding it is to transform everyday waste into a powerful resource for your plants.
Embrace sustainability, save money, and watch your garden flourish with homemade liquid fertilizer!
#LiquidFertilizer #DIYGardening #SustainableLiving #OrganicGardening #EcoFriendly #ZeroWaste #GardenHacks #GrowYourOwnFood #HomemadeFertilizer #RecyclingInTheGarden