
Gardening is a rewarding hobby, but it often comes with challenges, especially when it comes to watering your plants consistently. As we navigate through busy schedules and unpredictable weather, ensuring your vegetables receive the right amount of water can be tricky. Luckily, a simple solution exists: creating an automatic vegetable waterer using a plastic bottle. This innovative and eco-friendly method not only saves time but also conserves water, ensuring your plants stay healthy and hydrated. In this comprehensive guide, we’ll walk you through the process of making your own automatic vegetable waterer, discuss its benefits, and provide tips to optimize your gardening experience.
Why Use an Automatic Vegetable Waterer?
Before diving into the steps of creating your automatic waterer, it’s important to understand the benefits of this system:
1. Consistency in Watering
Plants thrive on consistency, and an automatic waterer ensures they receive a steady supply of moisture. This is especially crucial during hot weather or when you’re unable to water your garden regularly.
2. Water Conservation
By using a plastic bottle, you can reduce water waste significantly. The slow release of water allows it to be absorbed by the soil, minimizing runoff and evaporation.
3. Simplicity and Cost-Effectiveness
Creating an automatic vegetable waterer is incredibly simple and requires minimal materials. Best of all, it’s an inexpensive solution that utilizes items you likely already have at home.
4. Environmentally Friendly
Repurposing plastic bottles for watering your garden is an excellent way to contribute to environmental sustainability. It helps reduce plastic waste while providing a practical function.
Materials Needed
To create your automatic vegetable waterer, you will need:
- Empty Plastic Bottle: A standard 1-liter or 2-liter soda or water bottle works well.
- Drill or Sharp Object: For making holes in the bottle cap.
- Scissors: For cutting the bottle, if necessary.
- Soil Moisture Meter (Optional): To monitor the moisture level in the soil.
- Marker: To label the bottle, if desired.
Step-by-Step Instructions
Step 1: Prepare Your Bottle
- Clean the Bottle: Start by cleaning your plastic bottle thoroughly. Remove any labels and rinse out any residue to ensure there are no contaminants that could harm your plants.
- Remove the Cap: Take off the cap and set it aside. You will be modifying this part in the next step.
Step 2: Create Holes in the Cap
- Drill Holes: Use a drill or a sharp object (like a nail or a small screwdriver) to create several small holes in the cap of the bottle. These holes will allow water to flow out slowly. The size and number of holes can vary depending on the size of the bottle and the water needs of your plants.
- Test the Flow: After drilling the holes, screw the cap back onto the bottle and fill it with water to test the flow. Ensure that water seeps out slowly; you want a steady drip rather than a fast pour.
Step 3: Fill the Bottle with Water
- Fill with Water: Remove the cap again and fill the bottle with water. You can also add a diluted liquid fertilizer if desired to provide nutrients along with the water.
- Secure the Cap: Once filled, screw the cap back on tightly, ensuring that it is securely fastened.
Step 4: Position the Bottle
- Choose Your Plant: Select the plant or vegetable you want to water. Dig a small hole next to the base of the plant, ensuring it’s deep enough to hold the bottle without tipping over.
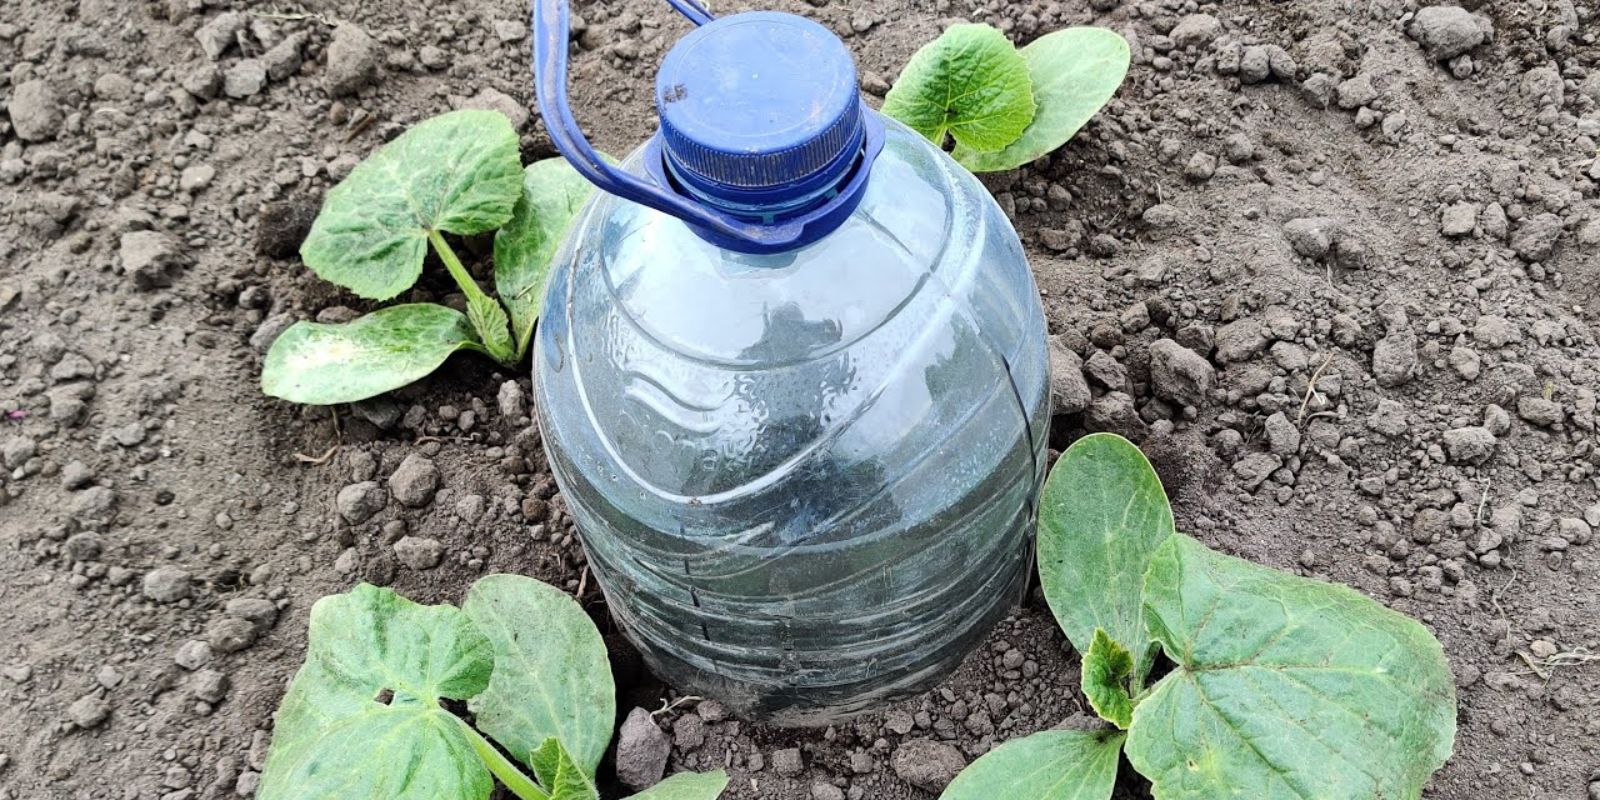
- Insert the Bottle: Turn the bottle upside down and bury it partially into the soil, leaving the cap and the top portion of the bottle exposed. The bottle should be positioned upright, so the holes are facing downwards.
Step 5: Monitor and Adjust
- Check the Soil Moisture: After setting up your automatic vegetable waterer, monitor the moisture levels in the soil. You can use a soil moisture meter to check whether your plants are receiving enough water.
- Adjust as Needed: Depending on the weather and the needs of your plants, you may need to adjust the number of holes or the frequency of refilling the bottle.
Tips for Optimizing Your Automatic Waterer
- Use Multiple Bottles: For larger gardens or multiple plants, consider using several bottles to ensure each plant receives adequate water.
- Group Similar Plants: If possible, group plants with similar water requirements together. This way, you can tailor the watering to suit the specific needs of each group.
- Monitor Weather Conditions: Be mindful of rainfall and temperature changes. During particularly hot or dry spells, you may need to refill the bottles more frequently.
- Experiment with Sizes: Depending on the plant’s water needs, experiment with different bottle sizes. Smaller bottles can be used for seedlings or herbs, while larger bottles may be better suited for larger vegetables.
- Consider Adding a Timer: For those who want a more sophisticated setup, you can attach a drip irrigation system with a timer to your bottle, allowing for automatic watering based on specific schedules.
Troubleshooting Common Issues
1. Water Not Flowing
If you notice that water is not flowing from the bottle:
- Check to ensure the holes in the cap are not clogged. You can use a toothpick or a similar object to clear them.
- Ensure the bottle is not buried too deep in the soil, which may obstruct the water flow.
2. Excess Water Accumulation
If you find that your plants are becoming waterlogged:
- Reduce the number of holes in the cap to decrease the flow of water.
- Ensure that the bottle is not completely buried; some exposure is necessary to allow air to escape and prevent a vacuum from forming.
3. Bottle Falling Over
If your bottle tips over:
- Bury it deeper into the soil or add some stones around the base for additional support.
- Consider using a larger bottle or a sturdier container to prevent tipping.
Environmental Impact
Creating an automatic vegetable waterer using plastic bottles not only benefits your garden but also helps reduce plastic waste. Each year, millions of plastic bottles end up in landfills, where they can take hundreds of years to decompose. By repurposing these bottles for gardening, you contribute to environmental sustainability and demonstrate the importance of recycling.
Conclusion
Creating an automatic vegetable waterer using a plastic bottle is a simple yet effective way to enhance your gardening experience. This DIY project not only saves time and effort but also conserves water while ensuring your plants receive consistent moisture. With just a few materials and steps, you can set up a system that supports the health of your garden while contributing to environmental sustainability.
So, gather your materials, get creative, and watch your garden thrive with the help of this innovative watering solution! Happy gardening! 🌿✨
Call to Action
Don’t forget to share your automatic vegetable watering setup on social media! Use the hashtags #GardeningHacks #EcoFriendly #SustainableGardening and #DIYWatering to inspire others and connect with fellow gardening enthusiasts.