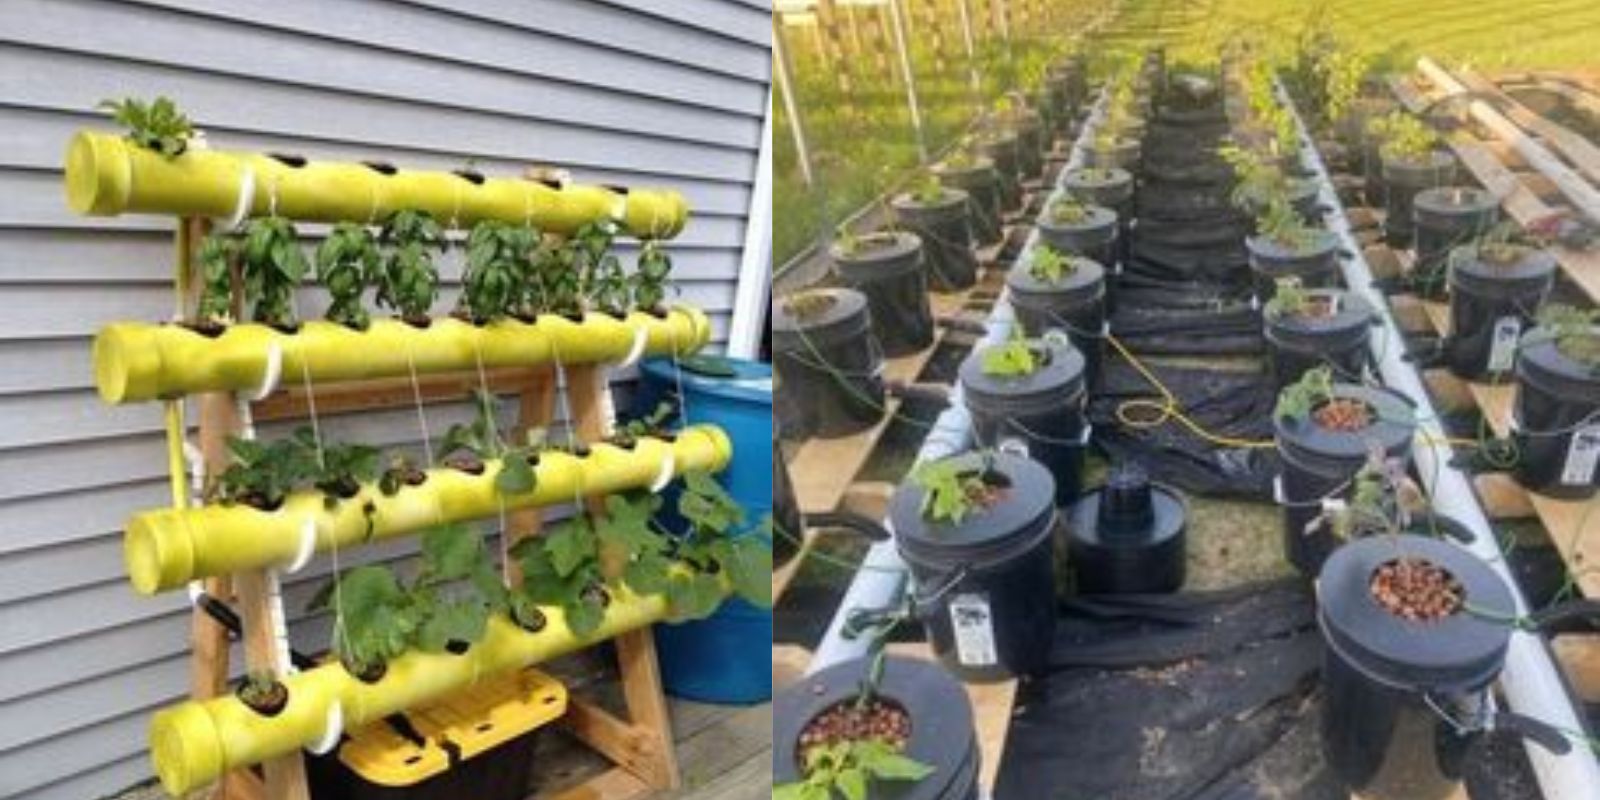
Hydroponics has revolutionized the way we grow plants by eliminating the need for soil and relying instead on nutrient-rich water solutions. This method not only conserves water but also maximizes space efficiency and allows for year-round gardening, making it a popular choice for both enthusiasts and urban gardeners alike. Building your own DIY hydroponics system is a rewarding project that can bring fresh produce and herbs right into your home or garden. In this comprehensive guide, we’ll take you through six easy steps to create a functional and productive hydroponics growing system.
Introduction to DIY Hydroponics
Hydroponics involves growing plants in a nutrient-rich water solution without soil, providing plants with direct access to essential nutrients. This method promotes faster growth and higher yields compared to traditional soil-based gardening. By controlling factors such as pH levels and nutrient concentrations, hydroponics enthusiasts can create optimal conditions for plant growth and health.
Benefits of DIY Hydroponics Systems
Building your own hydroponics system offers several advantages:
- Space Efficiency: Hydroponics systems can be set up indoors or outdoors, making them ideal for urban environments or areas with limited space.
- Water Conservation: Hydroponics uses significantly less water than conventional gardening, as water is recirculated within the system rather than lost through soil.
- Year-Round Gardening: With controlled environments, hydroponics allows for gardening throughout the year, regardless of outdoor weather conditions.
- Increased Yields: Plants grown hydroponically often produce higher yields and grow faster due to optimized nutrient uptake and root health.
Materials Needed for DIY Hydroponics System
Before diving into the construction process, gather the following materials:
- Container: A reservoir to hold the nutrient solution (e.g., plastic storage bin, bucket, or fish tank).
- Growing Medium: Options include perlite, vermiculite, coconut coir, Rockwool cubes, or hydroponic clay pellets.
- Nutrient Solution: Specifically formulated for hydroponic systems, providing essential macro and micronutrients.
- Water Pump: Required for systems such as deep water culture (DWC) or nutrient film technique (NFT) to circulate the nutrient solution.
- pH Tester and Adjusters: To monitor and maintain optimal pH levels for plant growth (typically between 5.5 and 6.5).
Step-by-Step Guide to Building Your DIY Hydroponics System
Follow these six straightforward steps to create your own hydroponics growing system:
Step 1: Gather Materials and Tools
Begin by gathering all the necessary materials and tools listed above. Ensure your chosen container is clean and suitable for holding water and nutrient solution without leaking.
Step 2: Construct the Reservoir
Choose a container large enough to accommodate your plants and nutrient solution. Ensure the container is lightproof to prevent algae growth, which can affect nutrient levels. Drill holes for the water pump (if using) and drainage as needed.
Step 3: Set Up the Growing Medium
Select and prepare your chosen growing medium. For example:
- Perlite: Lightweight and provides good aeration.
- Coconut Coir: Holds moisture well and is sustainable.
- Rockwool Cubes: Ideal for seed starting and root development.
Fill your growing containers with the medium and ensure it’s properly moistened before planting.
Step 4: Install the Watering System
Depending on your chosen hydroponic technique, install the watering system:
- Deep Water Culture (DWC): Submerge plant roots directly into the nutrient solution.
- Nutrient Film Technique (NFT): Use a shallow, sloped channel to continuously flow nutrient solution past roots.
- Drip System: Delivers nutrient solution through tubing and drippers to each plant.
Ensure the water pump (if used) is set up correctly to circulate the nutrient solution effectively.
Step 5: Add Plants and Nutrients
Carefully transplant your seedlings or seeds into the prepared growing medium. Monitor plant spacing to avoid overcrowding, which can lead to competition for nutrients.
Mix the nutrient solution according to the manufacturer’s instructions and fill the reservoir. Check pH levels regularly and adjust as needed to maintain optimal nutrient uptake.
Step 6: Monitor and Maintain Your Hydroponics System
Once your hydroponics system is set up and plants are established, maintain optimal conditions:
- Monitor pH and Nutrient Levels: Test pH levels daily and adjust using pH up or pH down solutions as necessary.
- Inspect Plants: Regularly check plants for signs of nutrient deficiencies, pests, or diseases.
- Maintain Water and Nutrient Levels: Top up the reservoir with fresh water and nutrient solution as needed to ensure continuous growth.
Conclusion: Grow Your Own Hydroponic Garden
Creating a DIY hydroponics system allows you to experience the benefits of soilless gardening firsthand. Whether you’re growing herbs in your kitchen, vegetables in your backyard, or experimenting with new plant varieties, hydroponics offers a versatile and sustainable approach to gardening. By following these six steps and maintaining regular care, you can enjoy a productive and thriving hydroponic garden that yields fresh, nutrient-rich produce year-round.
Share Your DIY Hydroponics Journey!
Are you inspired to build your own hydroponics system? Have you already embarked on this gardening adventure? Share your experiences, tips, and photos of your DIY hydroponics setup in the comments below. Let’s cultivate creativity and sustainability together through the art of hydroponic gardening!

