
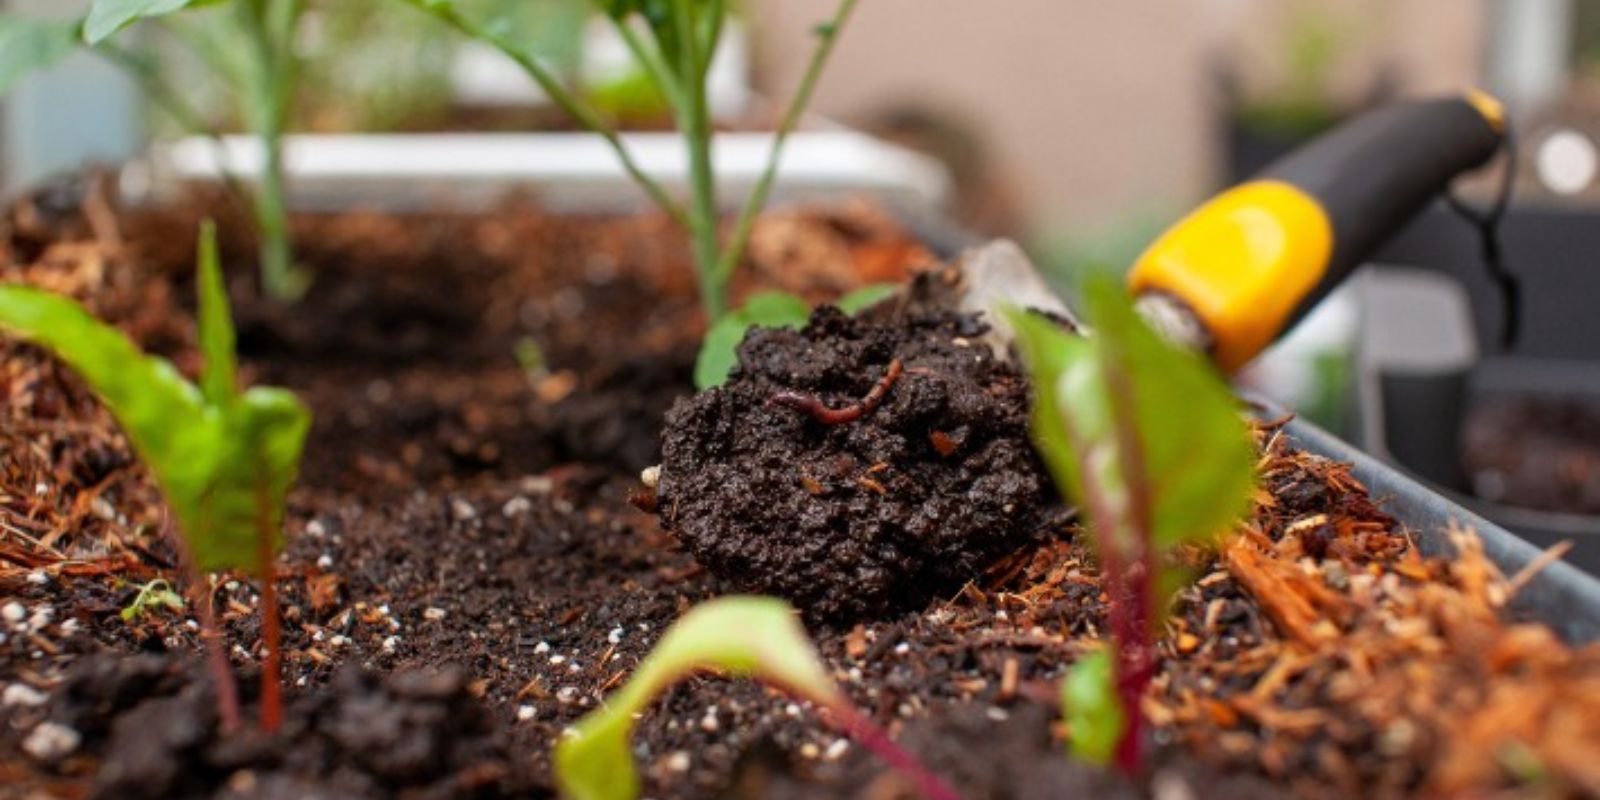
Worm castings, also known as vermicompost, are one of the best natural fertilizers you can use for your garden. Packed with essential nutrients and beneficial microorganisms, worm castings improve soil structure, increase plant growth, and help retain moisture in the soil. By harvesting your own worm castings from a simple worm bin, you can provide your plants with a constant supply of high-quality organic matter, all while reducing waste and practicing sustainable gardening.
In this guide, we will walk you through everything you need to know about harvesting worm castings from a simple worm bin, from setting up the bin to the actual harvesting process. Whether you’re a seasoned gardener or a beginner, this method is easy to follow and rewarding.
What Are Worm Castings?
Worm castings are the nutrient-rich excrement produced by worms, specifically red wigglers (Eisenia fetida). These worms consume organic waste such as food scraps, newspaper, and leaves. As they digest the organic material, the waste passes through their digestive system and emerges as nutrient-dense castings. These castings are rich in nitrogen, phosphorus, potassium, calcium, and other micronutrients essential for plant growth. They also contain beneficial microorganisms that help break down organic matter and enhance soil health.
Using worm castings as a natural fertilizer can help improve soil structure, promote healthy root development, and increase the resilience of plants. They also help with water retention and prevent soil erosion. Best of all, worm castings are an excellent option for organic gardeners looking to avoid synthetic fertilizers.
Setting Up a Simple Worm Bin
Before you can harvest worm castings, you need to set up a worm bin. The process is simple and can be done with minimal investment.
1. Choose the Right Container
The first step in setting up your worm bin is selecting an appropriate container. You can use almost any container, as long as it has a lid and enough space for the worms to move around and thrive. Popular options include plastic bins, wooden boxes, or specialized worm composting bins. Aim for a bin that is at least 12 inches deep and has enough room to house 1 to 2 pounds of worms (about 1,000 to 2,000 worms). As the worms reproduce, they will need more space.
Make sure the container has good ventilation, as worms require air to survive. Drill small holes in the lid and sides of the bin to allow air circulation.
2. Prepare the Bedding
Worms need bedding to thrive, which provides a comfortable environment for them to live in and digest food. Bedding can be made from shredded newspaper, cardboard, coconut coir, or dried leaves. The bedding helps retain moisture and creates an environment where worms can burrow and process organic matter.
Shred the materials into small pieces and moisten them until they are damp but not soaking wet. A good rule of thumb is to aim for the consistency of a wrung-out sponge. Fill your bin with about 6–8 inches of bedding.
3. Add Worms
The next step is adding worms to your bin. You’ll need to purchase red wigglers, as they are the most effective at composting in a small-scale system. These worms thrive in confined spaces and can process large amounts of organic matter. You can purchase red wigglers from local garden centers or online suppliers. For a beginner setup, 1–2 pounds of worms will suffice.
Place the worms on top of the bedding, and they will naturally burrow down to start consuming the food scraps. Over time, they will break down the organic waste into nutrient-rich castings.
4. Feed the Worms
Worms eat organic matter like fruit and vegetable scraps, coffee grounds, crushed eggshells, and small amounts of cardboard. Avoid feeding them dairy, meat, oils, or citrus, as these can harm the worms or create unpleasant odors.
Chop up food scraps into smaller pieces to make it easier for the worms to consume, and bury the scraps in the bedding to prevent attracting fruit flies or other pests. Be sure to monitor the bin to ensure the worms have enough food, but don’t overfeed them, as decomposing food can become too acidic for the worms.
5. Maintain the Bin
Proper maintenance is essential for the success of your worm bin. Keep the bin in a cool, dark location with temperatures between 55–77°F (13–25°C). Ensure the bedding remains moist by occasionally spraying water if it begins to dry out.
Also, make sure the bin is well-ventilated. Excess moisture can lead to unpleasant odors and promote mold growth, so check the bin regularly for any signs of excessive dampness.
How to Harvest Worm Castings from Your Bin
After your worm bin has been running for a few months, you’ll notice a buildup of dark, crumbly material at the bottom of the bin. This is the worm castings you’ll want to harvest. Here’s how to do it step-by-step.
1. Stop Feeding the Worms for a Few Weeks
About 1–2 weeks before you plan to harvest the worm castings, stop adding new food scraps to the bin. This will encourage the worms to finish processing the organic matter and move toward the remaining food and bedding at the top of the bin. If necessary, you can also place a food source, like moistened newspaper or paper towels, on top to encourage the worms to migrate upward.
2. Separate the Castings from the Worms
Once the majority of the organic matter has been processed, it’s time to separate the castings from the worms. There are several methods you can use:
- The “Light Method”: This method involves shining a bright light on the surface of the bin for about 30 minutes. Worms dislike light and will burrow deeper into the bedding. After this time, you can scoop the top layer of castings off, leaving the worms and unprocessed material behind. Repeat this process a few times until you’ve removed most of the castings.
- The “Side Harvesting Method”: If you’ve been keeping your bin in layers, you can push the castings to one side of the bin and add fresh bedding and food to the other side. The worms will migrate to the fresh food, allowing you to scoop out the finished castings on the other side.
- The “Dump and Sort Method”: If you prefer a quicker method, you can empty the entire bin onto a tarp or large surface and manually sort through the material. Separate the castings from the worms and unprocessed material by hand.
3. Collect the Castings
Once you’ve separated the worm castings from the rest of the bin, collect the castings into a container or bucket. They will be dark brown or black and have a crumbly texture. At this stage, the castings are ready to be used in your garden as an organic fertilizer.
4. Use or Store the Castings
Freshly harvested worm castings can be used immediately to improve soil health in your garden. Add them to garden beds, mix them into the soil, or use them as a top dressing for potted plants. You can also make a worm casting tea by steeping the castings in water and using it as a liquid fertilizer.
If you have excess castings, store them in a dry, airtight container until you’re ready to use them. Castings can be stored for several months without losing their effectiveness.
Tips for Getting the Most Out of Your Worm Bin
- Add Worms Regularly: To maintain a steady supply of worm castings, it’s essential to regularly add worms to your bin, especially as the population grows and processes more organic matter.
- Balance the Moisture: Maintaining the right moisture level is key to keeping your worms healthy and productive. If the bin is too dry, the worms will become sluggish, and if it’s too wet, it may lead to odor problems.
- Be Patient: Worms work slowly, so it may take a few months before you have enough castings to harvest. However, once your worm bin is established, the process becomes more efficient.
Final Thoughts
Harvesting worm castings from a simple worm bin is an incredibly rewarding process that not only helps enrich your garden soil but also promotes sustainable living. By following the steps outlined in this guide, you can ensure that your worms thrive and provide you with nutrient-dense castings year-round.
Start with a simple setup, be patient, and soon enough, you’ll be enjoying the benefits of worm castings in your garden. Whether you’re growing vegetables, flowers, or houseplants, using worm castings as a natural fertilizer will give your plants the boost they need to thrive. Happy gardening!
#WormCastings #Vermiculture #OrganicGardening #SustainableFarming #GardenSoil #Composting #WormBin #EcoFriendlyGardening #GardeningHacks #SoilHealth #NaturalFertilizer #GreenThumb