
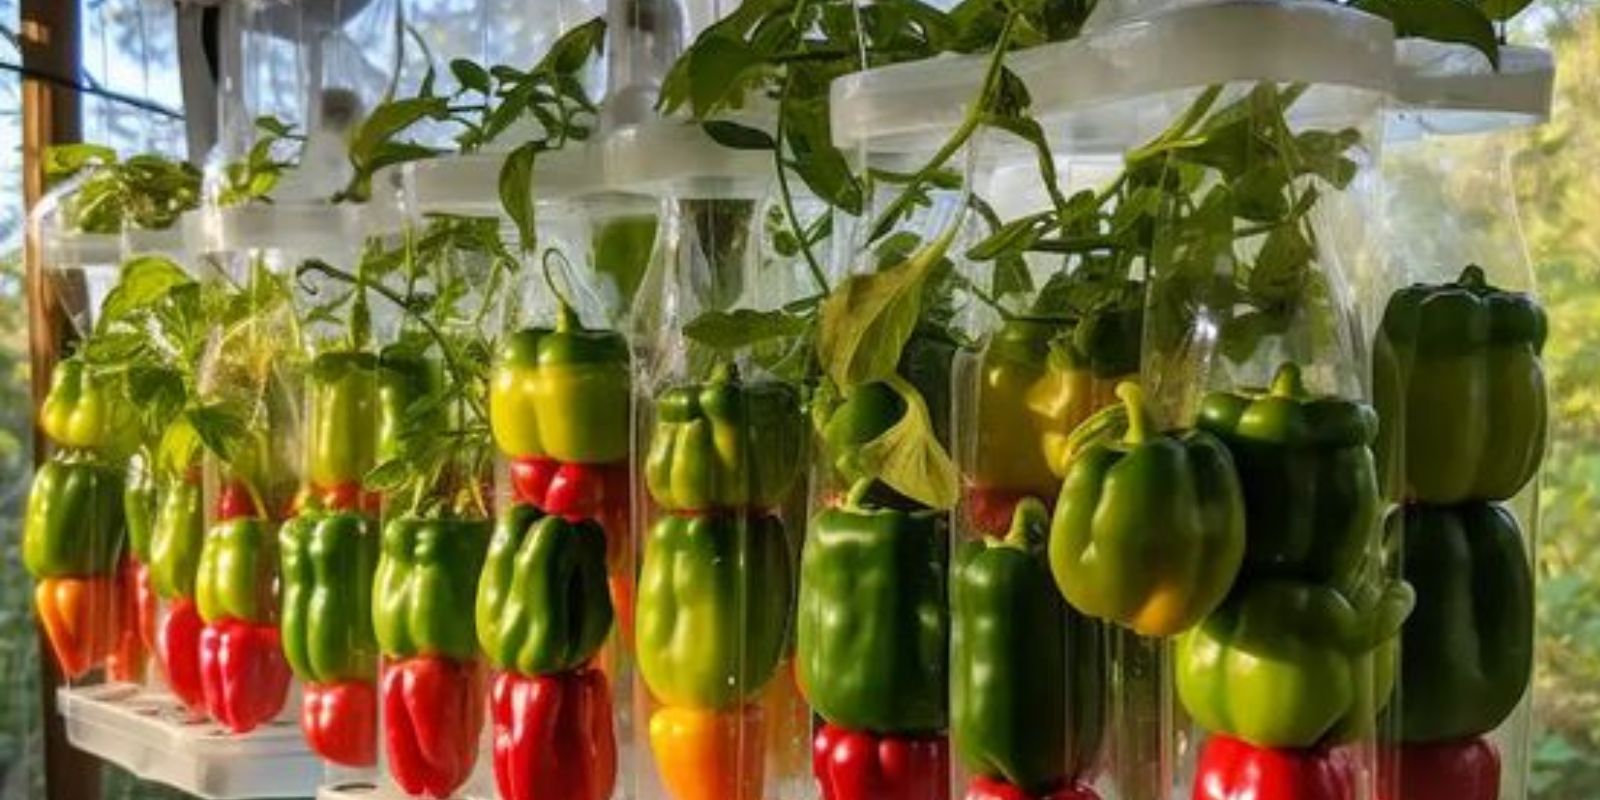
Growing peppers in plastic bottles is an innovative, eco-friendly, and space-saving gardening method that allows anyone, regardless of garden space availability, to enjoy fresh, home-grown peppers. This approach not only utilizes recycled materials but also offers an excellent way to manage small spaces like balconies or windowsills. Here’s a comprehensive guide on how to grow peppers in plastic bottles, transforming waste into a vibrant, productive garden.
Benefits of Growing Peppers in Plastic Bottles
Before diving into the steps, it’s important to understand the benefits of this gardening method:
- Eco-Friendly: Reusing plastic bottles helps reduce plastic waste, making this method environmentally sustainable.
- Space-Saving: Perfect for small spaces, plastic bottle planters can fit on windowsills, balconies, or any small sunny spot.
- Cost-Effective: Utilizing recycled bottles and minimal soil, this method is budget-friendly.
- Accessibility: This type of gardening is suitable for beginners and experienced gardeners alike, offering an easy way to grow fresh produce.
Steps to Grow Peppers in Plastic Bottles
1. Prepare the Bottles
Start by collecting a few 2-liter plastic bottles. These are ideal due to their size and availability.
- Clean the Bottles: Thoroughly wash the bottles with soap and water to remove any residues. Rinse them well and let them dry completely.
- Cut the Bottles: Using a sharp knife or scissors, cut off the top third of the bottle. This creates a wide opening for planting. Alternatively, you can cut just below the shoulder to create a deep planting container.
- Drainage Holes: Poke several small holes in the bottom of the bottle for drainage. Proper drainage is crucial to prevent waterlogging and root rot.
2. Prepare the Soil
Peppers thrive in well-draining, nutrient-rich soil. Prepare a mix of high-quality potting soil and compost.
- Soil Mix: Combine potting soil with compost in a 2:1 ratio. This ensures the soil is fertile and well-draining.
- Filling the Bottles: Fill the bottle with the soil mix, leaving about an inch of space at the top to allow for watering.
3. Plant the Seeds
Peppers can be started from seeds or young plants. For this guide, we’ll focus on starting from seeds.
- Sowing Seeds: Plant 2-3 pepper seeds about 1/4 inch deep in the soil. Cover them lightly with soil.
- Watering: Gently water the soil to keep it moist but not soaked. Use a spray bottle for even watering and to avoid displacing the seeds.
4. Provide Optimal Conditions
Peppers need warmth, sunlight, and consistent moisture to germinate and grow.
- Sunlight: Place the bottles in a sunny spot where they can receive at least 6-8 hours of sunlight daily. A south-facing window or balcony is ideal.
- Temperature: Peppers prefer warm temperatures. If starting seeds indoors, keep them in a warm room or use a seedling heat mat to maintain soil temperature around 70-80°F (21-27°C).
- Moisture: Keep the soil consistently moist. Water when the top inch of soil feels dry. Ensure the bottles have adequate drainage to prevent waterlogging.
5. Transplanting Seedlings (Optional)
If you started seeds in small pots or a seed tray, transplant the seedlings into the plastic bottles once they have a few true leaves.
- Transplanting: Carefully remove the seedlings from their original containers. Make a hole in the soil of the bottle and gently place the seedling, covering the roots with soil.
- Watering: Water the seedlings immediately after transplanting to help them settle in their new environment.
6. Fertilize Regularly
Peppers are heavy feeders and benefit from regular fertilization.
- Liquid Fertilizer: Use a balanced liquid fertilizer every 2-3 weeks. Follow the instructions on the fertilizer package for proper dilution and application.
- Organic Options: Compost tea or fish emulsion are excellent organic alternatives that provide essential nutrients.
7. Support the Plants
As pepper plants grow, they may need support to keep them upright, especially when they start bearing fruit.
- Stakes and Ties: Insert small stakes into the bottles and gently tie the plants to the stakes with soft ties or twine. This helps prevent the plants from toppling over and keeps them healthy.
8. Pest and Disease Management
Regularly check your pepper plants for signs of pests and diseases.
- Common Pests: Aphids, spider mites, and whiteflies are common pepper pests. Use insecticidal soap or neem oil to control infestations.
- Diseases: Ensure good air circulation around the plants and avoid overhead watering to prevent fungal diseases. Remove any diseased leaves or plants promptly.
9. Harvesting Peppers
Peppers are ready to harvest when they reach the desired size and color, depending on the variety.
- Harvesting Technique: Use scissors or a sharp knife to cut the peppers from the plant. Avoid pulling or twisting the peppers, as this can damage the plant.
- Continual Harvest: Regular harvesting encourages the plant to produce more peppers, extending your growing season.
Conclusion
Growing peppers in plastic bottles is a rewarding and sustainable gardening method that transforms everyday waste into a productive garden. This approach is ideal for those with limited space and offers the joy of harvesting fresh, home-grown peppers. By following these steps, you can enjoy a bountiful pepper harvest while contributing to environmental sustainability. Start your plastic bottle pepper garden today and enjoy the benefits of fresh produce right at your fingertips! 🌱