
Zinnias are a favorite for many gardeners because of their bright, vibrant colors, long-lasting blooms, and easy-care nature. Whether you’re a seasoned gardener or just starting out, zinnias are one of the best flowers to grow in your garden. This complete guide will walk you through everything you need to know about growing zinnias, from planting seeds to maintaining their health for continuous blooms.
Introduction to Zinnias
Zinnias (Zinnia elegans) are native to Mexico and Central America, but their adaptability has made them popular worldwide. They come in various colors, including pink, red, orange, yellow, and white, and they bloom profusely from late spring to early fall. Zinnias are perfect for garden beds, borders, and even containers. Their tall, sturdy stems and wide, round petals make them an eye-catching addition to any space.
Not only are zinnias beautiful, but they also attract beneficial pollinators like bees, butterflies, and hummingbirds. Their low-maintenance nature and ability to grow in various soil types make them an excellent choice for any gardener. But what makes them truly special is their resilience and versatility in the garden.
Step 1: Choosing the Right Location
Zinnias thrive in full sunlight. Ideally, they need at least 6 hours of direct sun each day to grow strong and produce vibrant blooms. Select a sunny spot in your garden, preferably one that has well-draining soil. Zinnias do not like sitting in wet soil, as this can lead to root rot and other issues.
Zinnias are versatile and can be grown in various locations, including garden beds, raised beds, or containers. However, make sure that wherever you choose to plant them, the spot has good airflow to prevent the buildup of moisture, which can encourage fungal diseases.
Step 2: Preparing the Soil
Zinnias are not too fussy about soil, but they do prefer slightly acidic to neutral soil with a pH between 6.0 and 7.5. Before planting, loosen the soil in your chosen spot with a rake or garden fork. This will allow the roots to grow freely and access nutrients easily.
To enrich the soil and improve drainage, consider adding organic matter like compost or well-rotted manure. This will provide the nutrients that zinnias need to thrive. If your soil tends to be heavy or clay-like, mixing in sand or perlite will help improve drainage.
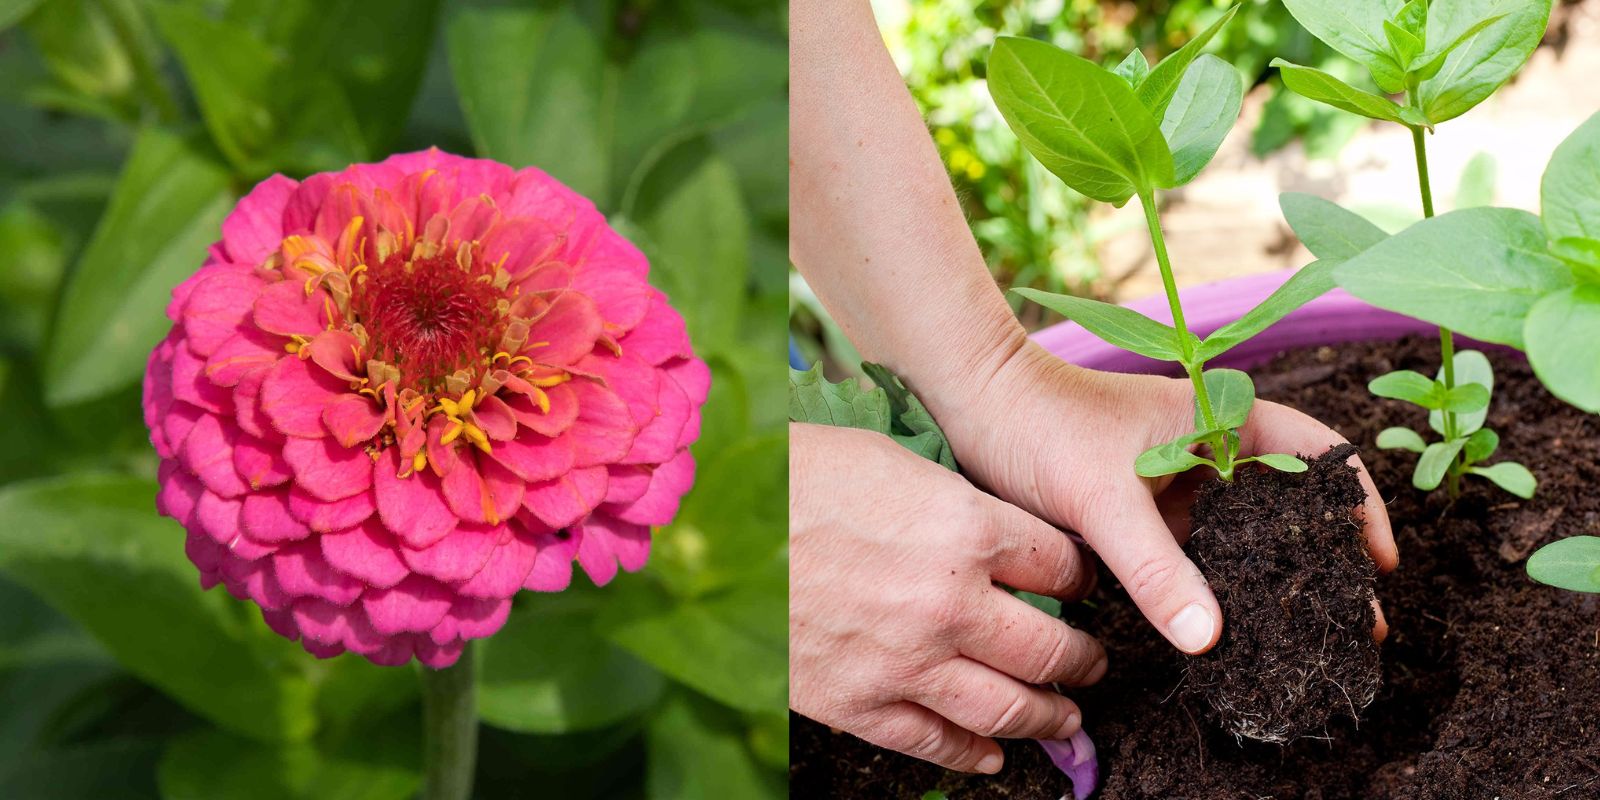
Step 3: Planting Zinnia Seeds
Zinnia seeds are typically planted in late spring, after the last frost date for your area. Zinnia seeds are easy to plant and germinate quickly, making them perfect for beginners. You can either sow them directly into the garden or start them indoors and transplant them later.
If you’re planting directly into the garden, plant the seeds about 1/4 inch deep into the soil. Space the seeds 6 to 12 inches apart to give them room to grow. For larger varieties of zinnias, leave more space between plants. Water gently after planting to ensure the soil is moist.
For indoor seed-starting, fill seed trays or small pots with seed-starting mix. Plant the seeds at a depth of about 1/4 inch, and keep the soil moist but not soggy. Place the pots in a warm location (70-75°F or 21-24°C) with plenty of sunlight. Once the seedlings are large enough to handle, typically after 4 to 6 weeks, harden them off by gradually exposing them to outdoor conditions before transplanting them into the garden.
Step 4: Watering and Fertilizing Zinnias
Zinnias are drought-tolerant, but they perform best when given consistent moisture, especially during dry spells. Water your zinnias deeply once a week, ensuring the water reaches the roots. It’s essential to water at the base of the plant to keep the leaves dry. This helps prevent fungal diseases, such as powdery mildew, which zinnias can be prone to in humid environments.
While zinnias don’t require a lot of fertilizer, they will benefit from a slow-release balanced fertilizer applied once a month during the growing season. Over-fertilizing can lead to excessive foliage growth at the expense of flowers, so it’s important to follow the recommended application rates.
Step 5: Pruning and Deadheading
One of the best ways to encourage continuous blooming and keep your zinnias looking their best is to practice regular deadheading. Deadheading simply means removing spent flowers to prevent them from going to seed. By cutting off the faded flowers, you stimulate the plant to produce more blooms throughout the growing season.
To deadhead, simply pinch or snip off the old flowers at the base of the stem, just above the first set of healthy leaves. This will not only keep the plant looking tidy but also help it focus its energy on producing new flowers.
If your zinnias become leggy or overgrown, you can trim them back to encourage bushier growth. Pruning is especially useful for taller varieties that tend to flop over. By cutting back the main stem slightly, you encourage the plant to develop more lateral branches and flowers.
Step 6: Managing Pests and Diseases
Although zinnias are relatively pest-resistant, they can still attract a few common garden pests. Aphids, spider mites, and leafhoppers are a few pests that might try to feed on your zinnia plants. Keep an eye out for any signs of pest damage, such as distorted leaves or sticky residue on the plant.
If you notice any pest problems, you can wash the affected plants with a strong stream of water to dislodge the pests. Alternatively, an insecticidal soap or neem oil solution can help keep pests at bay. Just be sure to apply treatments early in the morning or late in the evening to avoid harming beneficial insects.
Zinnias can also be susceptible to fungal diseases like powdery mildew, especially in humid conditions. To prevent these issues, make sure the plants have good air circulation and avoid overhead watering. If you notice powdery mildew on the leaves, remove the affected parts and consider applying a fungicide if necessary.
Step 7: Harvesting Zinnias
Zinnias are great for cutting, making them an excellent choice for bouquets. To harvest, cut the flowers early in the morning when they are fully open. Use sharp scissors or pruning shears to make a clean cut at the base of the stem. Be sure to leave some leaves on the plant to continue its growth.
If you want to save seeds for next season, allow a few flowers to mature on the plant. Once the flower heads have dried, you can collect the seeds and store them in a cool, dry place until you’re ready to plant them the following year.
Tips for Growing Zinnias Successfully
- Choose the Right Variety: Zinnias come in various shapes and sizes, from small, dwarf types to large, showy blooms. Select a variety that suits your space and aesthetic preferences.
- Avoid Overcrowding: Zinnias need space to grow and thrive. Don’t plant them too close together, as this can lead to poor air circulation and increase the risk of disease.
- Mulch Around Plants: Mulching helps retain moisture and suppress weeds, making it easier to maintain your zinnia plants. Just be sure to leave a small gap around the base of the stem to prevent rot.
- Companion Planting: Zinnias pair well with other flowers like marigolds, sunflowers, and cosmos. They also work well in vegetable gardens, as their bright colors can attract pollinators to other plants.
Conclusion
Zinnias are among the easiest and most rewarding flowers to grow. With their bright, colorful blooms, they can transform any garden into a lively and vibrant space. By following the steps outlined in this guide—from choosing the right location to maintaining healthy plants—you’ll be able to enjoy these stunning flowers all season long. Whether you’re growing zinnias in a garden bed, a container, or a raised bed, their resilience and low-maintenance nature make them a perfect choice for gardeners of all levels.
So, grab some zinnia seeds, find a sunny spot, and get started on your own colorful garden today!
#ZinniaLove #GardeningJoy #FlowerPower #GrowYourOwnGarden #EasyFlowers #PollinatorFriendly #InstaGarden #VibrantBlooms #SummerFlowers #GardeningTips