
Growing your own salad greens can be a delightful and rewarding experience, and it doesn’t have to take weeks or require a large garden. With the right approach, you can enjoy fresh, nutrient-packed greens right from your kitchen counter in just seven days. This guide will walk you through the steps to grow your own salad greens quickly and easily, ensuring you have a steady supply of fresh, homegrown produce.
Introduction
In today’s fast-paced world, having access to fresh, healthy food is a priority for many. Growing salad greens at home is a simple yet effective way to ensure you have nutritious options readily available. Whether you’re a seasoned gardener or a beginner, this step-by-step guide will help you grow your own salad greens in just a week, bringing a touch of greenery and flavor to your meals.
Step 1: Choose Your Seeds
Why It Matters:
Selecting the right seeds is crucial for a successful and speedy harvest. Some greens grow faster than others and are more suitable for indoor gardening.
Best Seeds for Quick Growth:
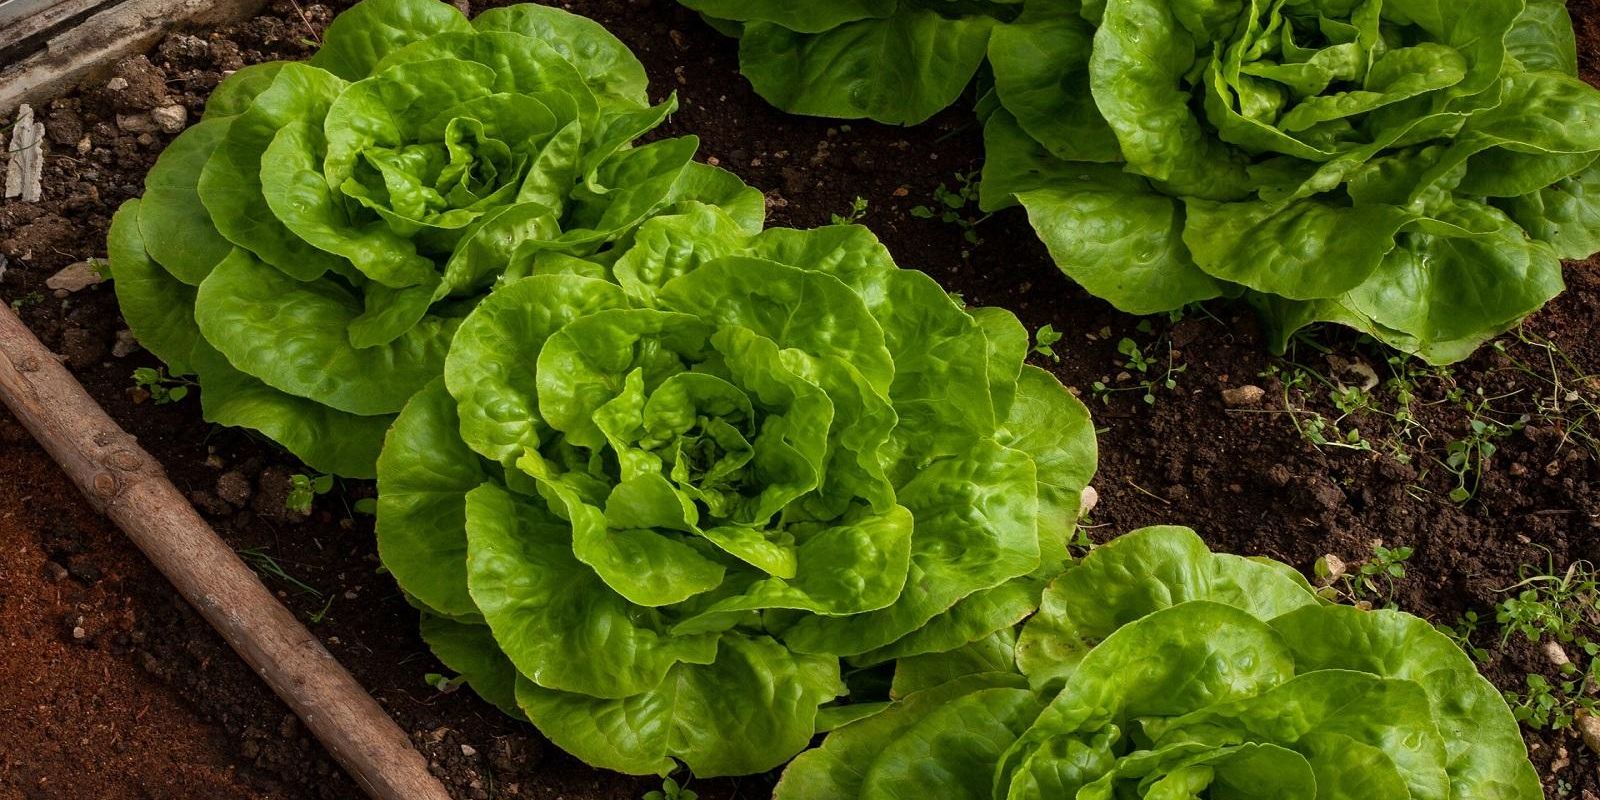
- Lettuce: Varieties like romaine or butterhead grow quickly and have a mild, pleasant flavor.
- Arugula: Known for its peppery taste, arugula germinates rapidly and is a great addition to salads.
- Spinach: Spinach is nutrient-dense and grows well in a short period.
How to Choose Seeds:
- Look for Fast-Growing Varieties: Seeds labeled as “baby greens” or “cut-and-come-again” are ideal for quick harvests.
- Consider Your Space: Opt for seeds that are suitable for growing in containers if you’re gardening indoors.
Step 2: Prepare Your Container
Why It Matters:
The right container ensures proper growth and drainage for your salad greens. A shallow container works well for this purpose.
Choosing the Right Container:
- Size: Use a container that’s at least 2-3 inches deep to accommodate root growth.
- Material: Plastic, ceramic, or any container with drainage holes is suitable.
- Drainage: Ensure your container has holes to prevent waterlogging, which can lead to root rot.
How to Prepare:
- Clean the Container: Wash the container thoroughly before planting to remove any residues.
- Add a Layer of Gravel: Place a thin layer of gravel or stones at the bottom for extra drainage.
Step 3: Plant the Seeds
Why It Matters:
Proper planting ensures that seeds germinate evenly and grow into healthy greens.
How to Plant:
- Prepare the Soil: Fill the container with a high-quality potting mix. Avoid using garden soil as it may not provide the right conditions for indoor planting.
- Sow the Seeds: Scatter the seeds evenly over the surface of the soil. For denser planting, use more seeds but avoid overcrowding.
- Cover Lightly: Lightly cover the seeds with a thin layer of soil or vermiculite. This helps retain moisture and promotes germination.
Tips for Successful Planting:
- Follow Seed Instructions: Check the seed packet for specific planting depths and spacing.
- Water Gently: Use a spray bottle or gentle watering can to moisten the soil without washing away the seeds.
Step 4: Water and Cover
Why It Matters:
Proper watering and covering create an ideal environment for seeds to germinate and grow.
How to Water:
- Keep the Soil Moist: Water the soil gently to keep it consistently moist but not soggy.
- Avoid Overwatering: Ensure excess water can drain away to prevent root rot.
Covering for Moisture:
- Use a Clear Plastic Lid or Wrap: Cover the container with a clear plastic lid or plastic wrap to create a mini greenhouse effect, trapping moisture and warmth.
- Remove Cover Once Germinated: Once seeds sprout (usually within 2-3 days), remove the cover to prevent mold growth and allow for proper air circulation.
Step 5: Place in Light
Why It Matters:
Light is essential for photosynthesis, which allows your greens to grow strong and healthy.
How to Provide Light:
- Bright Location: Place the container in a bright spot with indirect sunlight. A south-facing window is ideal for indoor gardening.
- Grow Lights: If natural light is limited, use LED grow lights to supplement light exposure. Position the lights about 6-12 inches above the plants.
Tips for Optimal Light:
- Rotate the Container: Rotate the container periodically to ensure even light exposure for all plants.
- Monitor Light Levels: Adjust light sources and container positioning based on the growth stage of the plants.
Step 6: Harvest
Why It Matters:
Harvesting at the right time ensures that your salad greens are fresh, flavorful, and at their peak nutritional value.
How to Harvest:
- Check Growth: After 7 days, your greens should be about 2-3 inches tall and ready for harvesting.
- Use Scissors: Use clean, sharp scissors to cut the greens just above the soil level. This method allows for regrowth if you leave some leaves behind.
- Harvest in Batches: If you have multiple containers, harvest in batches to ensure a steady supply of fresh greens.
Tips for Harvesting:
- Harvest Early: For the best flavor and texture, harvest greens when they are young and tender.
- Store Properly: Rinse and store harvested greens in a sealed container in the refrigerator for up to a week.
Troubleshooting Common Issues
1. Slow Germination
Problem: Seeds may take longer to sprout due to temperature or moisture issues.
Solution: Ensure the soil is consistently moist and maintain a warm environment (around 65-75°F).
2. Leggy Growth
Problem: Plants may become leggy if they don’t receive enough light.
Solution: Provide additional light with grow lights or adjust the container’s position to increase light exposure.
3. Overcrowding
Problem: Seeds may overcrowd, leading to weak growth.
Solution: Thin out seedlings once they have a few sets of leaves, leaving space for each plant to develop.
Conclusion
Growing your own salad greens in just 7 days is a simple and satisfying way to enjoy fresh, homegrown produce. By following these steps—choosing the right seeds, preparing your container, planting correctly, watering and covering appropriately, providing adequate light, and harvesting at the right time—you can cultivate a vibrant and healthy supply of salad greens right in your kitchen.
This easy and efficient method allows you to enjoy the benefits of homegrown greens without waiting weeks. Share your successful indoor garden with the community and inspire others to start their own green journey with #HomegrownGreens #QuickSalad #IndoorGardening #FreshFromTheGarden. Happy gardening!