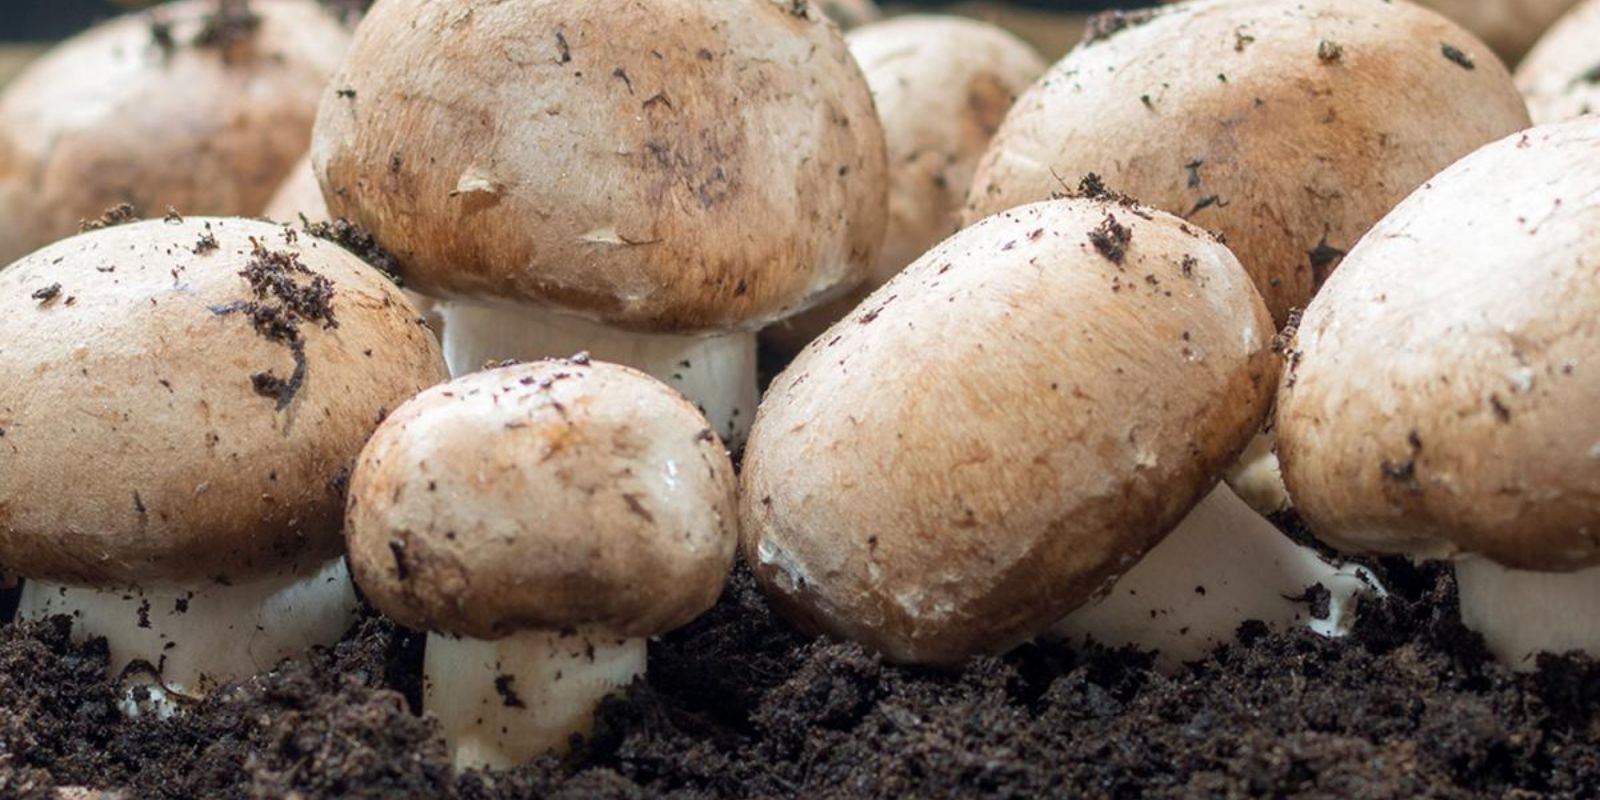
Growing your own mushrooms is not just a hobby but also a rewarding way to incorporate fresh, organic ingredients into your meals. Mushrooms are a great source of nutrients, including protein, fiber, vitamins, and minerals, and they can be grown with minimal space and effort. Whether you are a gardening enthusiast or simply looking for a fun indoor activity, cultivating mushrooms is a unique and satisfying project.
This comprehensive guide will walk you through everything you need to know about growing mushrooms at home, from selecting the right type of mushroom to harvesting your first batch.
Why Grow Mushrooms at Home?
Mushrooms are versatile, delicious, and nutrient-packed, but fresh mushrooms can sometimes be expensive or hard to find. Growing them at home allows you to control the quality, ensures you always have fresh produce on hand, and can even save money in the long run.
Additionally, mushroom cultivation is sustainable and environmentally friendly. By using organic materials like straw, sawdust, or used coffee grounds, you can repurpose waste into a nutrient-rich substrate for mushroom growth.
Step 1: Choose the Right Mushroom Variety
The first step in growing mushrooms is deciding which type to cultivate. Some mushrooms are easier to grow than others, making them ideal for beginners. Popular options include:
- Oyster Mushrooms: Easy to grow and thrive on various substrates.
- White Button Mushrooms: Common and perfect for indoor cultivation.
- Shiitake Mushrooms: Known for their rich flavor and thrive on hardwood logs or sawdust.
- Lion’s Mane Mushrooms: Unique in appearance and highly nutritious.
Choose a variety based on your culinary preferences and growing conditions.
Step 2: Select a Growing Medium
Mushrooms grow on a substrate, which provides the nutrients they need. The choice of substrate depends on the type of mushroom:
- Oyster Mushrooms: Grow well on straw, coffee grounds, or cardboard.
- Shiitake Mushrooms: Prefer hardwood logs or sawdust.
- Button Mushrooms: Thrive in composted manure or a mixture of straw and manure.
Pre-packaged mushroom grow kits are an excellent option for beginners, as they come with a pre-prepared substrate.
Step 3: Sterilize the Substrate
Sterilizing the substrate is crucial to prevent contamination from other fungi or bacteria. To sterilize:
- Heat water in a large pot until it reaches a temperature of 160–180°F.
- Soak the substrate in the hot water for 30–60 minutes.
- Drain and cool the substrate completely before proceeding.
Step 4: Inoculate with Mushroom Spores or Spawn
Once the substrate is ready, it’s time to introduce mushroom spores or spawn. Mushroom spawn is easier to work with than spores, as it has already germinated.
- Mix the spawn thoroughly with the prepared substrate.
- Pack the inoculated substrate into a container, such as a plastic bag, a bucket, or a tray with holes for ventilation.
Step 5: Create the Ideal Growing Environment
Mushrooms require specific conditions to thrive. The ideal environment includes:
- Humidity: Maintain high humidity (70–90%) by misting the substrate daily or using a humidifier.
- Temperature: Most mushrooms grow well between 55–75°F, depending on the variety.
- Darkness or Low Light: Mushrooms don’t need sunlight to grow, so keep them in a dark or dimly lit area.
Cover the container with a damp cloth or plastic to retain moisture while allowing airflow.
Step 6: Monitor Growth
After a few weeks, you’ll notice white thread-like structures (mycelium) spreading through the substrate. This indicates that the mushrooms are beginning to grow.
- Keep the environment moist and maintain the temperature.
- Avoid overwatering, as excess moisture can lead to contamination.
Step 7: Fruiting Stage
Once the mycelium has colonized the substrate, it’s time for the fruiting stage. Mushrooms will start to form as small pins and grow rapidly. Increase humidity and ensure adequate airflow during this stage.
Step 8: Harvesting Mushrooms
Harvest mushrooms when they reach the desired size. For most varieties:
- Gently twist the mushroom at the base to remove it without damaging the substrate.
- Use a clean knife or scissors to cut the mushroom at the base.
Harvesting regularly encourages more mushrooms to grow in subsequent flushes.
Step 9: Maintain and Reuse the Substrate
After harvesting, the substrate may still produce additional flushes of mushrooms. Continue to mist and care for the substrate to maximize yields.
Once the substrate is spent, it can be composted or repurposed as garden mulch.
Common Mistakes to Avoid
- Skipping Sterilization: Always sterilize the substrate to prevent contamination.
- Overwatering: Too much moisture can lead to mold or bacteria growth.
- Incorrect Temperature: Ensure the growing environment matches the mushroom variety’s requirements.
Benefits of Growing Mushrooms at Home
- Sustainability: Use organic materials and reduce food waste.
- Health Benefits: Mushrooms are rich in nutrients and antioxidants.
- Cost-Effective: Save money by growing your own fresh produce.
Start Your Mushroom Growing Journey Today!
Growing mushrooms at home is an enjoyable and rewarding process that offers fresh, nutritious produce and a sustainable way to connect with nature. Whether you’re a beginner or an experienced gardener, this project is perfect for enhancing your gardening skills.
🌱 Have you tried growing mushrooms? Share your experience or tips in the comments below!
#GrowYourOwnMushrooms #SustainableLiving #OrganicGardening #MushroomFarming #HomeGardening #DIYProjects #FreshProduce #UrbanGardening #FoodieGarden #GardeningTips

