
Growing turmeric at home is a fantastic way to ensure you have a fresh, organic source of this potent spice on hand. Not only does turmeric add a rich, earthy flavor to dishes, but it’s also celebrated for its numerous health benefits, including anti-inflammatory and antioxidant properties. With the right conditions and care, turmeric is surprisingly easy to grow indoors or in a garden, even if you don’t live in a tropical climate. This guide will walk you through every step, from planting and maintaining the turmeric plant to harvesting and using it in your kitchen.
What You’ll Need to Grow Turmeric
To successfully grow turmeric, you’ll need the following:
- Fresh turmeric rhizomes (often available at organic stores or garden centers)
- A large container or garden space
- Rich, well-draining soil
- Compost or organic fertilizer
- Consistent watering
Turmeric is grown from rhizomes, similar to ginger. With adequate warmth, moisture, and sunlight, your turmeric plant will flourish and produce beautiful, aromatic rhizomes that can be harvested each season.
Step 1: Selecting and Preparing Rhizomes
Choosing the Right Rhizomes
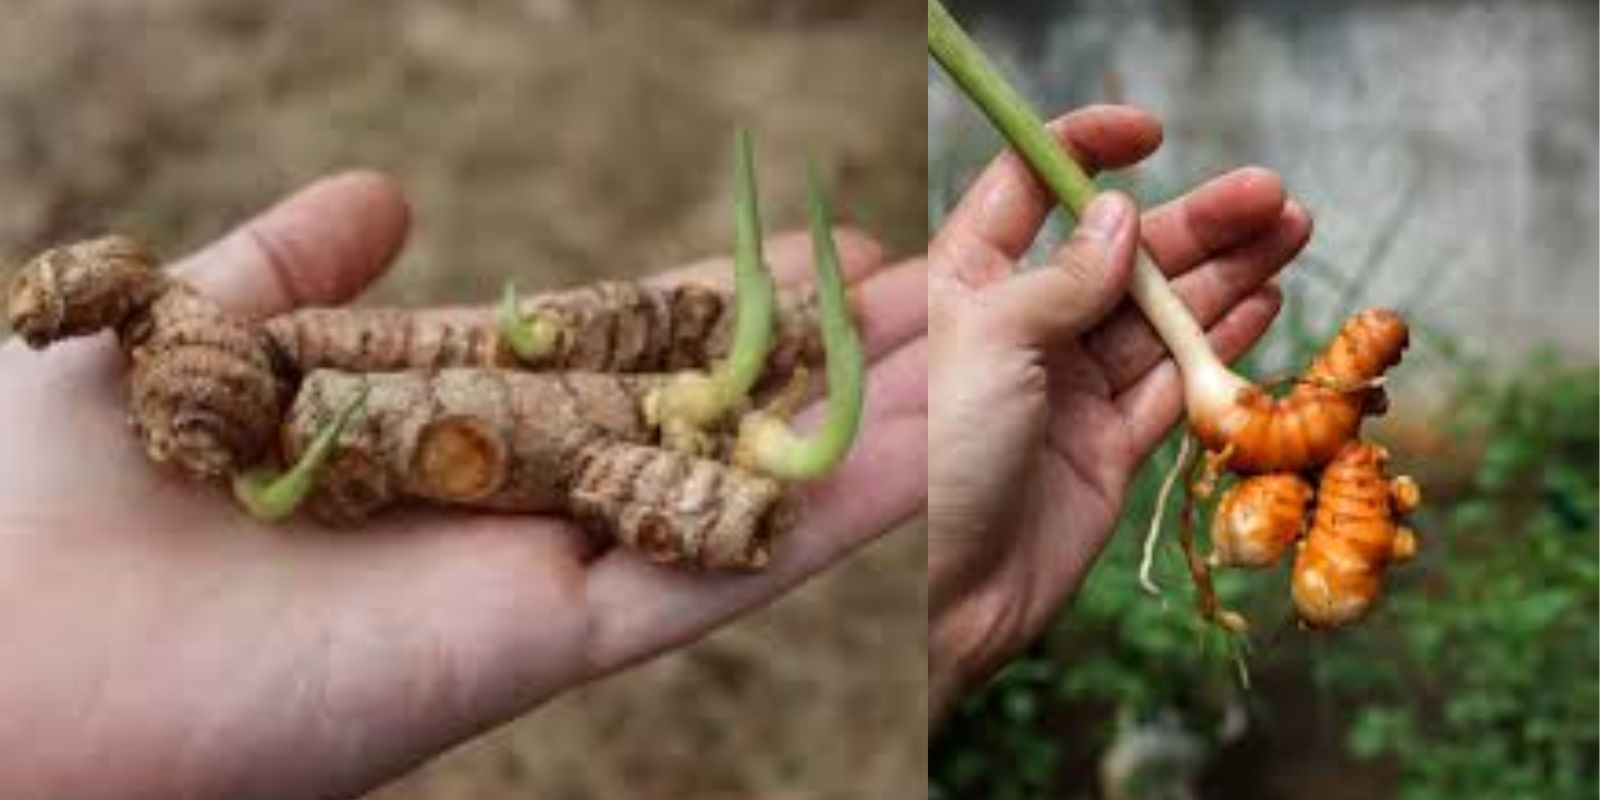
To start, select fresh, plump turmeric rhizomes with visible “buds” or “eyes,” where small shoots will sprout. Avoid dried or shriveled rhizomes as they are less likely to produce strong, healthy plants.
Preparing Rhizomes for Planting
To stimulate faster growth, cut the rhizome into pieces with at least two or three buds each. Place the pieces in a warm, dry place for a couple of days to let the cut edges heal. This helps prevent rot when you plant them.
Step 2: Preparing the Soil and Choosing the Location
Ideal Soil Conditions
Turmeric thrives in slightly acidic, rich, and well-draining soil. Mix compost or organic matter into the soil to provide essential nutrients, as turmeric is a heavy feeder. Avoid compacted soil or overly sandy soil, as this can affect moisture retention and nutrient absorption.
Location and Light Requirements
Turmeric grows best with indirect sunlight. Choose a bright, partially shaded location if you’re planting outdoors. For indoor growing, place the pot near a sunny window where it will receive filtered light.
Step 3: Planting Turmeric Rhizomes
Planting Depth and Spacing
Turmeric rhizomes should be planted about 2 inches deep in the soil, with the buds facing up. Space each rhizome around 10-12 inches apart if you’re planting multiple in the same area or pot.
Container Considerations
If planting in a container, choose one that is at least 12 inches deep and wide to allow ample space for the roots to spread. Turmeric grows well in containers, making it suitable for indoor gardening.
Step 4: Watering and Humidity
Turmeric plants prefer consistent moisture but don’t like to sit in waterlogged soil. Water them regularly to keep the soil evenly moist, but avoid over-watering, as this can lead to rot. During dry or hot periods, increase watering frequency, but make sure the soil has time to drain properly between watering sessions.
If you’re growing turmeric indoors in a dry climate, you may need to increase the humidity around the plant by misting it regularly or placing a humidifier nearby. This helps replicate the plant’s natural tropical environment.
Step 5: Fertilizing for Healthy Growth
To support turmeric’s vigorous growth, fertilize the plants every month during the growing season (spring to fall) with a balanced, organic fertilizer. Compost tea or liquid fish emulsion are excellent options that will provide essential nutrients. Avoid synthetic fertilizers, as turmeric’s natural resilience thrives with organic amendments.
Step 6: Monitoring Growth and Caring for Your Turmeric Plant
Over the next several months, your turmeric plant will start producing lush, broad green leaves, and the rhizomes will grow underground. Here are a few care tips:
- Weeding: Keep the soil free from weeds, especially if you’re growing outdoors.
- Pests: Check for pests like spider mites, aphids, and scale insects. Treat any infestations with insecticidal soap or neem oil.
- Pruning: Trim any yellowing leaves to encourage healthy growth and maintain the plant’s energy for producing rhizomes.
Turmeric typically takes between 8-10 months to mature, so patience is key.
Step 7: Harvesting Turmeric
Signs of Maturity
Turmeric rhizomes are ready to harvest once the plant’s leaves begin to turn yellow and start drying out, usually after 8-10 months. This signals that the rhizomes have fully developed underground.
How to Harvest
To harvest, carefully dig around the base of the plant to expose the rhizomes. Gently lift the plant and separate the rhizomes from the main stem. Be careful not to damage them, as bruising can reduce their storage quality.
Storing and Preserving
After harvesting, clean the rhizomes by gently brushing off excess soil. You can store fresh turmeric in the refrigerator for a couple of weeks or freeze it for long-term storage. Another option is to dehydrate or sun-dry the rhizomes to make your own turmeric powder.
Using Homegrown Turmeric
Homegrown turmeric can be used fresh in cooking, or dried and ground into powder. Fresh turmeric has a distinct, aromatic flavor and is excellent for curries, teas, and smoothies. Simply grate or thinly slice the rhizomes to add them to your recipes.
To make powdered turmeric, slice the fresh rhizomes thinly and allow them to dry completely. Once they’re dried, grind them into a fine powder using a spice grinder. Store the powder in an airtight container, away from direct sunlight.
Troubleshooting Common Issues
Growing turmeric is generally easy, but a few common issues can arise:
- Yellowing Leaves: This can be a sign of over-watering or nutrient deficiencies. Adjust watering or add compost to boost soil nutrients.
- Slow Growth: Turmeric needs warmth and consistent humidity. Move it to a warmer spot if necessary, especially if you’re growing indoors.
- Pest Damage: In dry conditions, spider mites and aphids can infest turmeric plants. Regularly check the leaves for any signs of pests and use natural remedies like neem oil if needed.
Benefits of Growing Turmeric at Home
Growing turmeric at home provides numerous benefits, from a continuous supply of fresh spice to knowing that your turmeric is free from pesticides and chemicals. Additionally, turmeric’s medicinal qualities make it a valuable addition to your kitchen and home remedy kit.
Final Thoughts and Gardening Inspiration
Growing turmeric is a rewarding experience that connects you to the life cycle of a powerful plant. Whether you have a small garden plot or just a sunny windowsill, you can successfully grow turmeric and enjoy its vibrant colors and health benefits. Once you’ve experienced the satisfaction of harvesting your own turmeric, you’ll likely want to experiment with other herbs and spices as well!
Try growing turmeric at home and join a community of gardeners who are adding more flavor and wellness to their lives. 🌱