
Sweet potatoes are a delicious and nutritious crop that can be easily grown at home—even if you don’t have a garden! With container gardening, you can successfully cultivate sweet potatoes on a balcony, patio, or small backyard space. The key to success lies in choosing the right container, soil mix, and proper care techniques to ensure a plentiful harvest.
In this guide, we’ll take you through everything you need to know about growing sweet potatoes in containers, from selecting the best varieties to harvesting your homegrown tubers.
Why Grow Sweet Potatoes in Containers?
Growing sweet potatoes in containers is an excellent option for gardeners with limited space. Here are a few benefits of using this method:
✔️ Space Efficiency – No garden? No problem! Containers make it possible to grow sweet potatoes in small spaces.
✔️ Pest Control – Containers help reduce the risk of soil-borne diseases and pests like nematodes.
✔️ Easier Maintenance – You have better control over soil conditions, watering, and fertilization.
✔️ Aesthetic Appeal – Sweet potato vines are beautiful and lush, making them a great addition to patios and balconies.
Step 1: Choosing the Right Container
Sweet potatoes need plenty of space to grow, so choosing the right container is crucial. Here’s what to look for:
✅ Size: At least 15-20 gallons (minimum of 12 inches deep and 18 inches wide).
✅ Material: Fabric grow bags, large plastic pots, or wooden barrels work well.
✅ Drainage: Ensure your container has several drainage holes to prevent root rot.
Pro Tip: If you’re using a plastic container, consider drilling extra drainage holes for better aeration.
Step 2: Selecting the Right Sweet Potato Variety
Not all sweet potatoes are ideal for container gardening. The best varieties for pots include:
🌱 ‘Beauregard’ – One of the most popular types, known for its high yield and rich flavor.
🌱 ‘Georgia Jet’ – A fast-growing variety that matures quickly.
🌱 ‘Purple Majesty’ – A striking purple-fleshed variety, loaded with antioxidants.
🌱 ‘Bush Porto Rico’ – A more compact plant that thrives in containers.
Step 3: Preparing the Soil Mix
Sweet potatoes thrive in loose, well-draining soil that is rich in nutrients. Here’s a great DIY mix:
🥄 2 parts potting soil
🥄 1 part compost (for essential nutrients)
🥄 1 part sand or perlite (for aeration and drainage)
Make sure the soil is light and fluffy—compacted soil will hinder tuber development.
Step 4: Growing Sweet Potato Slips
Sweet potatoes are grown from slips, not seeds. You can buy slips from a garden store or grow your own at home:
1️⃣ Choose a healthy sweet potato and place it half-submerged in water or bury it in moist sand/soil.
2️⃣ After 2-3 weeks, sprouts (slips) will start growing from the tuber.
3️⃣ Once slips reach 4-6 inches, gently twist them off and place them in water.
4️⃣ After a few days, roots will develop—these slips are now ready for planting!
Step 5: Planting Sweet Potato Slips in Containers
Follow these steps to ensure proper planting:
1️⃣ Fill your container with the prepared soil mix, leaving about 2-3 inches of space at the top.
2️⃣ Make small holes 6 inches apart and 3-4 inches deep.
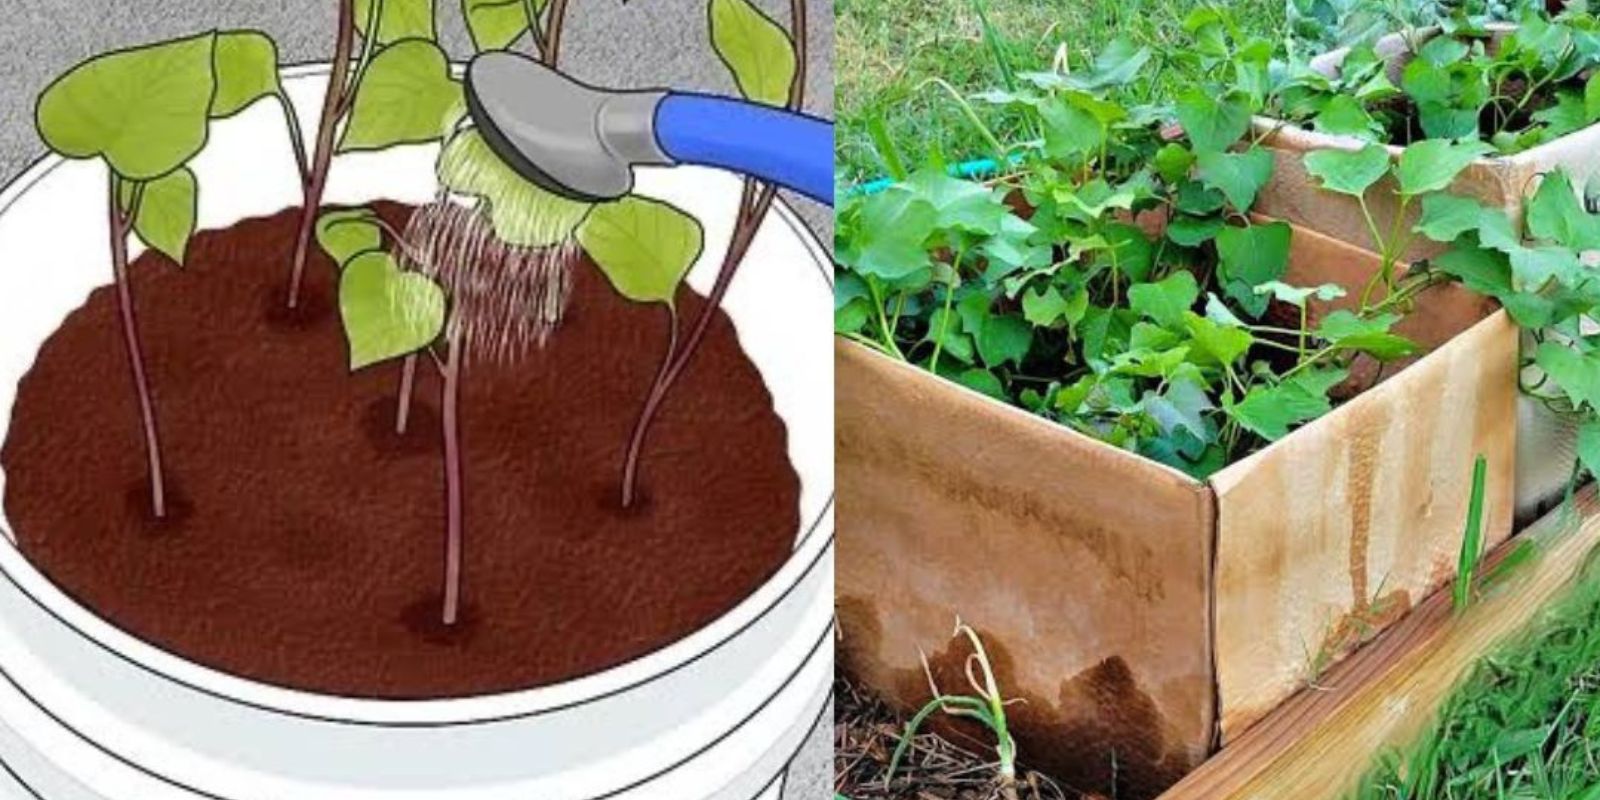
3️⃣ Insert each slip, ensuring the roots are buried while the leaves remain above the soil.
4️⃣ Gently pat the soil around the base and water thoroughly.
Step 6: Providing Proper Care
1. Watering Sweet Potatoes
Sweet potatoes love moisture but dislike soggy conditions. How to water correctly:
💧 Water daily for the first 1-2 weeks to help slips establish.
💧 Once established, water every 2-3 days or whenever the top 1-2 inches of soil feel dry.
💧 Reduce watering about 2-3 weeks before harvest to allow tubers to mature properly.
2. Sunlight Requirements
☀️ Sweet potatoes need at least 6-8 hours of full sun daily.
☀️ If growing indoors, place them near a south-facing window or use grow lights.
3. Fertilizing for Maximum Growth
Sweet potatoes don’t need excessive nitrogen, as it promotes leafy growth over tuber production. Instead, use:
🌱 Balanced organic fertilizer (5-10-10 or 8-24-24) – Apply every 3-4 weeks.
🌱 Compost tea or liquid seaweed fertilizer – For extra micronutrients.
4. Training the Vines
Sweet potato vines grow rapidly. You can either:
🌿 Let them trail naturally over the container.
🌿 Train them onto a trellis to save space and reduce disease risk.
Step 7: Harvesting Your Sweet Potatoes
After 90-120 days, your sweet potatoes will be ready for harvest! Signs that they are mature:
✔️ Leaves start turning yellow and wilting.
✔️ The soil begins to dry out.
To harvest:
1️⃣ Gently loosen the soil using your hands or a small trowel.
2️⃣ Carefully pull out the sweet potatoes—avoid bruising them!
3️⃣ Let them cure in a warm, dry place for 7-10 days to enhance their flavor.
Step 8: Storing Sweet Potatoes
Proper storage ensures sweetness and longevity:
✅ Keep them in a cool (55-60°F), dark, and well-ventilated place.
✅ Avoid refrigeration—it damages the texture and taste.
✅ Properly stored sweet potatoes last up to 6 months.
Common Problems & Solutions
🔹 Yellowing Leaves? → Overwatering or nitrogen deficiency. Reduce watering and apply a balanced fertilizer.
🔹 No Tuber Growth? → Too much nitrogen. Use a low-nitrogen fertilizer and provide ample sunlight.
🔹 Pests (Aphids, Whiteflies, Weevils)? → Spray neem oil or insecticidal soap to keep them at bay.
Final Thoughts
Growing sweet potatoes in containers is easy, rewarding, and space-efficient. Whether you have a small balcony, patio, or indoor space, this method allows you to enjoy fresh, organic sweet potatoes at home.
So, are you ready to start your sweet potato journey? Let us know in the comments! 🍠👇