
Introduction
Imagine picking fresh, juicy strawberries right from your home garden, knowing they came from a simple store-bought fruit. Many people believe that growing strawberries requires seeds from specialized nurseries, but did you know you can grow your own delicious strawberries from supermarket fruits?
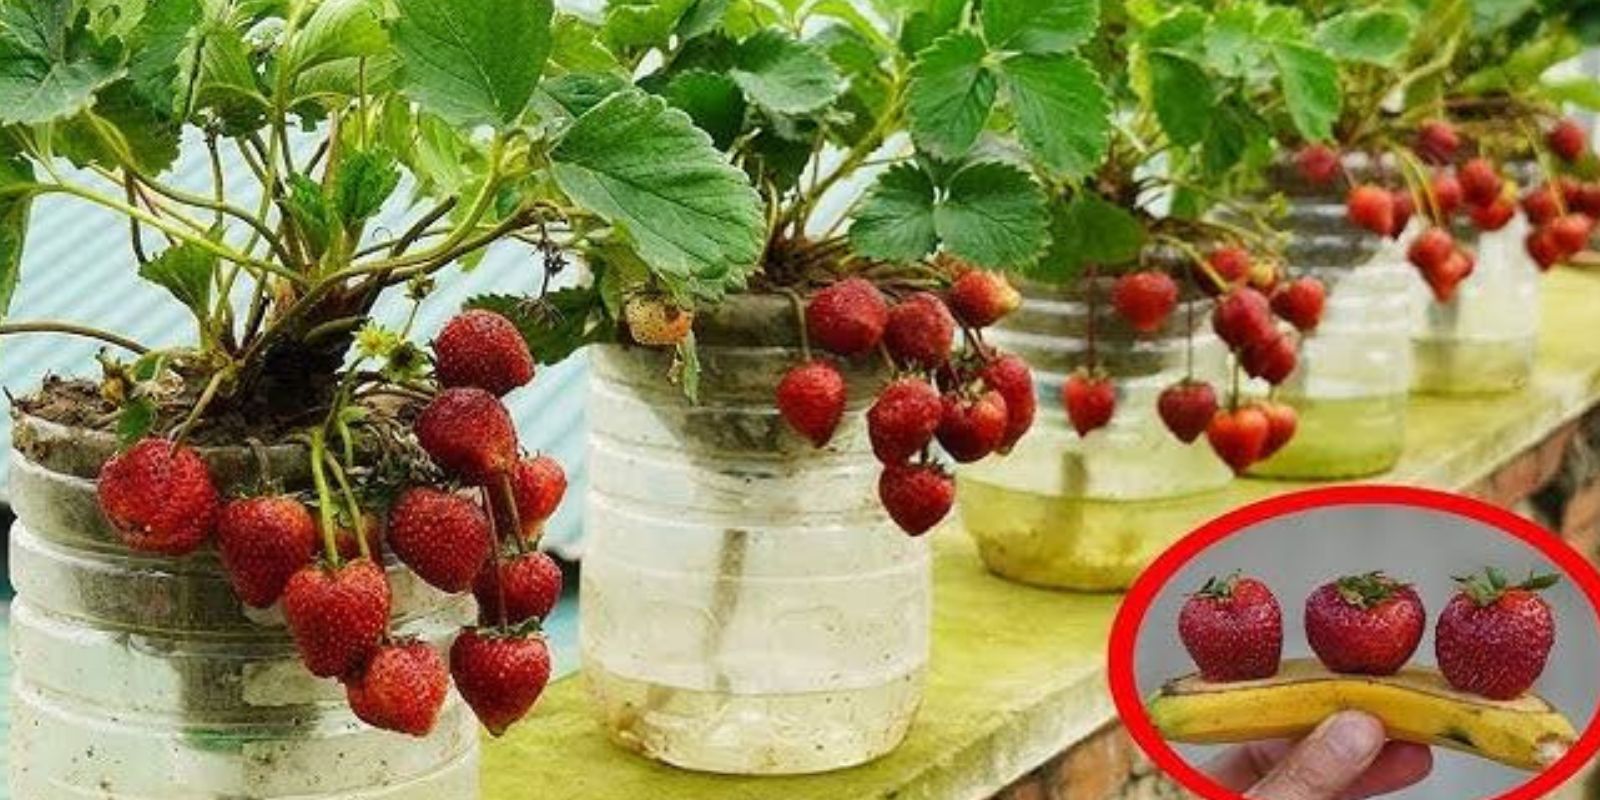
Strawberries are one of the easiest and most rewarding fruits to grow at home. With the right approach, you can transform store-bought strawberries into a thriving strawberry patch in your backyard, balcony, or even on your kitchen windowsill. This guide will walk you through everything you need to know to successfully grow strawberries at home using seeds from supermarket berries.
Why Grow Strawberries from Supermarket Fruits?
Growing strawberries from store-bought fruit offers several benefits:
✅ Cost-effective – No need to buy seeds or seedlings.
✅ Satisfying and Fun – Witness the entire growing process from seed to fruit.
✅ Organic and Pesticide-Free – Control how your strawberries are grown.
✅ Year-Round Supply – Enjoy fresh strawberries in any season.
Step 1: Choosing the Right Strawberries
Not all strawberries will work for growing new plants. Here’s what to look for:
- Organic is Best: Non-organic strawberries may have been treated with chemicals that prevent germination. Choose organic strawberries for the best results.
- Ripe and Healthy: Pick strawberries that are fully ripe and free of mold or damage.
- Varieties Matter: Some hybrid supermarket strawberries are bred for size, not seed viability. If possible, try different types to see what grows best.
Step 2: Extracting the Strawberry Seeds
Strawberry seeds are found on the outer skin of the fruit. You can extract them using these simple methods:
Method 1: Scraping with a Knife
- Take a ripe strawberry and use a knife to gently scrape off the tiny seeds.
- Spread them on a dry napkin and let them air-dry for a few hours.
Method 2: Blending and Sieving
- Blend a few strawberries with water for a few seconds.
- Pour the mixture through a fine sieve to separate the seeds from the pulp.
- Rinse the seeds with water and dry them on a paper towel.
Method 3: Freezing and Rubbing
- Freeze a strawberry for a few hours.
- Once frozen, rub the surface with your fingers to remove the seeds.
Step 3: Germinating the Strawberry Seeds
Strawberry seeds need cold stratification to improve germination. Here’s how:
- Place the dried seeds in a damp paper towel.
- Put them in a sealed plastic bag and refrigerate for 2-4 weeks. This mimics winter conditions, helping the seeds break dormancy.
- After refrigeration, take them out and place them in a warm, bright spot.
Once you see tiny sprouts, it’s time to plant them!
Step 4: Planting the Sprouted Seeds
Choosing the Right Soil & Containers
Strawberries thrive in well-draining, nutrient-rich soil. Use a potting mix with compost or peat moss. Choose small seedling trays or biodegradable pots for starting the seeds.
How to Plant
- Fill your pots with soil.
- Sprinkle the sprouted seeds over the soil surface. Avoid burying them deep—light helps them germinate.
- Mist with water to keep the soil moist but not soggy.
- Place the container in a sunny spot or under grow lights.
Step 5: Caring for Strawberry Seedlings
Strawberry plants need the right care to grow into healthy fruit-bearing plants.
Sunlight:
Ensure they get at least 6-8 hours of direct sunlight daily. If growing indoors, use grow lights.
Watering:
- Keep the soil evenly moist, but avoid overwatering.
- Use a spray bottle to gently mist young seedlings.
Thinning the Seedlings:
Once your plants are 2-3 inches tall, thin them out by removing weaker plants, leaving only the strongest ones.
Fertilizing:
Feed with a balanced fertilizer every two weeks to promote healthy growth.
Step 6: Transplanting Strawberry Plants
When seedlings are about 3-4 inches tall, it’s time to move them to larger pots or garden beds.
How to Transplant:
- Choose a pot at least 12 inches deep or a well-drained garden bed.
- Space plants 8-12 inches apart for proper airflow.
- Water immediately after transplanting to help roots establish.
Step 7: Encouraging Flowering and Fruit Production
Once your plants mature (usually within 4-6 months), they will begin to flower. Here’s how to ensure they produce plenty of fruit:
- Pinch off the first flowers to encourage stronger plant growth.
- Pollinate flowers manually if growing indoors (use a small brush to transfer pollen).
- Add potassium-rich fertilizer to support fruit production.
Step 8: Harvesting Your Homegrown Strawberries
After a few weeks, your strawberries will turn red and juicy!
- Pick when fully ripe (bright red color).
- Harvest in the morning for the best flavor.
- Gently twist off the berry to avoid damaging the plant.
Common Problems & How to Fix Them
🔴 Seedlings Not Germinating?
- Ensure proper stratification (cold treatment).
- Use fresh seeds from organic strawberries.
🔴 Plants Not Flowering?
- Ensure they get enough sunlight and proper nutrients.
🔴 Berries are Small or Deformed?
- Add compost or organic fertilizer to boost nutrients.
🔴 Pests & Diseases?
- Use neem oil or natural pest repellents.
Final Thoughts
Growing strawberries from store-bought fruit is a fun and rewarding way to enjoy fresh, homegrown berries. By following these simple steps, you can turn supermarket strawberries into a sustainable source of delicious fruit right at home.
🍓 Have you ever tried growing strawberries from store-bought fruit? Share your experience in the comments below! 🍓💬