
Growing pumpkins at home in containers is a fantastic way to enjoy this beloved fall fruit, whether you want to use them for Halloween decorations, fall recipes, or simply as a delightful addition to your garden. Pumpkins are not only fun to grow, but they also bring a sense of joy and accomplishment. In this comprehensive guide, we’ll walk you through every step of the process, from selecting the right varieties to harvesting your home-grown pumpkins.
Introduction: The Joy of Growing Pumpkins
Pumpkins have become synonymous with autumn festivities, from Halloween jack-o’-lanterns to Thanksgiving pies. While traditionally grown in gardens, container gardening has made it possible for anyone, regardless of space, to enjoy the thrill of cultivating these vibrant fruits. Container gardening allows for versatility, making it easier to manage soil quality, water, and sunlight, and is ideal for those with limited gardening space.
Growing pumpkins in containers offers several advantages. It allows for better control over the growing environment, helps prevent soil-borne pests and diseases, and can even lead to better yields due to the focused care you can provide. So, roll up your sleeves and let’s get started!
Choosing the Right Container
The first step to growing pumpkins in containers is selecting the right pots. Here are a few considerations:
Size Matters
- Container Size: Choose a large container that holds at least 5-10 gallons of soil. Pumpkins require substantial root space to grow, so larger containers are better.
- Depth: Aim for a container that is at least 12 inches deep. This depth allows ample space for root development.
Material Choice
Containers come in various materials, including plastic, wood, and ceramic. Each has its pros and cons:
- Plastic: Lightweight and affordable, but may retain heat, so ensure they have good drainage.
- Wood: Naturally insulated and visually appealing, but can rot over time. Use treated wood or line the inside with plastic.
- Ceramic: Aesthetic appeal and good insulation, but heavy and can break easily.
Drainage is Key
Regardless of the material, ensure your container has adequate drainage holes at the bottom. Good drainage prevents root rot and promotes healthy plant growth.
Selecting the Right Pumpkin Varieties
Not all pumpkin varieties are suitable for container gardening. Here are some excellent choices:
- Baby Boo: These small white pumpkins are perfect for decorating and have a sweet flavor.
- Jack Be Little: Another small variety, these pumpkins are great for eating and display.
- Sugar Pie: Ideal for baking, this medium-sized pumpkin is known for its sweet flesh.
- Cinderella: A beautiful, flat pumpkin that’s great for pies and decoration.
Choose varieties that are labeled as “bush” or “dwarf,” as they tend to grow better in confined spaces.
Preparing the Soil
Pumpkins thrive in nutrient-rich, well-draining soil. Here’s how to prepare the perfect potting mix:
- Purchase Quality Potting Mix: Look for a pre-mixed potting soil specifically designed for containers. These mixes typically contain peat moss, compost, and perlite for drainage.
- Add Organic Matter: To boost fertility, consider mixing in organic compost or well-rotted manure to enhance the nutrient content.
- pH Level: Pumpkins prefer slightly acidic to neutral pH (around 6.0 to 7.0). You can test the soil’s pH with a simple home testing kit and adjust it as necessary.
Planting Your Pumpkins
With your container and soil ready, it’s time to plant your pumpkin seeds or seedlings.
Direct Seeding vs. Transplanting
- Direct Seeding: If starting from seeds, plant 2-3 seeds about 1 inch deep into the prepared soil. Once they sprout, thin the seedlings to one strong plant.
- Transplanting: If using seedlings, plant one seedling per container. Be gentle while transferring to avoid damaging the roots.
Timing
Pumpkins are warm-season crops that require warm soil temperatures (ideally above 70°F). Wait until all danger of frost has passed before planting. In many regions, this means planting seeds or seedlings in late spring.
Watering Your Pumpkins
Proper watering is crucial for healthy pumpkin growth. Here are some tips:
- Consistency is Key: Keep the soil consistently moist but not soggy. Pumpkins require about 1-2 inches of water per week, especially during dry spells.
- Watering Technique: Water deeply at the base of the plant rather than spraying the leaves. This helps prevent fungal diseases and encourages deep root growth.
- Mulching: Adding a layer of mulch on top of the soil can help retain moisture, regulate soil temperature, and suppress weeds.
Fertilizing for Healthy Growth
Pumpkins are heavy feeders, so fertilization is essential for robust growth and fruit production.
- Initial Fertilization: When planting, mix a slow-release fertilizer into the potting soil. Choose a balanced fertilizer with equal parts nitrogen, phosphorus, and potassium (e.g., 10-10-10).
- Side Dressing: After a month, apply a water-soluble fertilizer every 4-6 weeks. A fertilizer higher in potassium will help promote flowering and fruit set.
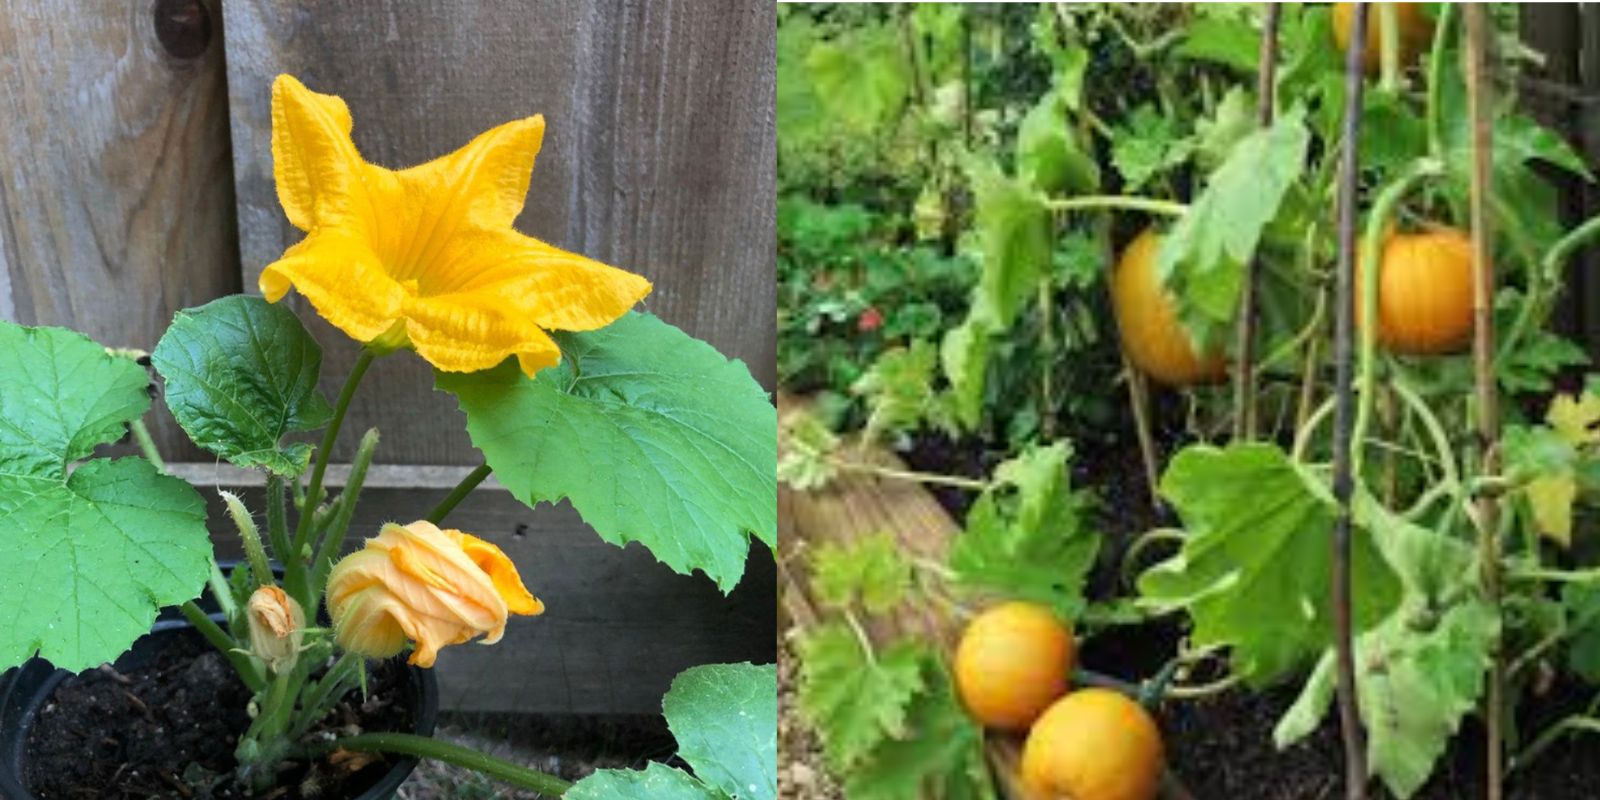
Providing Support
Pumpkin vines can grow extensively, so consider providing support if you’re growing vining varieties:
- Trellises: Use sturdy trellises or stakes to support the plants as they grow. This method can save space and reduce the risk of disease by improving air circulation.
- Hammocks: For larger pumpkins, create slings or hammocks from fabric or mesh to support the weight as the fruit develops.
Ensuring Adequate Sunlight
Pumpkins require plenty of sunlight to thrive:
- Location: Place your containers in a location that receives at least 6-8 hours of direct sunlight daily.
- Sunlight Adjustment: If your plants are not receiving enough sunlight, consider relocating the containers to a sunnier spot.
Managing Pests and Diseases
Pumpkins can be susceptible to various pests and diseases. Here are some strategies to keep your plants healthy:
- Common Pests: Keep an eye out for aphids, squash bugs, and cucumber beetles. Hand-picking or using insecticidal soap can help manage infestations.
- Fungal Diseases: To prevent powdery mildew and other fungal diseases, ensure good air circulation, avoid overhead watering, and promptly remove any infected leaves.
- Companion Planting: Planting marigolds or nasturtiums nearby can help deter pests naturally.
Harvesting Your Pumpkins
Once the pumpkins have grown, it’s time to harvest them:
- Signs of Ripeness: Pumpkins are ready to harvest when their skin is hard, and the stem has turned brown. They should have a rich, vibrant color and sound hollow when tapped.
- Cutting the Stem: Use a sharp knife or pruning shears to cut the pumpkin from the vine, leaving a few inches of stem attached. Avoid pulling or twisting the pumpkin to prevent damage.
- Curing: If you plan to store your pumpkins, cure them in a warm, dry place for 7-10 days to harden their skin.
Storing Your Pumpkins
To enjoy your pumpkins long after the harvest, proper storage is essential:
- Ideal Conditions: Store your pumpkins in a cool, dark, and well-ventilated area. A basement or cellar is often suitable.
- Monitor for Spoilage: Check stored pumpkins regularly for any signs of rot. Use any damaged pumpkins first.
Conclusion: Enjoying Your Homegrown Pumpkins
Growing pumpkins in containers is a rewarding experience that provides delicious results. Whether you choose to carve them for Halloween or use them in your favorite recipes, the satisfaction of nurturing these vibrant fruits is unmatched. With the right container, soil, care, and attention, you’ll soon have a thriving pumpkin patch right at home.
So, gather your supplies, choose your favorite pumpkin varieties, and get started today! Happy gardening! 🎃🌱
#PumpkinPatch #ContainerGardening #HomeGrown #FallHarvest #GardeningJoy