
Growing potatoes in a pot is one of the easiest and most rewarding ways to cultivate this versatile vegetable. Whether you have a small balcony, a cozy patio, or even just a bit of space on your windowsill, container gardening allows you to grow potatoes without needing a traditional garden bed. In this article, we’ll walk you through everything you need to know about growing potatoes in pots, from selecting the right container to harvesting your first crop.
Why Grow Potatoes in Pots?
Potatoes are a staple in many kitchens around the world, and there’s nothing quite like the satisfaction of harvesting your own homegrown potatoes. While traditional gardening methods usually require a large amount of space, growing potatoes in containers can be done in any size area. Container gardening is also ideal for people with limited mobility or physical space for a traditional garden.
Aside from space-saving advantages, growing potatoes in pots also offers some practical benefits:
- Control over soil quality: You can customize the soil mix to suit potatoes’ needs.
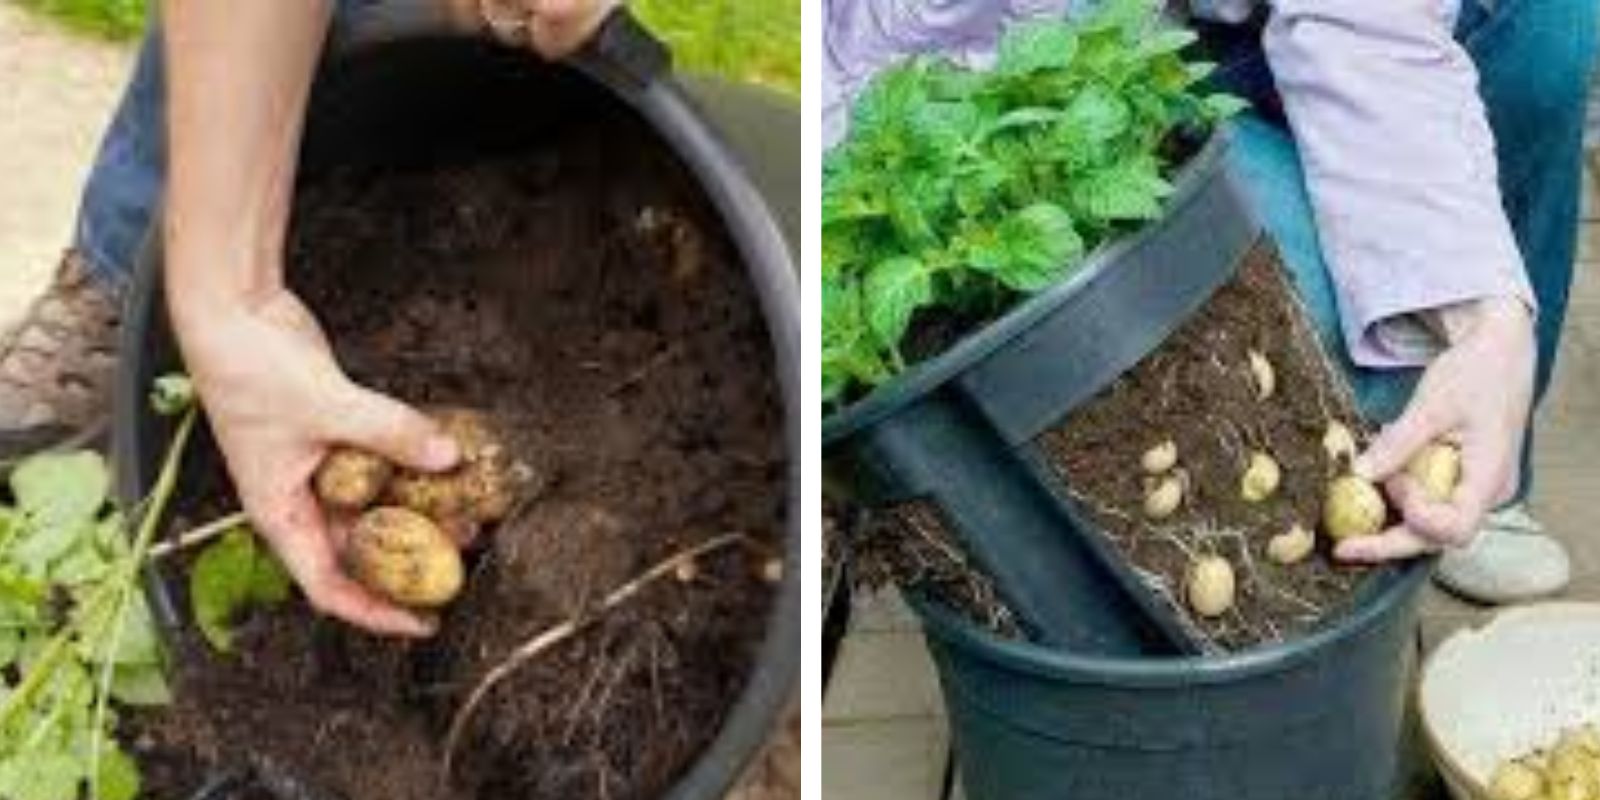
- Ease of harvesting: Since potatoes grow underground, they can be tricky to harvest. When growing in pots, harvesting becomes a lot easier as you can simply tip the pot over to retrieve your crop.
- Pest control: Potatoes are susceptible to pests like aphids and beetles. Growing in pots allows you to more easily manage pests and prevent damage to your plants.
- Versatility: Growing in containers means you can easily move your plants to find the perfect light, water, and temperature conditions.
Step-by-Step Guide to Growing Potatoes in Pots
1. Choose the Right Pot
The first step to growing potatoes in pots is selecting the correct container. While it may seem simple, the size and material of the pot are crucial to ensuring healthy growth. Look for a pot that’s at least 12 inches deep, as potatoes need room to develop their tubers.
A pot with a diameter of 18-24 inches is ideal, and it should have good drainage to prevent water from pooling at the bottom. You can use various types of containers, including plastic pots, fabric grow bags, wooden crates, or even large buckets. Just make sure that the pot allows for proper water drainage to avoid root rot.
2. Prepare the Soil
Potatoes grow best in well-draining, slightly acidic soil that is rich in organic matter. You’ll want to prepare a loose, loamy mix with plenty of compost to encourage healthy tuber development. Here’s a simple soil recipe you can use:
- 2 parts compost
- 1 part well-draining potting mix or garden soil
- 1 part perlite or sand (to improve drainage)
Fill your pot with this soil mixture, leaving about 4-6 inches of space at the top to accommodate the growing plants.
3. Choose Your Seed Potatoes
Seed potatoes are small potatoes that are specifically grown for planting. They are different from store-bought potatoes, which may have been treated with chemicals to prevent sprouting. You can buy seed potatoes from your local garden center or online, and they are available in a variety of types including early, mid, and late-season varieties.
When choosing your seed potatoes, look for those with healthy eyes (the small indentations where shoots grow). You’ll want to cut the potatoes into pieces, each with at least one eye, if they are larger than 2-3 inches. Let the pieces dry for a day or two to reduce the risk of rotting.
4. Plant the Potatoes
Now comes the fun part: planting your seed potatoes! To do this, make a small trench in the soil of your pot, about 4 inches deep. Place your seed potatoes in the trench, with the eyes facing up. If you are planting multiple potatoes in one pot, make sure they are spaced at least 6 inches apart to give each one enough room to grow.
Cover the potatoes with soil, and water thoroughly. The soil should remain moist, but not soggy, as potatoes do not like sitting in waterlogged soil. Be sure to place your pot in a sunny location, as potatoes need at least 6 hours of direct sunlight a day to grow well.
5. Care for the Plants
Potatoes are relatively easy to care for, but they do have a few specific needs:
- Watering: Keep the soil consistently moist, but avoid over-watering. Potatoes need plenty of water, especially as they start to sprout and grow, but they do not like sitting in wet soil. Make sure your pot has proper drainage, and water the plants when the top inch of soil feels dry.
- Hilling: As your potato plants grow, you’ll need to “hill” them, which means adding more soil to the pot around the base of the plant. This encourages the growth of more tubers and helps prevent the developing potatoes from being exposed to sunlight, which can cause them to turn green and become inedible. Each time the plant grows taller, add more soil around it, covering the lower leaves.
- Fertilization: Potatoes benefit from occasional feeding. Use a balanced, slow-release fertilizer or a high-potassium fertilizer every 3-4 weeks to encourage tuber production. Organic fertilizers such as compost or seaweed extracts are also good options.
- Pest and Disease Control: Keep an eye out for pests like aphids, spider mites, and flea beetles. If you notice any pests, remove them by hand or use an organic insecticidal soap. Potatoes can also be susceptible to fungal diseases, so ensure good air circulation and avoid over-watering.
6. Watch for Flowers and Yellowing Leaves
Potatoes typically start to flower once they’ve been growing for a few weeks. While the flowers are pretty, they aren’t the part of the plant that you’ll be harvesting. Instead, the flowers are a sign that the plant is producing tubers underground.
As the plant matures, you may notice the leaves turning yellow and wilting. This is a natural part of the potato plant’s lifecycle and signals that your potatoes are ready for harvest. However, be patient — it’s best to wait until the plant has completely died back before you start harvesting to ensure the potatoes are fully mature.
7. Harvest Your Potatoes
Once the potato plant has fully died back, it’s time to harvest your potatoes! This usually happens about 10-12 weeks after planting, depending on the variety you chose.
To harvest, simply tip your pot over onto a tarp or the ground. Gently sift through the soil to find your freshly grown potatoes. Be careful not to bruise or damage the tubers. If you’re unsure about the size, you can gently pull a few tubers to check their progress before harvesting the entire batch.
8. Store Your Potatoes
Once harvested, store your potatoes in a cool, dry, and dark place. Proper storage ensures that your potatoes will last for several weeks or even months. Avoid storing them in plastic bags, as this can cause them to spoil. Instead, use paper bags, boxes, or baskets to allow airflow around the potatoes.
Conclusion
Growing potatoes in a pot is a simple, enjoyable, and rewarding way to cultivate your own food, even in limited space. Whether you’re new to gardening or an experienced grower, this method is an excellent way to grow a crop that provides both nutrition and a sense of accomplishment. By following the steps outlined above, you’ll soon be enjoying the fruits of your labor with a bountiful potato harvest right from your own home.
If you’re looking to add a little more variety to your container garden or need a fun, easy project for the upcoming growing season, give potatoes a try! With minimal effort, you can grow your own homegrown potatoes in a small pot — it’s an experience every gardener should have.
Happy planting and harvesting!