
Growing potatoes at home is one of the easiest and most rewarding gardening projects you can undertake. Whether you have a spacious backyard, a small urban garden, or even a balcony or porch, you can successfully grow your own potatoes with minimal effort. Homegrown potatoes are not only delicious but also cost-effective, and there’s nothing quite like harvesting fresh, nutrient-packed potatoes from your own garden.
In this guide, we will take you through the simple steps to grow potatoes at home, including tips for preparation, planting, care, and harvesting. Whether you’re a seasoned gardener or a complete beginner, growing potatoes at home is an achievable and fulfilling project. Let’s dive in!
Why Grow Potatoes at Home?
Before jumping into the specifics, let’s first explore why growing potatoes at home is a great choice. Potatoes are a versatile crop that can be used in a variety of dishes, from mashed potatoes and fries to hearty stews and salads. They are also rich in nutrients, providing potassium, vitamin C, and fiber, making them an excellent addition to any diet.
Furthermore, growing your own potatoes offers numerous benefits:
- Cost Savings: Store-bought potatoes can be expensive, especially if you consume them regularly. By growing your own, you can save money over time.
- Freshness: Homegrown potatoes are fresh and packed with flavor, as they can be harvested at their peak.
- Sustainability: Growing your own food reduces the environmental impact associated with transporting produce over long distances.
- Educational Experience: For both kids and adults, growing potatoes is a fun and educational way to learn about gardening and food production.
Selecting the Right Variety of Potatoes
The first step in growing potatoes is selecting the right variety. Potatoes come in different types, each with its own characteristics. Some varieties are better for baking, while others are better for mashing or frying. Here are a few common types:
- Russet Potatoes: Known for their rough, brown skin and fluffy texture, russets are ideal for baking and mashing.
- Yukon Gold: These golden potatoes are perfect for roasting, boiling, or making mashed potatoes.
- Red Potatoes: These small, waxy potatoes hold their shape well and are great for salads or boiling.
- Fingerling Potatoes: Small and elongated, fingerlings have a buttery texture and are great for roasting.
If you’re unsure which variety to choose, consider starting with a variety that is easy to grow, such as Yukon Gold or Russets. For container gardening, smaller varieties like fingerling potatoes or red potatoes are ideal because they take up less space.
Preparing for Potato Planting
Potatoes are grown from seed potatoes, which are specially grown for planting rather than eating. These potatoes are available at garden centers or online and are certified disease-free. It’s important not to use regular grocery store potatoes, as they may carry diseases that could harm your crop.
1. Chitting Your Seed Potatoes
To give your potatoes a head start, it’s a good idea to “chit” your seed potatoes before planting. Chitting is the process of allowing the potatoes to sprout before planting them in the soil. Here’s how you can do it:
- Step 1: Place your seed potatoes in a cool, dry, and well-lit area (but not in direct sunlight).
- Step 2: Allow the potatoes to sprout for 2-4 weeks, until small shoots or “eyes” appear.
- Step 3: Once the shoots are about 1-2 inches long, they are ready for planting.
2. Preparing the Soil or Containers
Potatoes require loose, well-drained soil to grow. If you are planting in a garden bed, enrich the soil with organic compost or aged manure to improve its fertility. Aim for a slightly acidic to neutral soil pH (around 5.5 to 7.0).
For container gardening, choose large containers, such as buckets, trash cans, or specially designed potato bags, with good drainage holes. You’ll want to ensure that the container is at least 12-18 inches deep to allow room for the potatoes to grow.
Planting Your Seed Potatoes
Now that you have your seed potatoes ready and the soil or containers prepared, it’s time to plant your potatoes.
1. Planting in the Ground
- Step 1: Dig trenches or holes about 4-6 inches deep and 12 inches apart.
- Step 2: Place the sprouted seed potatoes (with the shoots facing up) in the trenches or holes.
- Step 3: Cover the potatoes with soil, making sure the shoots are buried but not too deep.
2. Planting in Containers
- Step 1: Add a layer of soil to the bottom of your container.
- Step 2: Place 2-3 seed potatoes on top of the soil, spaced apart.
- Step 3: Cover the seed potatoes with another layer of soil (about 4-6 inches).
- Step 4: As the plants grow, continue adding soil or compost around the stems to encourage tuber development. This process is called “hilling.”
Caring for Your Potato Plants
Once your potatoes are planted, it’s important to provide them with proper care to ensure healthy growth.
1. Watering
Potatoes require consistent moisture throughout their growing season. Water your plants deeply once a week or more frequently during dry periods. Avoid overhead watering, as wet leaves can promote disease. Instead, water the base of the plant to keep the soil evenly moist.
2. Fertilizing
Potatoes are heavy feeders and benefit from regular fertilization. Use a balanced fertilizer, such as a 10-10-10 formula, or organic compost to provide nutrients. Apply the fertilizer every few weeks during the growing season, but be careful not to over-fertilize, as this can cause excessive foliage growth at the expense of tuber development.
3. Hilling
As the potato plants grow, mound soil or compost around the base of the stems to create “hills.” This helps prevent tubers from being exposed to the sunlight, which can cause them to turn green and become inedible. Hilling also encourages the growth of more potatoes along the buried stems.
4. Controlling Pests and Diseases
Potatoes are susceptible to pests like aphids, Colorado potato beetles, and slugs. Regularly inspect your plants for signs of pests, and remove them by hand if necessary. For disease prevention, avoid overhead watering, and remove any infected leaves or stems.
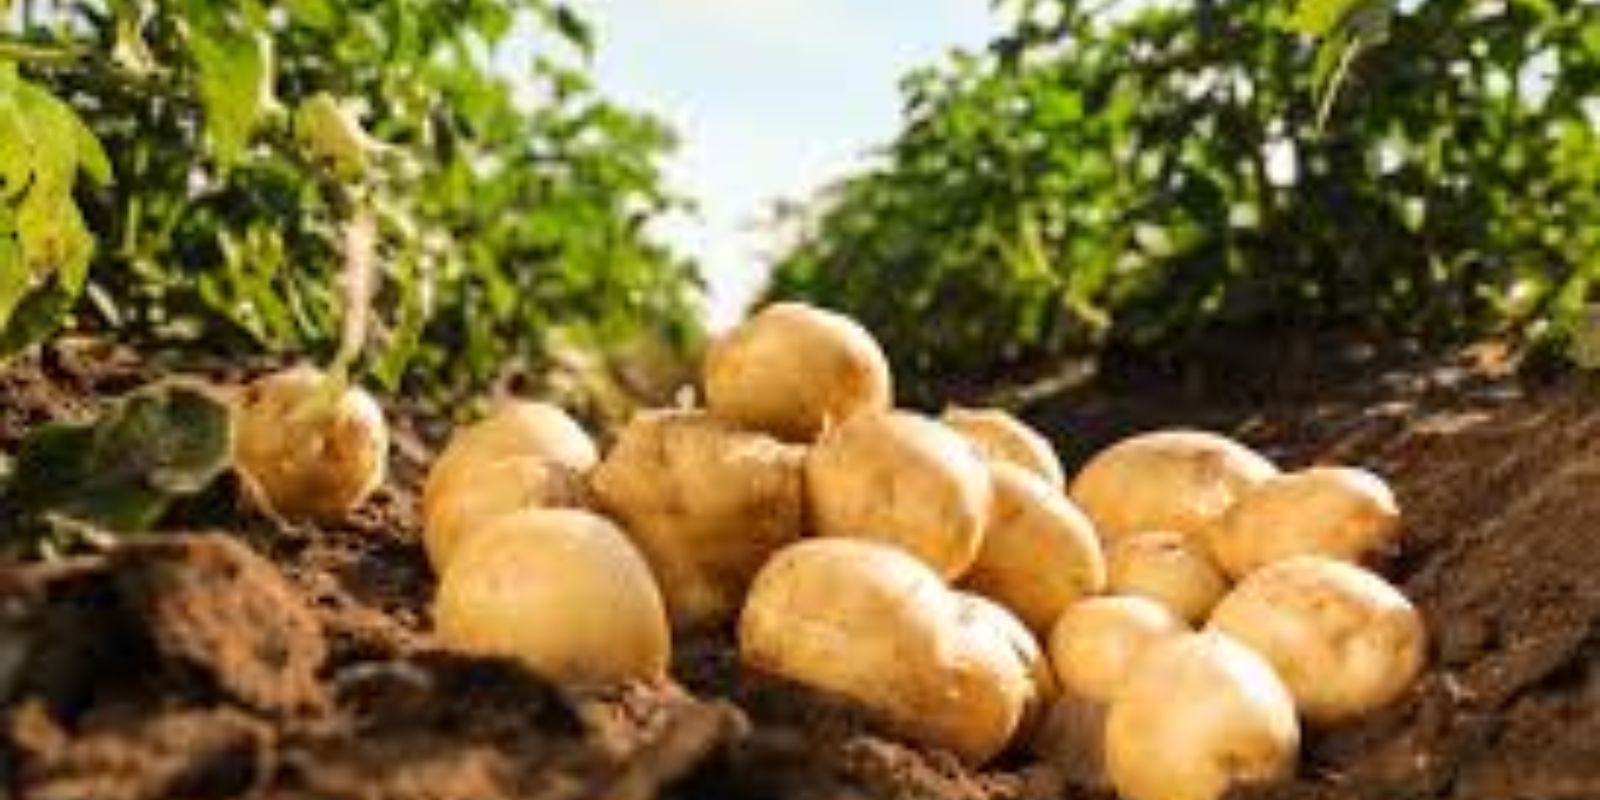
Harvesting Your Potatoes
Potatoes are typically ready to harvest about 10-12 weeks after planting, or when the plants begin to die back and the leaves turn yellow. Here’s how to harvest your potatoes:
1. Wait for the Right Time
Wait until the plants have flowered and the foliage begins to yellow and die. This is a sign that the potatoes are maturing underground. If you harvest too early, your potatoes will be small, and if you wait too long, they may begin to rot.
2. Harvesting
To harvest potatoes, gently dig around the base of the plants using a spade or garden fork. Be careful not to damage the tubers. Once you’ve exposed the potatoes, gently lift them from the soil and place them in a container.
3. Curing and Storing
Once harvested, allow your potatoes to cure in a cool, dark, and dry place for 2-3 weeks. This helps toughen the skins and prevents them from spoiling. After curing, store your potatoes in a cool, dark place with good ventilation. Avoid storing them in the fridge, as cold temperatures can affect their taste and texture.
Conclusion
Growing potatoes at home is an incredibly rewarding experience. By following the simple steps outlined in this guide, you can enjoy an abundant harvest of fresh, homegrown potatoes with minimal effort. Whether you’re growing potatoes in the ground or in containers, the process is easy to follow, and the results are well worth it. Happy gardening, and enjoy your delicious, homegrown potatoes!
Hashtags: