
Growing potatoes is one of the most rewarding gardening experiences you can have. Whether you have a sprawling garden or just a small backyard, potatoes are perfect for anyone looking to enjoy fresh, homegrown produce. Not only are they easy to grow, but with the right steps, you can achieve a bountiful harvest. If you’re interested in learning how to grow potatoes at home, this step-by-step guide will walk you through everything you need to know to ensure success in your potato patch.
Why Grow Potatoes at Home?
Potatoes are incredibly versatile and nutritious, making them a staple in kitchens worldwide. Growing them at home has several benefits. Homegrown potatoes tend to taste better and are free from pesticides and chemicals often used in commercial farming. Plus, they’re easy to grow, require minimal care, and can be grown in various climates and spaces. Whether you want to grow potatoes in containers on a balcony or in your backyard garden, the steps remain the same.
1. Choose the Right Seed Potatoes
The first step to growing a successful crop of potatoes is choosing the right seed potatoes. While it might be tempting to use leftover potatoes from the grocery store, it’s important to buy certified seed potatoes from a reputable nursery or garden center. Store-bought potatoes may carry diseases or pests that could ruin your crop. Certified seed potatoes are specifically grown for planting and are free from these issues.
When selecting seed potatoes, consider the following:
- Variety: There are many different types of potatoes, ranging from early-season to late-season varieties. Choose one based on how long your growing season is, and also consider factors like taste, texture, and size.
- Climate suitability: Some potato varieties thrive better in specific climates, so make sure to pick one that is suitable for your region. Early-season varieties work well in cooler climates, while late-season varieties are better for warmer areas.
Once you have your seed potatoes, you can cut them into smaller pieces, ensuring each piece has at least one or two “eyes” or sprouts. These eyes will grow into new plants, so the more eyes per piece, the better the harvest.
2. Prepare the Soil for Planting
Potatoes need well-draining, loose, and fertile soil to grow well. Preparing the soil is an essential part of the process, and the good news is that potatoes are adaptable and can grow in a variety of soil types as long as they’re loose and nutrient-rich.
Here’s how you can prepare your soil for planting:
- Choose a sunny location: Potatoes love sunlight, so select a sunny spot that gets at least 6-8 hours of sunlight per day.
- Amend the soil: Potatoes need a soil rich in organic matter. Before planting, mix compost, aged manure, or other organic materials into your soil to improve fertility and help retain moisture. If you’re growing in containers, use high-quality potting soil mixed with compost.
- Ensure proper drainage: Potatoes need well-drained soil to prevent waterlogging, which can lead to rot. If your soil is heavy or clayey, improve drainage by adding sand or organic matter.
- Loosen the soil: Potatoes grow best when their roots can spread freely, so loosen the soil with a garden fork or tiller. This helps the potatoes grow bigger and healthier.
3. Planting Your Potatoes
Once your soil is prepared, it’s time to plant your seed potatoes. Timing is important, as potatoes are a cool-weather crop. You want to plant them in the early spring, once the soil has warmed to about 45-50°F (7-10°C) and the risk of frost has passed.
Here’s how to plant your potatoes:
- Dig a trench: Create a trench that is about 4-6 inches deep and 12-15 inches apart. If you are planting in rows, space the rows 30-36 inches apart to allow for proper growth.
- Plant the seed potatoes: Place each seed potato piece with the eyes facing upward, spaced about 12 inches apart. If you’re planting multiple rows, make sure to leave space between the rows to allow for airflow and prevent disease.
- Cover the potatoes: Gently cover the potatoes with soil. You don’t want to bury them too deep—just enough to cover them lightly.
Once the potatoes are planted, water them thoroughly to settle the soil around them. Watering is crucial during the early stages, as it helps the seed potatoes establish roots.
4. Caring for Your Potato Plants
Potatoes are relatively low-maintenance, but they still require regular care to thrive. Proper watering, hilling, and pest management are the keys to growing healthy and productive potato plants.
Here’s how to care for your potatoes as they grow:
- Watering: Potatoes need consistent moisture, especially when the tubers are forming. Water your plants regularly, ensuring the soil stays moist but not waterlogged. Aim for about 1 inch of water per week. During dry periods, you may need to water more frequently.
- Hilling: As the potato plants grow taller, you’ll need to “hill” the soil around the base of the plants to prevent the potatoes from being exposed to sunlight, which can turn them green and toxic. To hill, simply mound soil or compost around the base of the plant as it grows. This helps encourage the plant to produce more potatoes and keeps them from becoming green and inedible.
- Weeding: Keep the potato patch free of weeds, as they can compete for nutrients and water. Be careful when weeding around potato plants to avoid damaging the delicate roots.
- Pest control: Potato plants can be susceptible to pests such as aphids, flea beetles, and the Colorado potato beetle. Regularly check your plants for signs of pests, and use organic pesticides or natural methods like neem oil or diatomaceous earth to control infestations.
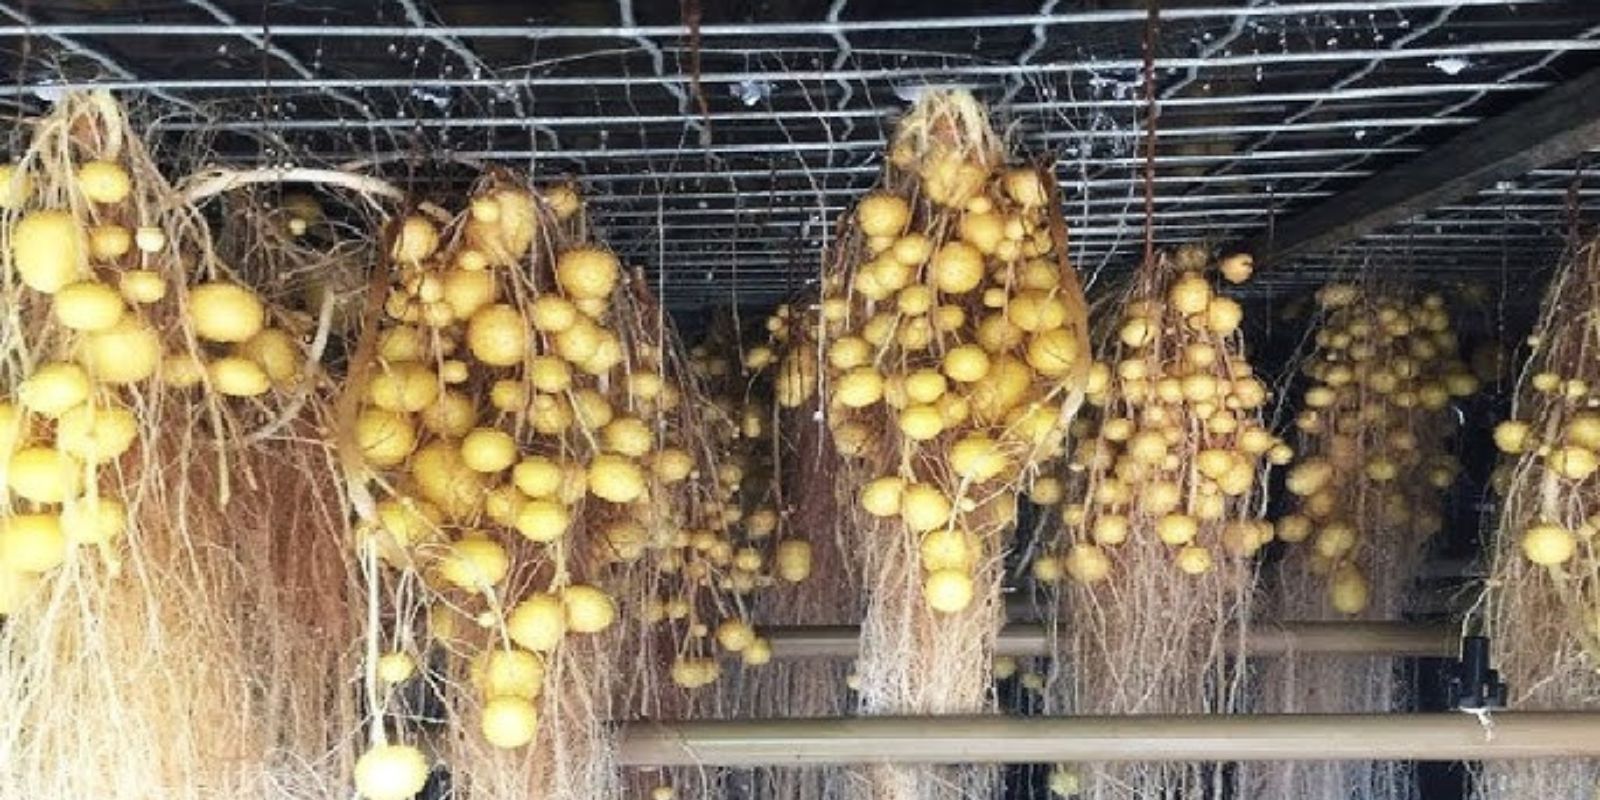
5. Harvesting Your Potatoes
The final step in growing potatoes is harvesting. Potatoes typically take 70-120 days to mature, depending on the variety you’ve chosen. Once your plants have flowered and the foliage begins to yellow or die back, it’s time to dig up your potatoes.
Here’s how to harvest your potatoes:
- Timing: For new potatoes, you can start harvesting when the plants are still green, about 10-12 weeks after planting. For mature potatoes, wait until the plants begin to die back, usually after 14-16 weeks.
- Digging: Use a garden fork or shovel to carefully dig around the base of the plant. Be gentle when pulling up the potatoes to avoid damaging them. Lift the plant from the soil, and you should find your potatoes nestled beneath the roots.
- Curing: After harvesting, let your potatoes cure in a cool, dark place for about two weeks. This helps toughen their skins and extends their storage life. Once cured, store your potatoes in a cool, dry, dark place to prevent sprouting.
Conclusion
Growing potatoes is an easy and rewarding experience that anyone can enjoy. By following these five simple steps—choosing the right seed potatoes, preparing your soil, planting, caring for your plants, and harvesting—you can grow a bountiful crop of potatoes right in your backyard or container garden. Not only will you enjoy the fresh taste of homegrown potatoes, but you’ll also feel a sense of pride in knowing you’ve cultivated your own food. So grab your gardening gloves, start planting, and soon you’ll be digging up a harvest of your very own spuds!
Share your potato-growing success with us and let’s grow together! #PotatoGrowing #HomeGarden #UrbanFarming #GrowYourOwnFood #Gardening #PotatoHarvest #BackyardGardening #SustainableLiving #FreshFood