
Pine trees are among the most iconic and resilient trees, gracing landscapes with their evergreen beauty and contributing to a range of ecosystems. Growing pine trees from pine cones is not only a rewarding endeavor but also a fascinating way to connect with nature. This comprehensive guide will walk you through the process of growing pine trees from pine cones, from seed selection to long-term care.
Introduction
Pine trees are renowned for their beauty, durability, and ecological significance. Cultivating these trees from pine cones allows you to witness the complete life cycle of these majestic plants, providing a sense of accomplishment and a deeper connection to the environment. With careful attention to detail and patience, you can successfully grow pine trees from pine cones and enjoy their many benefits for years to come. Let’s dive into the step-by-step process of transforming pine cones into thriving pine trees.
1. Selecting Pine Cones
Choosing the Right Pine Cones:
- Quality Matters: To ensure successful germination, select pine cones that are firm, fully developed, and free from signs of disease or damage. Healthy pine cones will have tightly closed scales and a rich, brown color.
- Source Location: Collect pine cones from mature trees in late summer to early fall when the cones have fully developed. Avoid cones that have already started to open, as they may have already released their seeds.
Inspection and Preparation:
- Examine for Seeds: Once you have collected the pine cones, inspect them for seeds. Healthy cones will contain seeds that are firm and brownish in color.
2. Preparing Pine Cones
Drying Pine Cones:
- Drying Process: Place the pine cones in a warm, dry location for a few days to allow them to open up naturally and release their seeds. A sunny windowsill or a dry, well-ventilated area works well.
- Seed Collection: Once the cones have opened, shake them gently to release the seeds. Collect the seeds and discard any remaining debris, such as cone scales and other plant material.
Seed Preparation:
- Cleaning Seeds: Clean the seeds by removing any remaining cone debris. Ensure the seeds are dry before proceeding to the next step.
3. Treating Seeds
Stratification:
- Soaking: Soak the pine seeds in water for 24-48 hours to help break down the seed coat and promote germination. This process helps soften the hard outer shell of the seeds.
- Cold Stratification: After soaking, store the seeds in a moist medium, such as sand or peat moss, and place them in the refrigerator for 4-6 weeks. This cold treatment mimics natural winter conditions and helps improve germination rates.
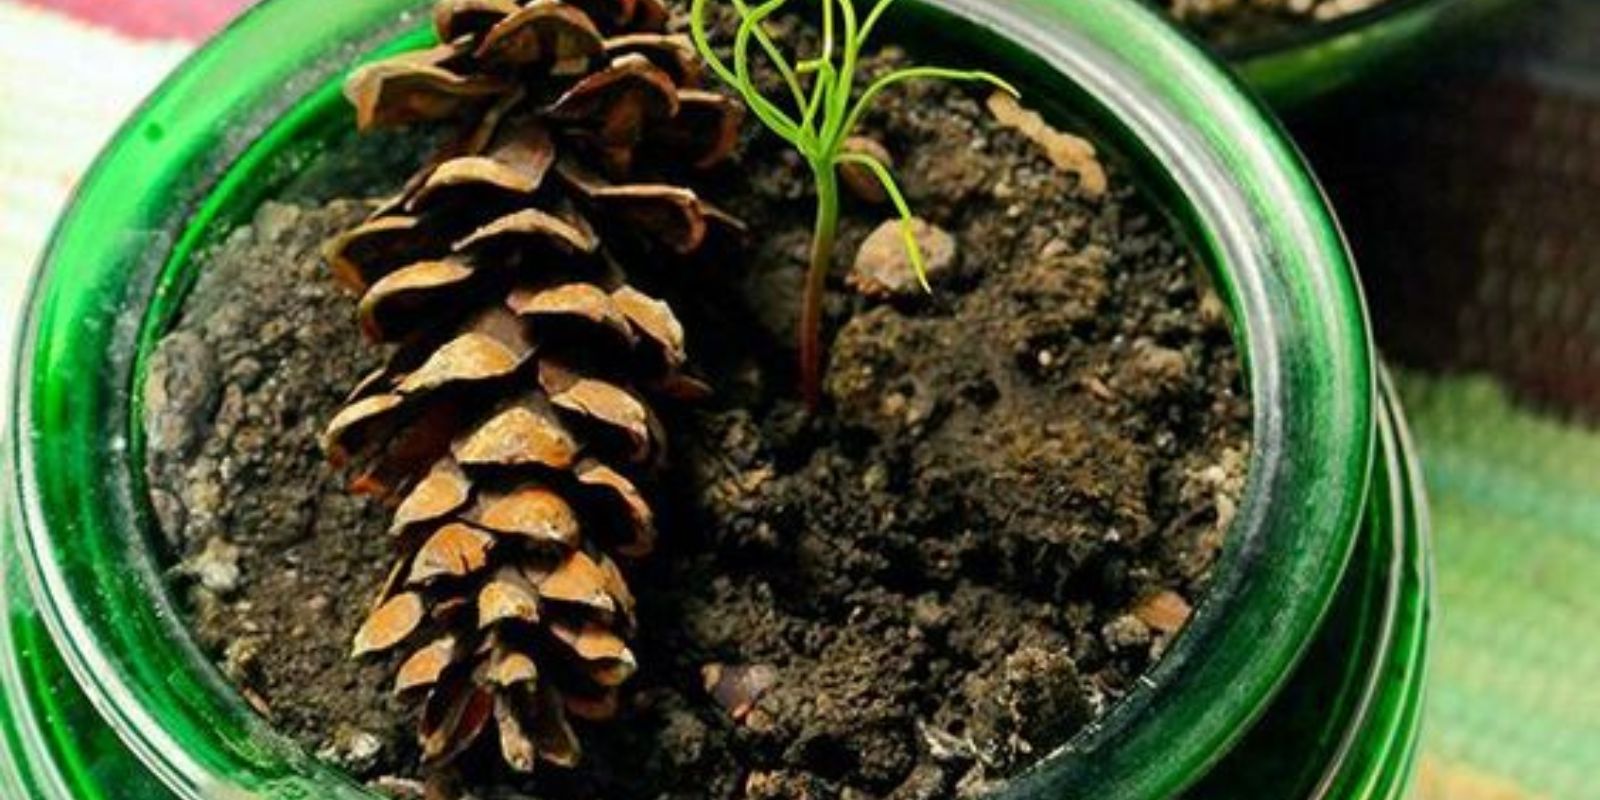
4. Planting Seeds
Potting Mix:
- Choosing Soil: Use a well-draining potting mix specifically designed for seedlings or create your own by combining equal parts peat, perlite, and sand. Good drainage is crucial for preventing root rot.
- Pot Selection: Choose small pots or seed trays with drainage holes to prevent water accumulation. Pots with a diameter of 2-4 inches are ideal for starting pine seeds.
Planting Procedure:
- Sowing Seeds: Plant the seeds 1/4 to 1/2 inch deep in the prepared potting mix. Space the seeds apart to prevent overcrowding. Cover the seeds lightly with soil.
- Watering: Water the seeds gently to moisten the soil. Ensure that the soil remains consistently moist but not waterlogged. Overwatering can lead to mold growth and seed rot.
5. Providing Conditions
Light Requirements:
- Sunlight: Place the pots in a location that receives bright, indirect sunlight. Pine seeds require light to germinate, but direct sunlight can be too intense for young seedlings.
- Grow Lights: For indoor cultivation, consider using grow lights to supplement natural light, especially if natural light is insufficient.
Temperature and Moisture:
- Temperature: Maintain a consistent temperature of 65-75°F (18-24°C) for optimal germination. Avoid placing the pots in drafty areas or near heat sources.
- Moisture: Keep the soil consistently moist throughout the germination period. Avoid letting the soil dry out completely, as this can hinder seedling development.
6. Transplanting Seedlings
When to Transplant:
- True Leaves: Once the seedlings have developed true leaves (the second set of leaves that appear after the initial cotyledons), they are ready for transplantation.
- Pot Size: Transplant seedlings into larger pots or directly into the garden, depending on your growing conditions. Ensure the new pots or garden beds have well-draining soil.
Transplanting Procedure:
- Choosing Location: Select a sunny, well-draining location for outdoor planting. Pine trees thrive in full sun and prefer soil that drains well.
- Transplanting: Gently remove the seedlings from their pots, taking care not to damage the roots. Plant the seedlings at the same depth they were growing in their pots. Water thoroughly after planting.
7. Care and Maintenance
Watering and Fertilizing:
- Regular Watering: Water seedlings regularly, ensuring that the soil remains consistently moist. Avoid waterlogging by allowing excess water to drain away.
- Fertilizing: Once the seedlings are established, fertilize them with a balanced, slow-release fertilizer. Follow the manufacturer’s instructions for application rates and frequency.
Pest and Disease Management:
- Monitoring: Regularly inspect seedlings for signs of pests or diseases. Common issues include aphids, scale insects, and fungal infections.
- Protection: Address pest infestations promptly with appropriate treatments, such as insecticidal soap or neem oil. Ensure good air circulation around the plants to reduce the risk of fungal diseases.
8. Long-Term Care
Ongoing Maintenance:
- Watering Schedule: Continue to water pine trees regularly, adjusting the frequency based on weather conditions and soil moisture levels.
- Nutrient Monitoring: Monitor the trees for signs of nutrient deficiencies, such as yellowing or stunted growth. Adjust fertilization as needed to provide essential nutrients.
Pruning and Shaping:
- Pruning: Prune pine trees to maintain their shape and remove any dead or damaged branches. Avoid heavy pruning, as pine trees naturally have a more open, irregular shape.
- Growth Management: For young trees, avoid excessive pruning or shaping. Allow the trees to develop their natural form and strength.
Enjoying Your Pine Trees:
- Longevity: With proper care, your pine trees will grow into strong, healthy specimens that can thrive for many years. Enjoy the beauty and benefits they bring to your landscape or indoor space.
Conclusion
Growing pine trees from pine cones is a fulfilling and educational experience that allows you to witness the entire life cycle of these remarkable trees. By following the steps outlined in this guide, you can successfully cultivate pine trees and enjoy their evergreen beauty and ecological benefits. From selecting and preparing pine cones to providing ongoing care and maintenance, each stage of the process contributes to the overall health and success of your pine trees. Embrace the challenge, and watch as your pine trees grow and flourish, providing beauty and value for generations to come.