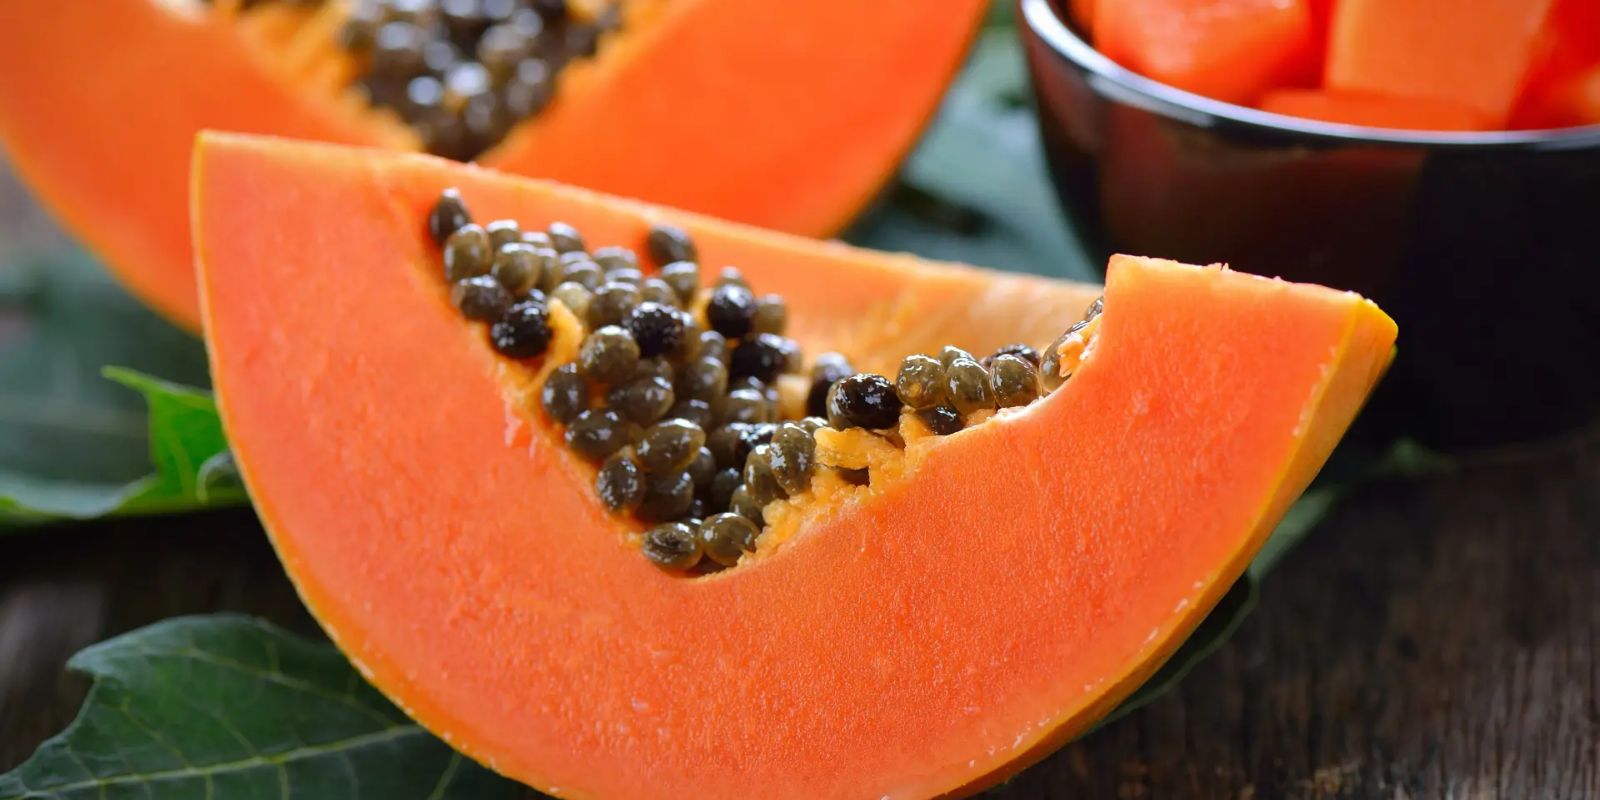
Papaya, with its sweet, tropical flavor and myriad health benefits, is a favorite fruit worldwide. While it’s often associated with sprawling gardens in warm climates, the good news is that you can grow papaya in pots right at home, even with limited space. This guide will walk you through the process of cultivating papaya in containers, making it easier than ever to enjoy fresh, homegrown fruit.
Why Grow Papaya in Pots?
Growing papaya in pots offers several advantages:
- Space Efficiency: Perfect for urban dwellers or those with small gardens.
- Mobility: Pots can be moved to capture optimal sunlight or shield the plant from harsh weather.
- Pest Control: Easier to manage pests and diseases compared to ground planting.
- Versatility: Suitable for balconies, terraces, or patios.
With the right approach, container-grown papayas can thrive and produce fruit just as abundantly as their garden-grown counterparts.
Step-by-Step Guide to Growing Papaya in Pots
Step 1: Choose the Right Pot
Papaya plants grow quickly and can become quite tall, even in containers. Select a large pot, preferably 20-30 gallons, with drainage holes to prevent waterlogging. A deep, sturdy container ensures enough room for root development and stability for the plant.
Step 2: Select a Suitable Variety
Dwarf papaya varieties, such as Carica papaya ‘Red Lady’ or Carica papaya ‘Solo’, are ideal for container gardening. These varieties are compact, fast-growing, and produce fruit early.
Step 3: Prepare the Soil
Papayas thrive in well-draining soil. Use a high-quality potting mix enriched with compost or organic matter. A mix with sand or perlite ensures proper aeration and prevents water retention, which could lead to root rot.
Step 4: Plant the Seeds
- Extract seeds from a ripe papaya and wash them to remove the gelatinous coating.
- Allow the seeds to dry for a day.
- Sow seeds about 1/2 inch deep in the prepared potting mix. Plant 3-4 seeds in one pot to increase the chances of germination. Once seedlings are 6-8 inches tall, thin them out, leaving the healthiest plant.
Step 5: Provide Plenty of Sunlight
Papaya plants are sun-loving and require at least 6-8 hours of direct sunlight daily. Place the pot in a bright location, such as a sunny balcony, terrace, or garden spot.
Step 6: Water Consistently
Keep the soil consistently moist but not waterlogged. Overwatering can lead to root rot, while underwatering may stunt growth. Adjust watering frequency based on the weather—more frequent during hot, dry periods and less in cooler months.
Step 7: Fertilize Regularly
Feed your papaya plant every 2-3 weeks with a balanced, organic fertilizer. Look for a fertilizer rich in nitrogen, potassium, and phosphorus to promote healthy growth and fruit development. Incorporate occasional foliar feeding with a liquid seaweed solution for added nutrients.
Step 8: Support Growth
As the papaya plant grows taller, it may become top-heavy. Use a sturdy stake to support the trunk and prevent it from tipping over, especially during windy conditions.
Step 9: Pollination
Papaya plants may require pollination to produce fruit. Some varieties are self-pollinating, while others need external help. If you notice flowers but no fruit, hand-pollinate using a small brush to transfer pollen between flowers. This is especially helpful if natural pollinators like bees are scarce.
Step 10: Harvesting Papayas
Papaya plants typically start producing fruit within 6-12 months, depending on the variety. Harvest ripe papayas when their skin turns yellow-green and the fruit feels slightly soft. Twist or cut the fruit gently to avoid damaging the plant.
Tips for Successful Papaya Cultivation in Pots
- Temperature Matters: Papayas thrive in warm climates, with ideal temperatures ranging from 70°F to 90°F (21°C to 32°C). Protect the plant from frost and extreme cold by moving the pot indoors or covering it with a cloth.
- Pest Management: Watch for pests like aphids, spider mites, and whiteflies. Use organic insecticides or neem oil to keep them at bay.
- Pruning: Regularly remove yellowing leaves and damaged branches to encourage healthy growth and airflow.
- Repotting: If the plant outgrows its pot, transplant it into a larger container or refresh the soil to provide more nutrients.
- Companion Planting: Pair papaya with herbs or flowers that deter pests, such as marigolds or basil, to create a healthy growing environment.
Benefits of Growing Papaya at Home
- Fresh and Nutritious: Homegrown papayas are free from harmful chemicals and pesticides.
- Health Benefits: Packed with vitamins A, C, and E, as well as antioxidants, papayas boost immunity, aid digestion, and promote skin health.
- Sustainability: Growing your own fruit reduces the environmental impact of transport and packaging.
Troubleshooting Common Issues
Problem: Leaves turning yellow.
Cause: Overwatering or nutrient deficiency.
Solution: Adjust watering frequency and add a balanced fertilizer.
Problem: No fruit production.
Cause: Lack of pollination or insufficient sunlight.
Solution: Hand-pollinate flowers and move the pot to a sunnier spot.
Problem: Slow growth.
Cause: Poor soil quality or inadequate nutrients.
Solution: Refresh the soil and increase fertilizer application.
The Joy of Growing Papaya at Home
Growing papaya in pots is a rewarding and enjoyable gardening experience. It’s a testament to how even limited space can yield abundant rewards with a bit of care and patience. Whether you’re a seasoned gardener or a beginner, this method allows you to enjoy the taste of the tropics right at home.
💬 Have you tried growing papaya in pots? Share your tips and experiences in the comments below! Let’s inspire each other to create thriving home gardens.
Hashtags to Share Your Gardening Success
#GrowPapaya #ContainerGardening #UrbanGardening #HomegrownFruit #TropicalFruits #GardeningTips #SustainableLiving #EdibleGarden #GardenLovers

