
Papaya, often referred to as the “fruit of angels,” is a tropical delight that offers a taste of paradise in every bite. While papaya trees are traditionally grown in open fields, you can successfully cultivate them in pots right at home. With proper care, even limited space can yield a bountiful harvest of this nutritious fruit. Let’s dive into the step-by-step process of growing papayas in pots and learn the secrets to an abundant harvest.
Why Grow Papayas at Home?
Papayas are not only delicious but are also packed with vitamins A, C, and E, as well as enzymes like papain, which aid in digestion. Growing them at home ensures a fresh, chemical-free supply. Additionally, potted papaya plants can beautify your space with their lush, tropical foliage.
Step 1: Choose the Right Papaya Variety
Selecting the right variety is key to successful container gardening. Dwarf papaya varieties such as Red Lady, Solo, or Tainung 1 are ideal for growing in pots. These varieties are compact yet highly productive, making them perfect for small spaces.
Step 2: Selecting the Pot
Papaya plants have deep root systems, so choosing the correct pot size is crucial. A pot with a capacity of 20–25 gallons (approximately 75–100 liters) is recommended. Ensure the pot has adequate drainage holes at the bottom to prevent waterlogging, as papayas are sensitive to excess moisture.
Step 3: Preparing the Soil
Papayas thrive in well-draining, nutrient-rich soil. Create a balanced mix using the following:
- 50% garden soil
- 30% organic compost or well-rotted manure
- 20% sand or perlite for improved drainage
To further enrich the soil, you can add a handful of bone meal or neem cake for additional nutrients and pest control.
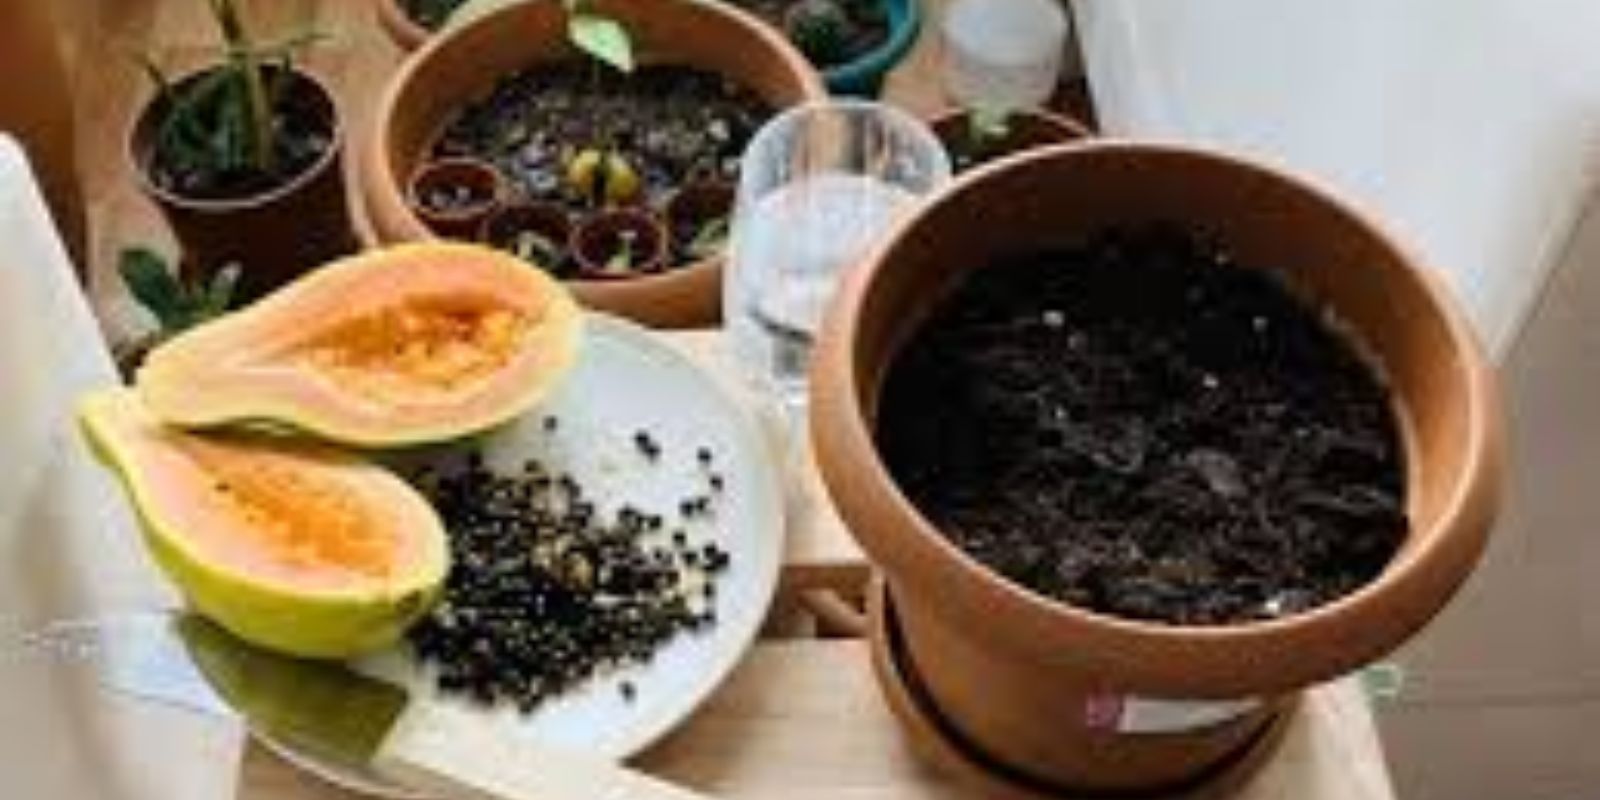
Step 4: Planting the Seeds
- Extracting Seeds:
Scoop out seeds from a ripe papaya. Rinse them thoroughly to remove the gel-like coating, which can inhibit germination. - Soaking the Seeds:
Soak the cleaned seeds in lukewarm water overnight. This helps soften the seed coat, enhancing germination rates. - Sowing the Seeds:
Fill the pot with your prepared soil mix. Plant 3–4 seeds in the center, about 1 inch deep, and cover them lightly with soil.
Step 5: Sunlight and Location
Papayas are sun-loving plants that require at least 6–8 hours of direct sunlight daily. Place your pot in a sunny spot, such as a balcony, terrace, or south-facing window. Ensure the location is sheltered from strong winds, as the plant’s soft trunk can be easily damaged.
Step 6: Watering
Consistent moisture is vital for papayas, but overwatering can be detrimental. Water the plant when the top inch of soil feels dry. Deep watering is recommended, ensuring the roots receive sufficient moisture. During hot months, you may need to water more frequently.
Step 7: Fertilizing
Papayas are heavy feeders and benefit from regular fertilization. Use an organic fertilizer rich in nitrogen, potassium, and phosphorus every two to three weeks. You can also add compost or diluted fish emulsion for additional nutrients. Avoid over-fertilizing, as excessive nitrogen can result in lush foliage at the expense of fruiting.
Step 8: Thinning the Seedlings
Once the seedlings sprout and grow to a height of 6–8 inches, thin them by removing the weaker ones. Retain the healthiest and strongest seedling in the pot. This ensures the plant has adequate space and nutrients to grow.
Step 9: Supporting the Plant
As the papaya plant grows, it develops a soft, slender trunk that may need support. Use a wooden or bamboo stake to provide stability, especially if you live in a windy area. Tie the plant gently to the stake with a soft cloth or twine to avoid damaging the stem.
Step 10: Pollination
Papayas can be male, female, or hermaphrodite. Female plants require pollination to bear fruit, while hermaphrodite plants are self-pollinating. If your plant doesn’t produce fruit naturally, hand-pollination can help. Use a soft paintbrush to transfer pollen from male flowers to female flowers.
Step 11: Pest and Disease Management
Keep an eye out for common pests such as aphids, spider mites, or whiteflies. Use organic solutions like neem oil, insecticidal soap, or homemade sprays made from garlic and chili to deter these pests. Regularly inspect the plant for signs of fungal infections or root rot, which can occur in overly damp conditions.
Step 12: Harvesting
Papayas typically take 6–9 months to produce fruit, depending on the variety and growing conditions. The fruit is ready for harvest when its skin turns yellow-orange. Gently twist the fruit or use a sharp knife to remove it from the plant. Enjoy the sweet, tropical flavor of your homegrown papayas!
Pro Tips for a Thriving Papaya Plant
- Temperature Matters: Papayas thrive in temperatures between 70°F and 90°F (21°C–32°C). Protect the plant from frost during winter by moving the pot indoors or covering it with a frost cloth.
- Mulching: Add a layer of organic mulch around the base of the plant to retain soil moisture, regulate temperature, and suppress weeds.
- Pruning: Remove yellowing or damaged leaves regularly to keep the plant healthy and prevent the spread of diseases.
The Benefits of Growing Papayas at Home
Growing papayas in pots not only provides a continuous supply of fresh fruit but also helps in creating a sustainable, eco-friendly lifestyle. Homegrown papayas are free from harmful pesticides and are packed with flavor and nutrition.
Conclusion
Growing papayas at home in pots is an incredibly rewarding experience that transforms your space into a tropical oasis. With the right care, you can enjoy a bountiful harvest of sweet, juicy papayas, even in cooler climates or small spaces.
💡 “Ready to embark on your papaya-growing journey? Share your progress and tips with us in the comments below!”
🌴 #GrowPapayas #TropicalGardening #ContainerGardening #HomegrownFruits #SustainableLiving 🌴