
Thuja, commonly known as arborvitae, is a versatile evergreen prized for its elegant appearance and resilience. These trees are often used in landscaping as hedges, privacy screens, and windbreaks, making them an excellent choice for gardeners and landscapers alike. While purchasing mature Thuja plants can be expensive, propagating new plants from cuttings is an affordable and rewarding alternative. One exciting twist? Using aloe vera gel as a natural rooting hormone.
Aloe vera is well-known for its soothing and healing properties, but it’s also packed with natural compounds that stimulate root growth in plant cuttings. Using aloe vera as a natural alternative to synthetic rooting hormones can not only reduce costs but also promote healthier, more sustainable gardening practices. In this guide, we’ll take you through each step of propagating Thuja cuttings with aloe vera gel, including tips to ensure successful root development and transplantation.
Why Choose Thuja and the Benefits of Propagation
Thuja is a low-maintenance, hardy plant that stays green year-round, adding texture and color to your garden even in the winter months. This plant thrives in diverse soil types and can tolerate a range of climates, making it suitable for a variety of landscaping needs. Propagating Thuja from cuttings is not only economical but also a sustainable way to increase your garden’s greenery. Growing new plants from cuttings can give you a personal connection to each tree and is a rewarding project for both beginners and experienced gardeners.
Using aloe vera as a natural rooting agent adds another layer of benefits. It’s packed with vitamins, enzymes, and antioxidants, all of which help cuttings establish roots faster and fend off harmful pathogens. By embracing this natural approach, you’re helping to create a greener, healthier garden without the need for artificial chemicals.
Materials You Will Need
Before you start, gather the following materials:
- Healthy Thuja branch cuttings (4-6 inches long)
- Fresh aloe vera leaves or store-bought organic aloe vera gel
- Sharp, clean pruning shears
- Small planting pots
- Well-draining potting mix
- Clear plastic bags or a propagation tray with a humidity dome
Step-by-Step Guide to Growing New Thuja Plants from Cuttings
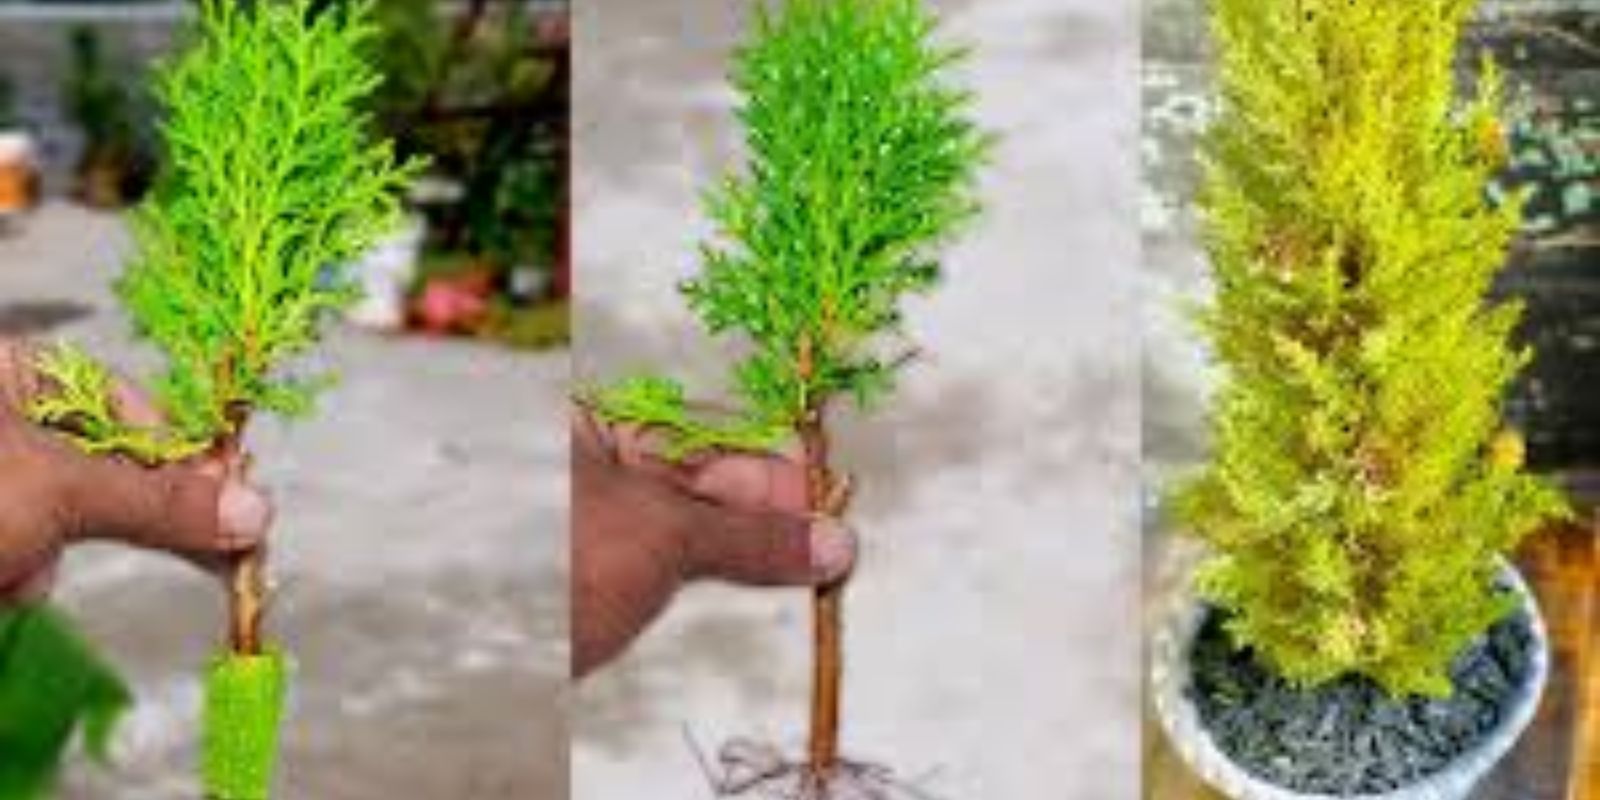
Step 1: Select and Prepare Healthy Cuttings
- Choose the Right Branches: Select healthy branches from an established Thuja plant. Ideally, look for semi-hardwood cuttings, which are branches that are not too young or too mature. Semi-hardwood cuttings have the best chance of rooting and developing into healthy plants.
- Cut the Branches: Use sharp, sanitized pruning shears to cut 4-6 inch sections from the ends of the branches. Make each cut just below a node (the point where leaves emerge), as this area has high levels of rooting hormones.
- Remove Lower Leaves: Strip away the leaves from the lower half of each cutting, which will be inserted into the soil. Removing excess leaves helps the cutting focus energy on root development rather than supporting extra foliage.
Step 2: Prepare the Aloe Vera Rooting Gel
- Harvest Fresh Aloe Vera: If you have an aloe vera plant, cut a thick, mature leaf close to the base. Slice it open and scoop out the gel. You’ll only need a small amount to coat your cuttings.
- Prepare the Gel: Place the aloe vera gel in a clean container. You can use a spoon to stir it into a smooth consistency if needed. If using store-bought organic aloe vera gel, check that it’s free from added chemicals.
- Coat the Cuttings: Dip the base of each Thuja cutting into the aloe vera gel, ensuring the cut end is well-coated. Aloe vera contains natural compounds that stimulate root growth, providing a healthy start for your cuttings.
Step 3: Planting the Cuttings
- Prepare the Potting Mix: Fill small planting pots with a well-draining potting mix. You can create an ideal mixture by combining equal parts peat moss, perlite, and sand. This mix provides the right balance of moisture retention and aeration.
- Insert the Cuttings: Make a small hole in the potting mix with your finger or a stick, then gently insert each cutting, ensuring that the aloe-coated end is buried about 1-2 inches deep. Press the soil lightly around the base to secure each cutting.
- Spacing: If planting multiple cuttings in one pot, space them at least 1 inch apart to allow room for root development.
Step 4: Creating a Humid Environment
Humidity is essential for successful root development, as it prevents the cuttings from drying out.
- Cover the Pot: Place a clear plastic bag over each pot to create a mini greenhouse effect. This traps moisture and warmth around the cuttings. Alternatively, if you’re using a propagation tray, cover it with a humidity dome.
- Avoid Direct Sunlight: Place the covered pots in a warm, bright location with indirect sunlight. Direct sunlight can overheat the cuttings and cause them to wilt, so aim for moderate light exposure.
- Monitor Humidity Levels: If the inside of the plastic bag becomes too steamy, occasionally open it to allow fresh air in. This prevents mold from developing on the soil or cuttings.
Step 5: Watering and Maintaining the Cuttings
Thuja cuttings need a moist environment to root, but overwatering can lead to rot. Here’s how to keep them properly hydrated:
- Check the Soil Moisture: Every few days, check the moisture level in the potting mix. If the top inch feels dry, lightly mist the soil with water to rehydrate it.
- Misting the Cuttings: Mist the leaves occasionally to maintain humidity, especially if you notice them drying out. This helps keep the foliage healthy as the cutting establishes roots.
Step 6: Transplanting Rooted Cuttings
After 4 to 8 weeks, your Thuja cuttings should begin developing roots. To check, gently tug on a cutting. If you feel resistance, it indicates that roots have formed.
- Remove the Cuttings from the Pot: Once your cuttings have well-established roots, carefully remove them from the pot.
- Transplant to a Larger Pot: Place each rooted cutting into a larger pot with well-draining soil, or plant them directly in the garden if outdoor conditions are suitable.
- Gradual Sunlight Exposure: If transplanting outdoors, gradually expose the young plants to direct sunlight to prevent shock. Start by placing them in a shaded area and slowly move them into full sun over a few days.
Step 7: Caring for Your New Thuja Plants
- Watering: Newly transplanted Thujas need regular watering to help them establish in their new location. Keep the soil moist but avoid waterlogging.
- Mulching: Add a layer of mulch around the base of each plant to retain moisture, regulate soil temperature, and prevent weed growth.
- Fertilizing: After a few months, feed your young Thujas with a balanced, slow-release fertilizer to support growth. Avoid over-fertilizing, as this can burn the roots.
Benefits of Using Aloe Vera for Plant Propagation
Using aloe vera gel offers several advantages for propagating Thuja and other plants:
- Natural Growth Stimulant: Aloe contains auxins, which promote root formation in cuttings.
- Antibacterial and Antifungal Properties: Aloe’s natural compounds help protect cuttings from common pathogens that can cause rot and disease.
- Eco-Friendly Alternative: Unlike synthetic rooting hormones, aloe vera gel is a renewable, chemical-free option that’s safe for you and the environment.
Final Thoughts
Growing new Thuja plants from cuttings is an eco-friendly, budget-friendly way to expand your garden and enjoy the beauty of these evergreens year-round. By using aloe vera gel as a natural rooting agent, you’re supporting a healthy start for your cuttings while also promoting sustainable gardening practices.
Whether you’re a beginner or an experienced gardener, this propagation method allows you to grow new plants with minimal effort and maximum reward. Give it a try, and watch your Thuja cuttings flourish into vibrant, full-grown plants!