
Moss has a unique charm that can transform ordinary garden elements into lush, verdant accents. Whether you want to add a touch of green to your garden pots or give landscape rocks an enchanting makeover, growing live moss is a fantastic way to enhance your outdoor space. This article will guide you through the steps to successfully grow live moss on pots and landscape rocks, providing you with tips and techniques to achieve a beautiful, moss-covered garden.
Why Grow Live Moss?
Moss is more than just a decorative plant; it offers several benefits for garden enthusiasts:
- Aesthetic Appeal: Moss creates a natural, woodland look that can enhance the beauty of garden features.
- Low Maintenance: Once established, moss requires minimal care compared to other plants.
- Eco-Friendly: Moss helps to prevent soil erosion and supports local wildlife by providing habitat.
Choosing the Right Moss
Selecting the right type of moss is crucial for successful growth. Here are some popular moss varieties to consider:
- Sheet Moss (Hypnum): Ideal for covering large surfaces, including rocks and pots. It has a dense, carpet-like appearance.
- Rock Cap Moss (Dicranum): Perfect for rocky surfaces, with a rugged, tufted growth habit.
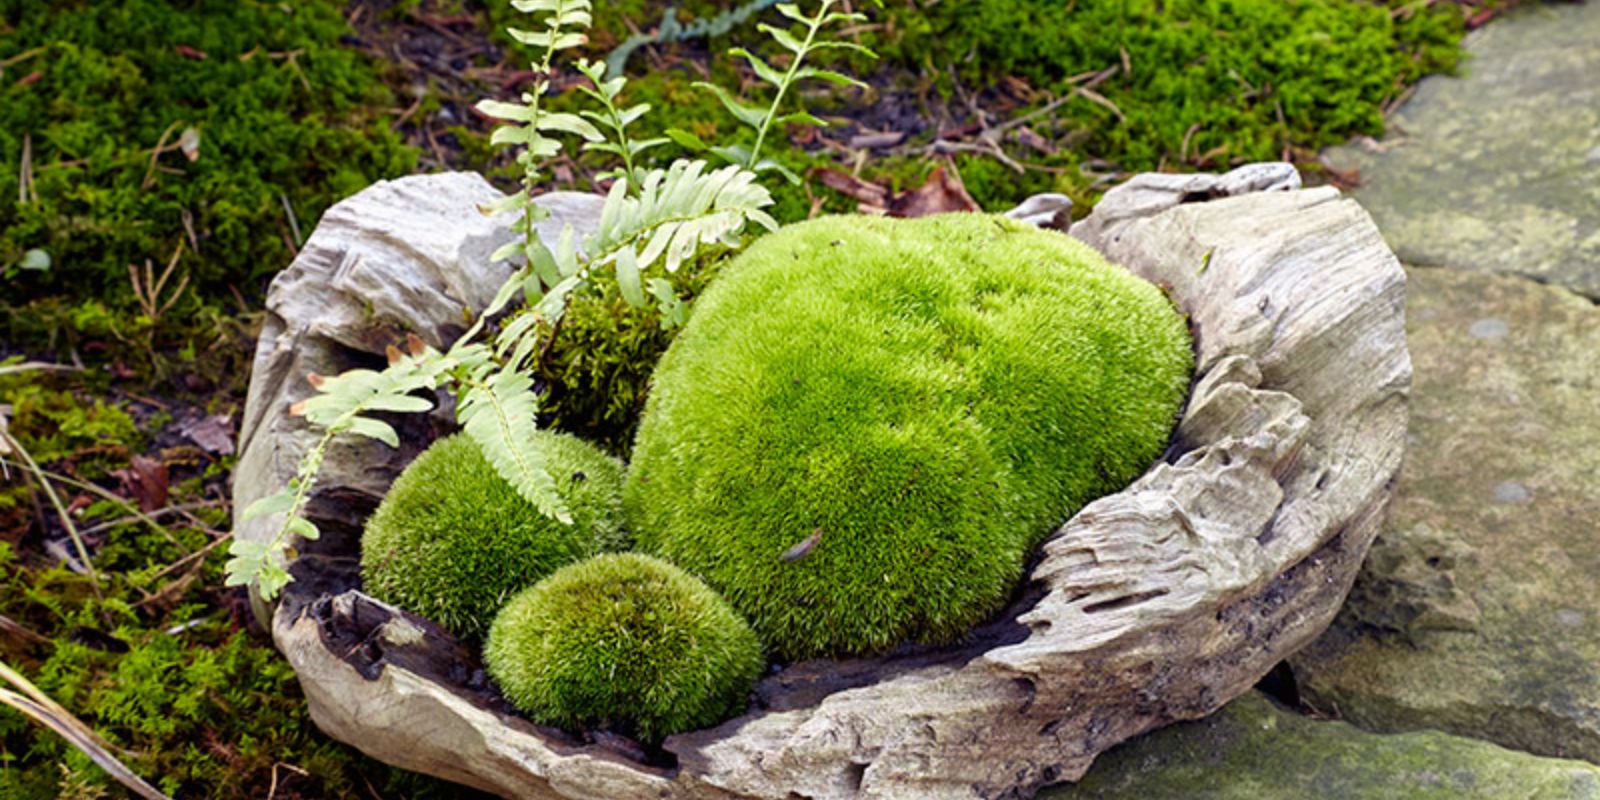
- Cushion Moss (Polytrichum): Known for its rounded, cushion-like clumps, it’s great for pots and small garden features.
Consider your climate and the specific growing conditions of your garden when choosing moss. Moss thrives in shaded, moist environments, so ensure the chosen variety suits your local conditions.
Preparing the Surface
Before applying moss, proper surface preparation is essential. Follow these steps:
- Clean the Surface: Remove any dirt, debris, or old paint from the pots or rocks. Use a stiff brush or power washer if needed to ensure the surface is clean.
- Roughen the Surface: Moss adheres better to slightly rough surfaces. Use sandpaper or a wire brush to create texture on smooth pots or rocks.
- Ensure Moisture: Moss needs a moist environment to establish. Make sure the surface is damp before applying the moss.
Creating a Moss Slurry
A moss slurry is a mixture that helps moss adhere to surfaces and encourages growth. Here’s how to make it:
- Collect Moss: Gather moss from your garden or purchase it from a nursery. If collecting from the wild, be sure to do so responsibly and legally.
- Blend the Moss: In a blender, combine the moss with buttermilk or yogurt. Use a ratio of about 1 part moss to 2 parts buttermilk or yogurt. Add a small amount of water if needed to achieve a thick, paint-like consistency.
- Strain the Mixture: If your blender leaves large chunks, strain the mixture through a sieve to ensure a smooth slurry.
Applying the Moss Slurry
Once you have your moss slurry ready, follow these steps for application:
- Apply the Slurry: Use a brush or sponge to apply the moss mixture evenly onto the prepared surface. Cover the entire area where you want the moss to grow.
- Press Firmly: Gently press the moss slurry onto the surface to ensure good contact. This helps the moss adhere and start establishing itself.
- Water the Surface: After applying the slurry, water the area thoroughly. Keep the surface consistently moist to encourage moss growth.
Caring for Your Moss
Proper care is essential for the successful growth of your moss. Follow these tips to keep your moss healthy:
- Maintain Moisture: Moss requires a consistently moist environment. Water regularly, especially during dry periods. Avoid letting the moss dry out completely.
- Provide Shade: Moss thrives in shaded or partially shaded areas. If your pots or rocks are in direct sunlight, consider creating shade using plants or shade cloth.
- Avoid Disturbance: Once established, moss is delicate. Avoid stepping on or disturbing the moss-covered surfaces to prevent damage.
Troubleshooting Common Issues
Even with proper care, you might encounter some challenges when growing moss. Here are solutions to common issues:
- Moss Not Growing: If the moss isn’t establishing, check if the surface remains consistently moist. Ensure the moss is suitable for the growing conditions and adjust the environment if necessary.
- Moss Turning Brown: Brown moss can indicate insufficient moisture or too much direct sunlight. Increase watering and provide shade to restore its health.
- Weeds or Algae: Weeds or algae can compete with moss for nutrients. Remove them manually and ensure the moss has adequate space to grow.
Creative Applications for Moss
Moss can be used in various creative ways to enhance your garden:
- Moss Pots: Create stunning moss-covered pots for a unique garden display. Combine different moss varieties for added texture and interest.
- Moss Rocks: Use moss to cover landscape rocks, giving them a natural, woodland look.
- Moss Pathways: Incorporate moss into garden pathways for a soft, green walking surface.
Conclusion
Growing live moss on pots and landscape rocks is a rewarding way to add natural beauty to your garden. By following these steps—choosing the right moss, preparing the surface, creating a moss slurry, applying it correctly, and providing proper care—you can achieve a lush, mossy effect that enhances your outdoor space.
Embrace the charm of moss and transform your garden with this delightful plant. Share your mossy creations and get inspired by others in the gardening community. Don’t forget to use hashtags like #MossMagic #GardenTransformation #GreenThumb #OutdoorDecor #NatureLovers to showcase your moss-covered garden and connect with fellow gardening enthusiasts. Happy gardening!