
Introduction
Kale has surged in popularity due to its impressive nutritional profile and versatility in the kitchen. Known for its rich, earthy flavor and dense nutrient content, kale is a fantastic green to grow in your home garden. Whether you’re a seasoned gardener or a beginner, growing kale is relatively straightforward and highly rewarding. In this comprehensive guide, we’ll walk you through the steps to plant, care for, and harvest kale, as well as how to incorporate it into your meals for a healthy boost.
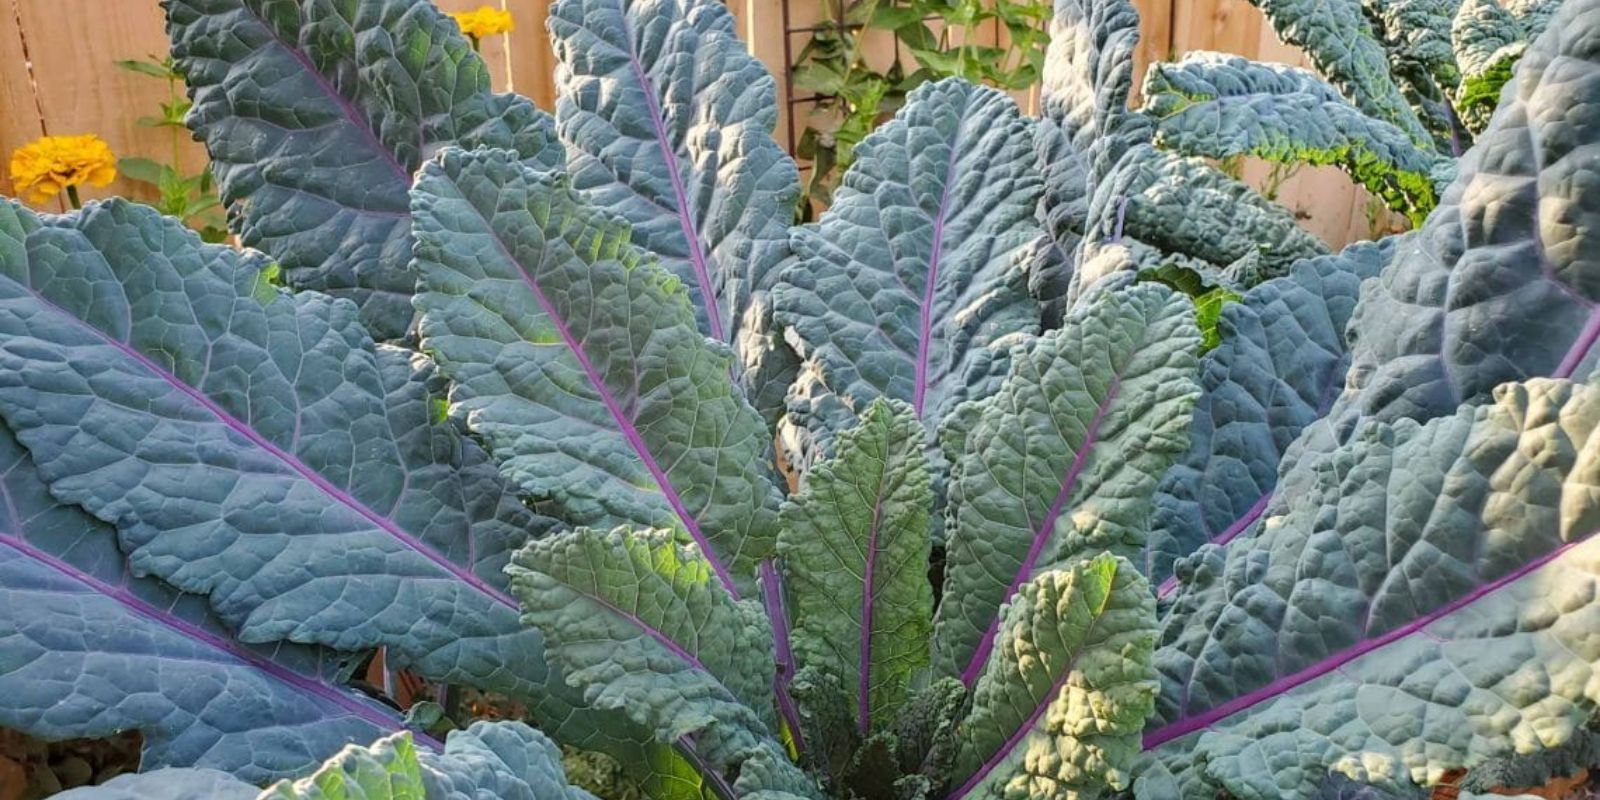
Choosing the Right Kale Variety
Before you start planting, it’s essential to choose the right kale variety for your garden. Kale comes in several types, each with unique characteristics:
- Curly Kale: Known for its frilly, textured leaves, this variety is popular in salads and as a garnish.
- Lacinato Kale: Also called dinosaur or Tuscan kale, it has dark, elongated leaves and a more delicate texture.
- Red Russian Kale: Features reddish stems and a mild flavor, perfect for salads and sautéing.
Select a variety based on your culinary preferences and the growing conditions in your area.
1. Preparing Your Planting Area
Selecting the Spot:
Kale thrives in full sun to partial shade. Choose a location that receives at least 4-6 hours of sunlight daily. In hotter climates, providing some afternoon shade can help prevent the leaves from becoming too tough or bitter.
Preparing the Soil:
Kale prefers well-drained, fertile soil with a pH between 6.0 and 7.5. Begin by clearing the planting area of weeds and debris. Amend the soil with compost or a balanced fertilizer to enrich it with nutrients. Kale is a heavy feeder and benefits from a nutrient-rich environment.
2. Planting Kale
Starting from Seeds:
- Direct Sowing: Sow kale seeds directly into the soil about 1/2 inch deep. Space the seeds about 1 inch apart. Once seedlings emerge, thin them to 12 inches apart to ensure ample room for growth.
- Timing: For spring planting, sow seeds 4-6 weeks before the last expected frost. For a fall harvest, plant seeds in mid to late summer.
Starting from Seedlings:
- Transplanting: If starting with seedlings, space them about 12 inches apart. Transplant them into the garden once they have at least two true leaves and the soil temperature is consistently above 50°F (10°C).
3. Caring for Kale Plants
Watering:
Keep the soil consistently moist but not waterlogged. Kale requires regular watering to establish strong roots and promote healthy leaf growth. Water at the base of the plant to avoid wetting the leaves, which can lead to fungal issues.
Fertilizing:
Kale benefits from regular feeding throughout its growing season. Use a balanced fertilizer or compost to provide essential nutrients. Apply fertilizer every 4-6 weeks or as needed based on the soil’s nutrient levels.
Pest and Disease Management:
Kale is susceptible to pests like aphids, cabbage worms, and slugs. Regularly inspect your plants and use organic pest control methods such as insecticidal soap or neem oil. To prevent disease, ensure proper spacing for air circulation and avoid overhead watering.
4. Harvesting Kale
When to Harvest:
Kale leaves are ready to harvest about 6-8 weeks after planting, depending on the variety and growing conditions. Start harvesting when the leaves are young and tender, as older leaves can become tough and bitter.
How to Harvest:
- Cutting Leaves: Use clean scissors or pruners to cut outer leaves from the base of the plant. Leave the inner leaves and growing tips to continue producing.
- Continuous Harvesting: Kale is a cut-and-come-again crop, meaning you can harvest individual leaves continuously throughout the growing season.
5. Using Kale in the Kitchen
Raw Kale:
- Salads: Kale makes a hearty addition to salads. For a tender texture, massage the leaves with a little olive oil and salt before adding other ingredients.
- Smoothies: Blend kale into smoothies for a nutritious boost. Combine it with fruits, yogurt, or almond milk for a delicious, green drink.
Cooked Kale:
- Sautéed Kale: Sauté kale with garlic and olive oil for a quick and flavorful side dish. Add a splash of lemon juice or vinegar to brighten the flavor.
- Soups and Stews: Kale is a great addition to soups and stews. It holds up well during cooking and adds a nutritious component to your meals.
- Baked Kale Chips: For a crunchy snack, make kale chips by tossing the leaves with olive oil and seasoning, then baking them until crispy.
6. Extending the Growing Season
Winter Gardening:
Kale is a cold-hardy vegetable and can survive frost and even snow. In colder climates, consider using row covers or cold frames to protect your plants and extend the growing season.
Fall Planting:
If you’re planting in the fall, choose a variety suited for colder temperatures and ensure it has time to mature before the first hard frost.
Conclusion
Growing kale is a rewarding and practical gardening endeavor that offers numerous benefits. With its adaptability, nutritional value, and culinary versatility, kale is an excellent choice for any garden. By following these steps for planting, caring for, and harvesting kale, you can enjoy a continuous supply of fresh, homegrown greens. Embrace the satisfaction of growing your own kale and explore the many ways to incorporate it into your meals for a healthy and delicious boost.
Call to Action
Ready to start growing your own kale? Share your planting tips, ask questions, or post your kale recipes in the comments below. Let’s cultivate a thriving garden and enjoy the benefits of fresh, homegrown kale together! 🌿🥗