
Guava trees (Psidium guajava) are not only known for their delicious and nutritious fruit, but they’re also relatively easy to grow. While most people grow guavas from seeds or young saplings, did you know you can also propagate a guava tree using its leaves? This method of growing guavas from leaves, also known as stem cutting propagation, is a fascinating process that can result in a thriving tree for your garden or indoor space.
In this guide, we will take you through the detailed process of how to grow guava trees from guava leaves. Whether you’re looking to expand your guava orchard or simply want to try a new propagation technique, this step-by-step guide will help you succeed.
Why Grow Guava Trees from Leaves?
Before we dive into the process, you might wonder: why should you bother growing guava trees from leaves? Propagating guava trees from leaves has several benefits:
- Quick propagation: Growing from cuttings is faster than starting from seeds and can yield fruit sooner.
- Genetic consistency: Leaf cuttings produce genetically identical plants to the parent tree, which ensures consistent fruit quality.
- Compact growth: Growing a guava tree from cuttings can result in a more compact, manageable tree, perfect for home gardens or container gardening.
Now, let’s take a closer look at how you can start your own guava tree from leaves.
Step 1: Choose Healthy Guava Leaves
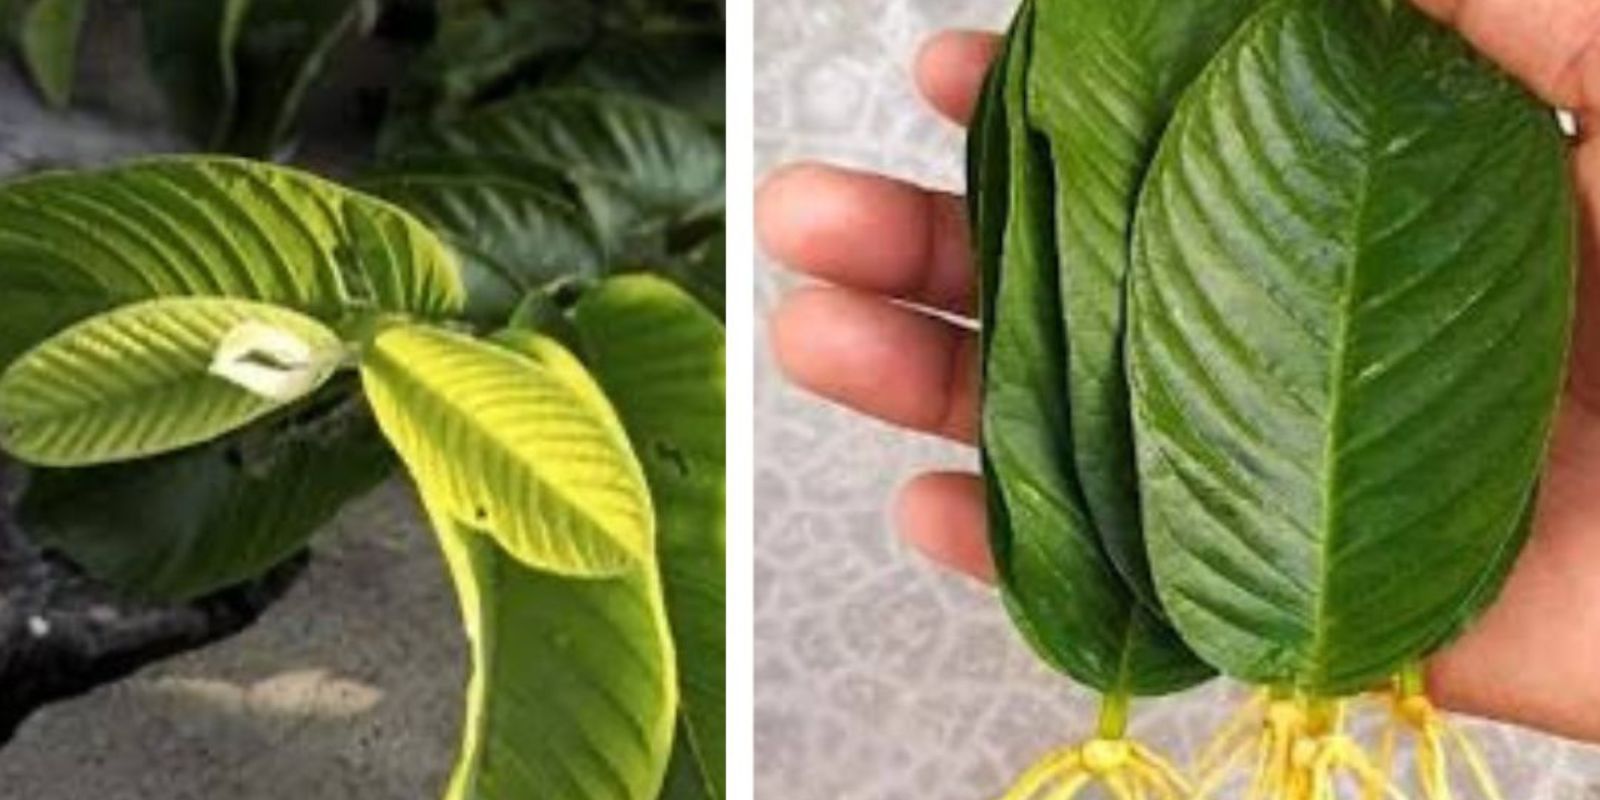
The first step in propagating guava trees from leaves is selecting healthy leaves from a mature guava tree. Healthy leaves will be green, glossy, and free of any diseases or damage. Avoid leaves that are yellowing, wilting, or have visible signs of pest infestation, as they may result in unsuccessful propagation.
Ideally, you should choose leaves from a guava tree that is at least one or two years old. These trees have more robust growth and will provide better material for propagation. You can choose leaves from the middle or upper part of the tree, as these tend to be the most healthy and mature.
Step 2: Prepare the Leaf Cuttings
Once you’ve selected your leaves, it’s time to prepare them for propagation. The key to success here is ensuring that you take cuttings that are suitable for rooting.
- Cut the Leaves: Use a sharp, sterilized knife or pair of scissors to cut the leaves. Aim for a cutting that is about 3 to 4 inches long. It’s important to cut the stem at a 45-degree angle, which increases the surface area for rooting.
- Remove Excess Leaves: Remove the lower half of the leaf stem to avoid overcrowding when planting the cuttings in the soil. This also prevents the cutting from losing too much moisture.
- Optional – Rooting Hormone: While not mandatory, dipping the cut end of the cutting in rooting hormone can help speed up the rooting process and improve your success rate. You can either buy a commercial rooting hormone or use natural alternatives such as honey or cinnamon powder.
Step 3: Prepare the Soil for Planting
The next step is preparing the right environment for the guava leaf cuttings to root. Guava cuttings thrive in well-draining soil that retains enough moisture to keep the cutting hydrated without being soggy.
- Choose a Pot: Select a small pot with drainage holes. This will prevent waterlogging, which can cause the cutting to rot before it roots.
- Prepare the Soil: A good soil mix for guava cuttings includes a combination of potting soil, perlite, and sand to improve drainage. You can also add compost to the mix to increase nutrients and ensure healthy growth.
- Moisture: Lightly moisten the soil before planting the cutting. Avoid making it too wet, as excessive moisture can lead to fungal infections or rot.
Step 4: Plant the Leaf Cuttings
Now that the cutting is ready and the soil is prepared, it’s time to plant the guava leaf cutting in the pot.
- Plant the Cutting: Place the cut end of the guava leaf into the soil at about 2 to 3 inches deep. You want the leaf to stay upright, so the stem is securely in contact with the soil.
- Create a Mini Greenhouse: To simulate a humid environment, which encourages rooting, create a mini greenhouse around the cutting. You can do this by covering the cutting with a plastic bag or plastic bottle. Just make sure there is enough space for airflow to prevent mold and mildew growth.
- Position the Pot: Place the pot in a warm, bright location with indirect sunlight. Guava cuttings prefer warmth and need around 70-85°F (21-29°C) for optimal root development. Avoid direct sunlight, as it may burn the tender cutting.
Step 5: Maintain the Right Conditions for Rooting
Once the guava leaf cutting is planted, the next step is ensuring that it receives the right conditions for rooting.
- Humidity: Guava cuttings need high humidity to thrive. Mist the cutting and the surrounding air lightly with water every few days to maintain moisture levels.
- Moisture: Keep the soil consistently moist, but not waterlogged. Overwatering can lead to root rot, so be sure to let the soil dry slightly between waterings. Checking the moisture level by inserting your finger into the soil is an effective way to gauge the need for watering.
- Air Circulation: Be careful not to seal the plastic too tightly. Guava cuttings need some airflow to prevent fungal diseases. If using a plastic bag or bottle, make small holes for ventilation.
Step 6: Watch for Roots
Rooting can take anywhere from 3 to 6 weeks, depending on temperature and conditions. During this time, you may see small roots beginning to develop. You can gently tug on the cutting to test if it has taken root. If you feel resistance, that’s a good sign that roots are forming.
At this point, it’s important to continue keeping the cutting in a humid environment and maintain the proper moisture level. Avoid disturbing the cutting too much as it’s still fragile during this rooting stage.
Step 7: Transplant the Rooted Cutting
Once the guava cutting has developed a strong root system, it’s time to transplant it into a larger pot or directly into the ground.
- Transplant into Larger Pots: If you plan to grow the guava tree indoors or in a container, transplant the rooted cutting into a larger pot with fresh potting soil. Be sure to choose a pot that is about 2 inches larger than the current one to allow for healthy growth.
- Plant in the Ground: If you want to grow your guava tree in the garden, choose a sunny spot with well-drained soil. Make sure to transplant the rooted cutting gently, so you don’t damage the young roots.
Step 8: Care for the New Guava Tree
Now that your guava tree has successfully grown from a cutting, you need to provide it with ongoing care for healthy growth.
- Watering: Water the tree regularly, ensuring that the soil is kept moist but not soaked. Guava trees thrive in slightly dry conditions, so avoid overwatering.
- Fertilizing: After the tree has been established, use a balanced fertilizer to promote strong growth. You can feed your guava tree during the growing season (spring and summer), but reduce feeding in the fall and winter.
- Pruning: Prune the guava tree as needed to encourage branching and maintain a manageable size. Remove any dead or damaged wood, and shape the tree as it grows.
- Sunlight: Guava trees love sunlight, so place your tree in a sunny spot for at least 6 hours a day.
Conclusion: A Fresh Start with Guava Trees from Leaves
Growing guava trees from leaves is a rewarding process that not only helps you propagate new trees but also allows you to enjoy the many benefits of guava fruit. With the right conditions and patience, you can easily grow a new guava tree from cuttings, providing you with a constant supply of fresh, delicious fruit.
Whether you’re growing guava trees in pots, on your balcony, or in your garden, this propagation method ensures a successful start. With these steps, you’ll soon have your very own guava tree thriving at home, ready to produce fruit for years to come. Happy gardening!