
Growing grapes from cuttings is a fantastic way to propagate your favorite varieties and enjoy homegrown grapes right from your garden. Whether you’re interested in sweet table grapes, juicy wine grapes, or ornamental varieties, taking cuttings is an effective and rewarding method for cultivating new plants. In this comprehensive guide, we’ll explore the step-by-step process of growing grapes from cuttings, including tips for success, the best varieties to choose, and care for your new vines.
Understanding Grapevines
Before diving into the propagation process, it’s essential to understand a bit about grapevines. Grapes belong to the genus Vitis, and there are hundreds of different species and cultivars. The most commonly grown grape species include:
- Vitis vinifera: The classic wine grape.
- Vitis labrusca: Known for its Concord grapes, often used for juice and jelly.
- Vitis rotundifolia: Also known as muscadine grapes, popular in the southeastern United States.
Each grape variety has unique characteristics, including flavor, color, and growing requirements. Selecting the right variety for your climate and taste preferences is crucial for a successful harvest.
Benefits of Propagating Grapes from Cuttings
- Cost-Effective: Growing grapes from cuttings saves you money compared to purchasing established vines from a nursery.
- Preserves Varietal Characteristics: By taking cuttings from an existing plant, you ensure that the new vine will produce grapes with the same flavor and characteristics as the parent plant.
- Customizing Your Garden: You can create a diverse garden by propagating multiple grape varieties and tailoring your selection to your specific taste.
- Enjoyment and Satisfaction: Watching your grapevines grow from cuttings into productive plants provides a sense of accomplishment and joy.
When to Take Cuttings
The best time to take grape cuttings is during the dormant season, typically in late winter or early spring (February to March). During this period, the vines are not actively growing, which helps reduce stress on the cutting and increases the chances of successful rooting.
Ideal Conditions for Taking Cuttings
- Temperature: Aim for a temperature between 40°F and 50°F (4°C to 10°C) when taking cuttings.
- Weather: Choose a dry, clear day to prevent excess moisture on the cuttings, which can lead to rot.
Step-by-Step Guide to Growing Grapes from Cuttings
Step 1: Gather Your Materials
Before you start, gather all the necessary materials:
- Healthy grapevine: Choose a healthy vine that is free from disease and pests.
- Pruning shears: Ensure they are sharp and clean to make clean cuts.
- Rooting hormone (optional): This can help enhance root development.
- Well-draining potting mix: Use a mix specifically designed for propagation or create your own.
- Containers: Small pots or trays to plant the cuttings in.
- Plastic bag or humidity dome: To maintain moisture during the rooting process.
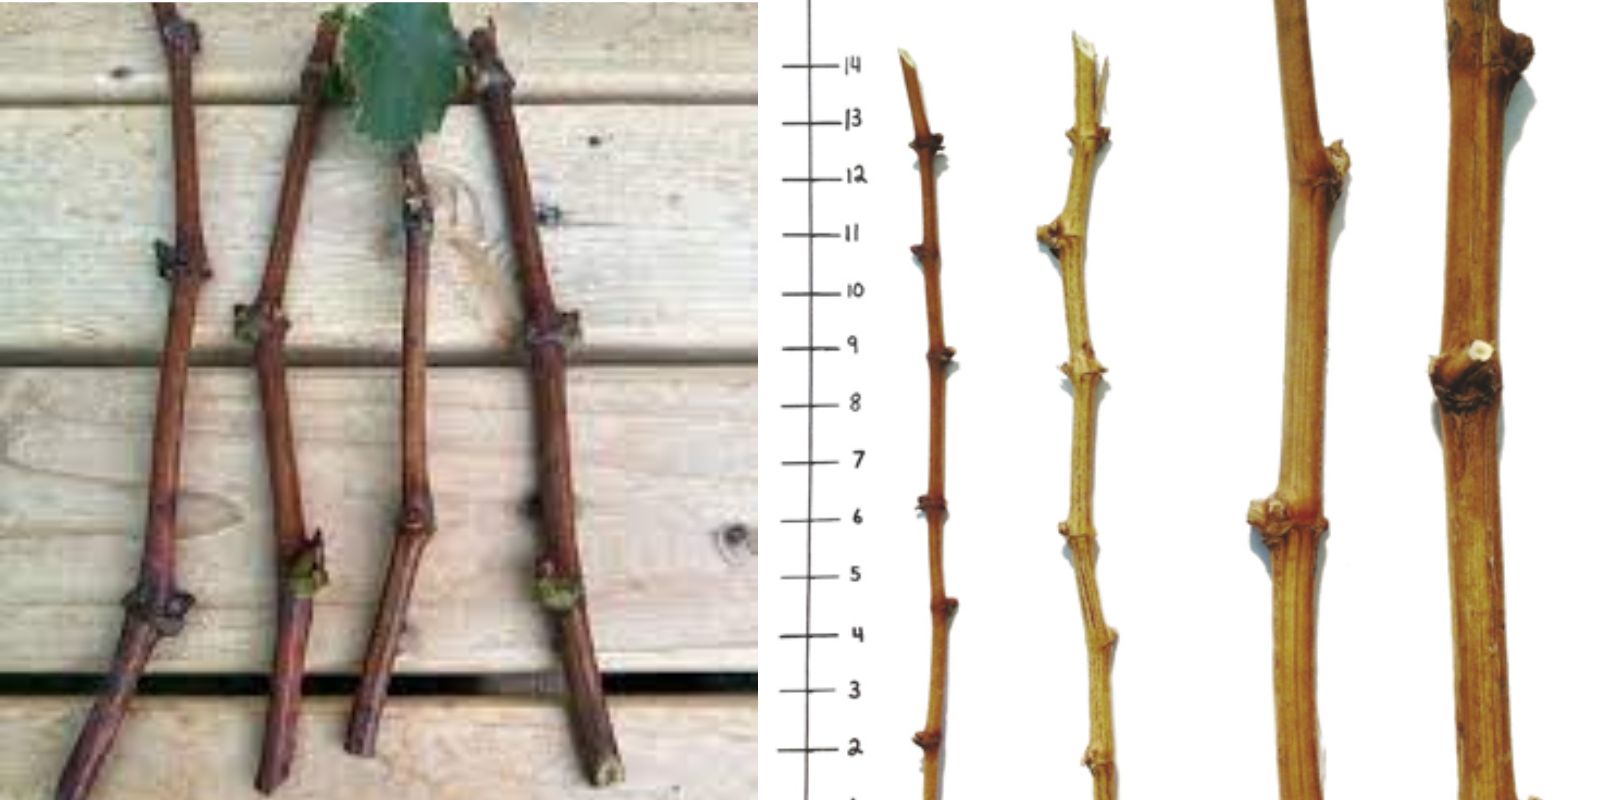
Step 2: Select and Prepare the Cuttings
- Choose the Right Vine: Look for a healthy, vigorous grapevine that has shown good growth in the previous season.
- Take Cuttings: Use pruning shears to take cuttings that are 6 to 12 inches long. Make a clean cut just below a node (the bump where leaves attach). Each cutting should have at least 2-3 nodes.
- Remove Leaves: Trim any leaves from the lower half of the cutting to reduce moisture loss and allow for better rooting.
Step 3: Apply Rooting Hormone
While not necessary, using rooting hormone can promote faster root development. Dip the cut end of the cutting into the hormone powder, ensuring it’s coated well.
Step 4: Plant the Cuttings
- Prepare the Pots: Fill your containers with well-draining potting mix, leaving a little space at the top.
- Plant the Cuttings: Make a hole in the soil with your finger or a stick, and insert the cutting about 2-3 inches deep, ensuring that at least one node is buried in the soil.
- Water Thoroughly: After planting, water the cuttings well to ensure the soil is moist but not waterlogged.
Step 5: Create a Humid Environment
To encourage rooting, cover the pots with a plastic bag or place them in a humidity dome. This helps retain moisture and creates a greenhouse effect. Be sure to leave some air holes to allow for airflow and prevent mold growth.
Step 6: Provide Proper Care
- Light: Place the pots in a warm location with indirect sunlight. Too much direct sunlight can dry out the cuttings.
- Temperature: Aim for a consistent temperature of around 70°F (21°C) for optimal rooting conditions.
- Moisture: Check the soil regularly, and keep it consistently moist but not soggy. Remove the plastic covering periodically to allow for fresh air circulation.
Step 7: Monitor Root Development
After about 4-6 weeks, check the cuttings for root development. You can gently tug on the cuttings to feel for resistance, which indicates root growth. If they are firm and hold in place, they likely have roots.
Step 8: Transplant the New Vines
Once the cuttings have developed a healthy root system (typically after 6-8 weeks), it’s time to transplant them:
- Prepare New Pots: Choose larger pots or prepare an area in your garden where the vines will grow.
- Transplant: Carefully remove the rooted cuttings from their containers, being cautious not to damage the roots. Plant them in their new pots or garden space.
- Water: Water thoroughly after transplanting to help settle the soil around the roots.
Caring for Your New Grapevines
- Sunlight: Grapevines thrive in full sun, so ensure they receive at least 6-8 hours of direct sunlight each day.
- Watering: Water regularly, especially during dry spells. Young vines need consistent moisture, but be careful not to overwater, as this can lead to root rot.
- Fertilization: After the first growing season, apply a balanced fertilizer to encourage healthy growth and fruit production.
- Pruning: Prune your grapevines annually to promote airflow, remove dead or diseased wood, and encourage new growth. Pruning is typically done in late winter before new growth begins.
- Support: As your grapevines grow, they may require support. Consider using trellises or arbors to train the vines as they grow.
Troubleshooting Common Issues
- Root Rot: Ensure proper drainage and avoid overwatering to prevent root rot.
- Pest Infestation: Monitor your plants for pests such as aphids or spider mites. Use organic pesticides or natural remedies to manage infestations.
- Diseases: Keep an eye out for signs of disease, such as leaf spots or wilting. Promptly remove affected leaves and treat with appropriate measures.
Conclusion
Growing grapes from cuttings is an enjoyable and fulfilling gardening project that yields delicious rewards. By following the steps outlined in this guide, you can successfully propagate your favorite grape varieties and watch them flourish in your garden. Whether you’re aiming for a small backyard vineyard or simply want to enjoy fresh grapes at home, the process of growing grapes from cuttings is accessible to gardeners of all skill levels.
Start your grape-growing journey today and savor the joy of homegrown fruit!
#GrapeGrowing #HomeGardening #PlantPropagation #SustainableLiving #GardenTips #GrowYourOwnFood