
Introduction
Growing your own ginger from store-bought ginger is a rewarding and straightforward process. Ginger is a versatile and beneficial herb known for its culinary and medicinal uses. By following a few simple steps, you can cultivate fresh, aromatic ginger at home, even if you have limited space. This article will guide you through the process of growing ginger in containers, ensuring a successful harvest.
Why Grow Ginger at Home?
- Freshness and Flavor: Homegrown ginger is fresher and more flavorful than store-bought options.
- Health Benefits: Ginger is known for its numerous health benefits, including anti-inflammatory and digestive properties.
- Sustainability: Growing your own ginger reduces reliance on store-bought produce, supporting a more sustainable lifestyle.
- Cost-Effective: Cultivating ginger at home is cost-effective and provides a continuous supply of this valuable herb.
Steps to Grow Ginger from Store-Bought Ginger in Containers
1. Choose Fresh Ginger
The first step in growing ginger is selecting the right piece from your local grocery store.
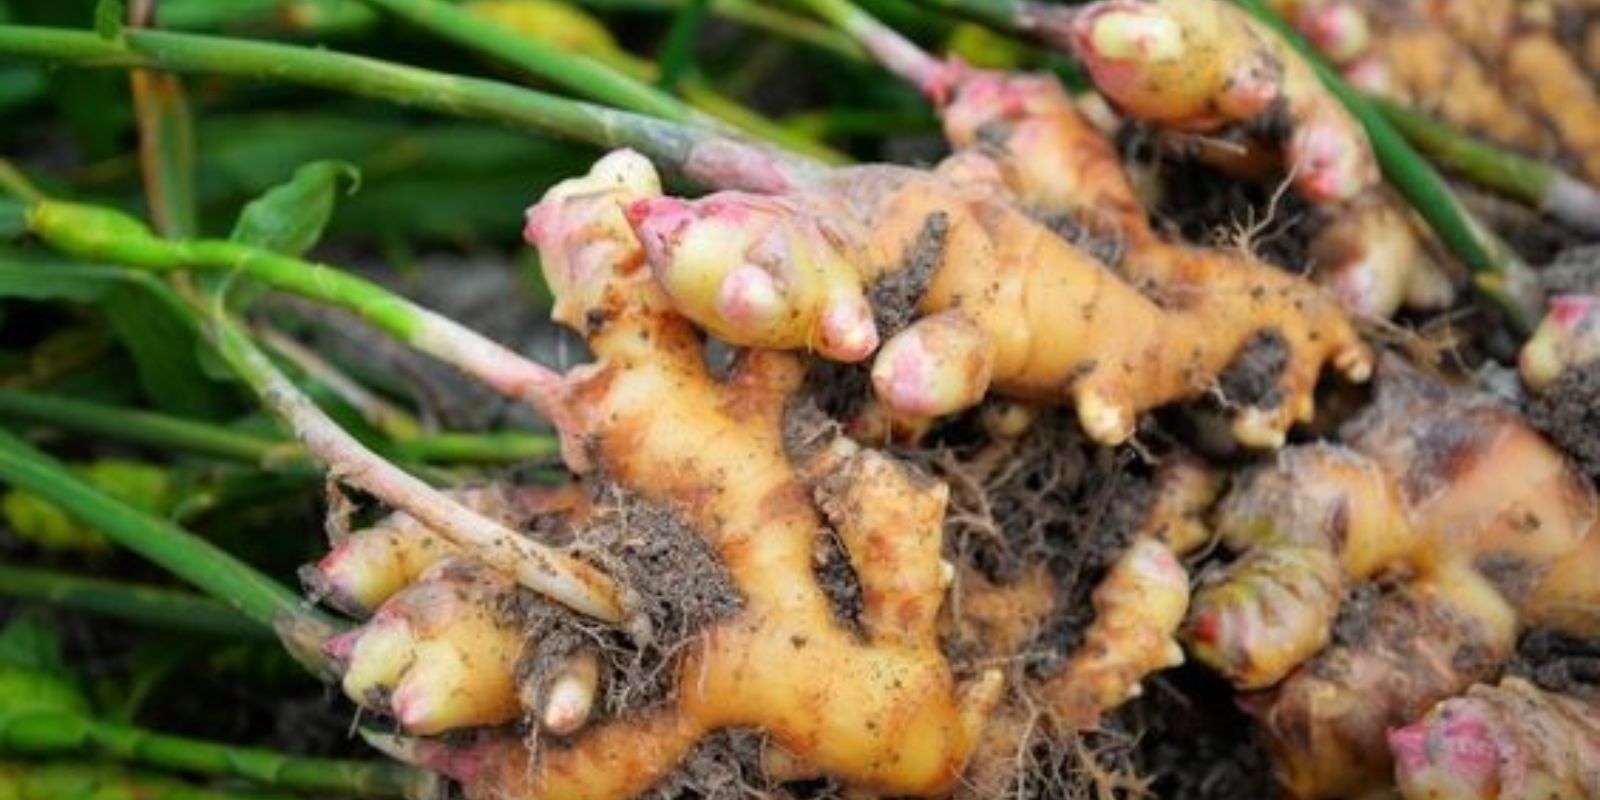
- Healthy Rhizomes: Choose fresh, plump ginger rhizomes with smooth skin. Look for pieces that have visible buds or “eyes,” as these are the points from which the plant will sprout.
- Avoid Treated Ginger: Some store-bought ginger is treated with growth inhibitors to prolong shelf life. Organic ginger or ginger from a trusted source is ideal for planting.
2. Soak and Cut the Ginger
Preparing the ginger for planting involves a simple soaking and cutting process.
- Soak Overnight: Soak the ginger in warm water overnight. This helps to remove any potential growth inhibitors and encourages sprouting.
- Cut into Pieces: After soaking, cut the ginger into smaller pieces, each about 1-2 inches in size. Ensure each piece has at least one visible bud or eye. These buds are essential for new growth.
3. Prepare the Container
Choosing the right container and soil is crucial for growing healthy ginger plants.
- Container Selection: Use a wide, shallow container with good drainage. Ginger roots grow horizontally, so a wider container is more suitable than a deep one.
- Soil Preparation: Fill the container with a rich, well-draining potting mix. A mix of potting soil, compost, and sand or perlite works well. The soil should be fertile and retain moisture without becoming waterlogged.
4. Plant the Ginger
Planting ginger correctly ensures that it has the best conditions to sprout and grow.
- Placement: Place the ginger pieces with the buds facing up, about an inch below the soil surface. Space the pieces a few inches apart to allow room for growth.
- Cover with Soil: Lightly cover the ginger pieces with soil. Do not bury them too deep, as this can hinder sprouting.
5. Water and Wait
Proper watering and placement are key to successful ginger growth.
- Moisture: Keep the soil consistently moist but not waterlogged. Ginger thrives in humid conditions, so maintaining soil moisture is crucial.
- Location: Place the container in a warm location with indirect sunlight. Ginger prefers temperatures between 70-90°F (21-32°C). Avoid direct sunlight, which can scorch the leaves.
6. Maintain Growth
Caring for your ginger plant involves regular watering, feeding, and ensuring it has the right conditions to thrive.
- Watering: Water the ginger regularly, ensuring the soil remains moist. During dry periods or if you live in a dry climate, mist the plant to increase humidity.
- Fertilizing: Feed the ginger with a balanced liquid fertilizer every few weeks. Organic options like compost tea or diluted fish emulsion are also beneficial.
- Mulching: Apply a layer of mulch to retain soil moisture and keep the roots cool.
Harvesting Ginger
Ginger takes about 8-10 months to mature fully, but you can start harvesting small amounts after a few months.
- Early Harvest: For a milder, more tender ginger, you can harvest small pieces from the edges of the container after 3-4 months. Simply dig around the edges and cut off what you need, then cover the roots back with soil.
- Full Harvest: For fully mature ginger, wait until the leaves start to yellow and die back. This indicates that the plant has finished growing. Carefully dig up the entire plant, shake off the soil, and cut off the rhizomes. Save a few pieces with buds to replant for the next cycle.
Tips for Successful Ginger Growing
- Pest Control: Ginger is relatively pest-resistant, but keep an eye out for aphids and spider mites. Use insecticidal soap or neem oil to manage infestations.
- Temperature Management: In cooler climates, grow ginger indoors or move the container to a sheltered spot during colder months.
- Container Size: As the ginger grows, you may need to transplant it to a larger container to provide enough space for root expansion.
- Watering Balance: Avoid overwatering, as ginger is susceptible to root rot. Ensure the container has good drainage and the soil is well-draining.
Benefits of Container Gardening for Ginger
- Mobility: Containers allow you to move the ginger plant to optimal locations for sunlight and temperature.
- Control: Growing in containers gives you better control over soil quality, moisture levels, and pest management.
- Space Efficiency: Containers are ideal for small spaces, balconies, or indoor gardening, making ginger cultivation accessible to more people.
Conclusion
Growing ginger from store-bought ginger in containers is an enjoyable and productive gardening project. By following these steps, you can cultivate fresh, aromatic ginger at home, regardless of your available space. This method is not only cost-effective and sustainable but also allows you to enjoy the numerous culinary and health benefits of homegrown ginger. Whether you’re an experienced gardener or a beginner, this guide provides all the information you need to successfully grow ginger in containers.
Motivation
Are you ready to start growing your own ginger at home? Follow these simple steps and share your gardening journey with us—let’s cultivate fresh, delicious ginger together and enjoy the satisfaction of homegrown produce!