
Growing your own food is not only rewarding but also a fantastic way to ensure you’re eating fresh and organic produce. Carrots, with their vibrant color and crunchy texture, are a favorite in many households, but did you know you can grow them right at home starting from just a single carrot top? That’s right! You don’t need a sprawling garden to enjoy homegrown carrots—just a container, a bit of soil, and patience. This guide will take you step by step through the process of growing carrots at home in containers using a simple method of starting from a single carrot.
Why Grow Carrots at Home?
Carrots are a nutritious vegetable rich in vitamins A, K, and fiber, and they’re a staple in many recipes. When you grow carrots at home, you can control the growing environment, ensuring your produce is free of harmful chemicals. Additionally, growing carrots in containers is perfect for those with limited space, such as apartment dwellers, and for those who want to make the most out of small gardens or patios. Starting with a single carrot top is not only cost-effective but also an educational and fun project for families, kids, or beginner gardeners.
What You’ll Need to Get Started
Before diving into the process, it’s important to gather a few materials to ensure your carrots grow successfully:
- A Carrot Top: You’ll need a carrot with the top still intact. Choose an organic carrot, if possible, to ensure it hasn’t been treated with chemicals that could inhibit regrowth.
- Container: Select a container that’s at least 12 inches deep and has good drainage holes. Carrots need deep soil to grow, as their roots need room to stretch.
- Potting Soil: Use loose, well-draining potting soil. Avoid heavy, compact soils that may restrict root growth.
- Water: You’ll need a shallow dish of water to start the growing process before transferring the carrot top to soil.
- Sunny Location: Carrots thrive in sunny spots, so make sure your container can be placed in an area where it will receive at least 6 hours of sunlight daily.
Step-by-Step Guide to Growing Carrots at Home
Now that you have your supplies ready, let’s walk through the process of growing carrots at home, starting with just a carrot top.
Step 1: Prepare the Carrot Top
Start by selecting a healthy carrot from your fridge or local grocery store. The fresher the carrot, the better chance it will regrow. Using a sharp knife, cut off the top 1 to 2 inches of the carrot, leaving a small portion of the orange part intact. You don’t need the entire carrot—just the top!
Step 2: Start the Regrowth Process
Place the carrot top cut-side down in a shallow dish filled with a little water. Make sure the top is submerged in about a quarter-inch of water. Change the water daily to keep it fresh, and place the dish in a sunny spot. Within a few days, you’ll notice small green shoots and roots forming on the carrot top.
Step 3: Transplant the Carrot Top to Soil
Once your carrot top has sprouted roots, it’s time to transplant it into your container. Fill the container with potting soil, leaving about an inch of space from the top. Make a small hole in the center of the soil and plant the carrot top with the green shoots facing upwards. The orange part of the carrot top should be just above the soil surface. Gently press the soil around it to secure it in place.
Step 4: Provide Proper Care and Maintenance
Carrots need consistent moisture to thrive, so make sure to water your container regularly. The soil should remain moist but not waterlogged. Carrots also prefer cooler temperatures, so if you’re growing them during the hotter months, try to place them in a spot with partial shade to avoid overheating.
Additionally, carrots require full sun to grow strong, so aim to give them at least 6 hours of direct sunlight daily. If you’re growing your carrot indoors, consider placing the container near a south-facing window or under a grow light.
Step 5: Fertilize as Needed
Carrots are light feeders, but they do appreciate a nutrient boost every once in a while. Use an all-purpose, water-soluble fertilizer once a month to keep the soil rich and ensure your carrots grow to their full potential. Alternatively, you can also use compost or organic matter to feed your carrot plants naturally.
Step 6: Be Patient and Watch for Growth
Growing carrots from a single carrot top will take some time, so patience is key. The green shoots will continue to grow, and underneath the soil, new roots will start to form. You may not see the new carrot immediately, but over time, it will grow below the soil’s surface.
Step 7: Harvest Your Carrots
After a few months, you’ll begin to notice the carrot greens flourishing. This is a sign that your carrots are nearing maturity. To check if your carrots are ready to harvest, gently dig around the base of the plant and inspect the top of the carrot root. If it’s about an inch in diameter, it’s time to harvest!
To harvest, loosen the soil around the carrot with a small garden fork and gently pull the plant from the soil. Give your homegrown carrot a quick rinse, and it’s ready to eat!
Benefits of Growing Carrots in Containers
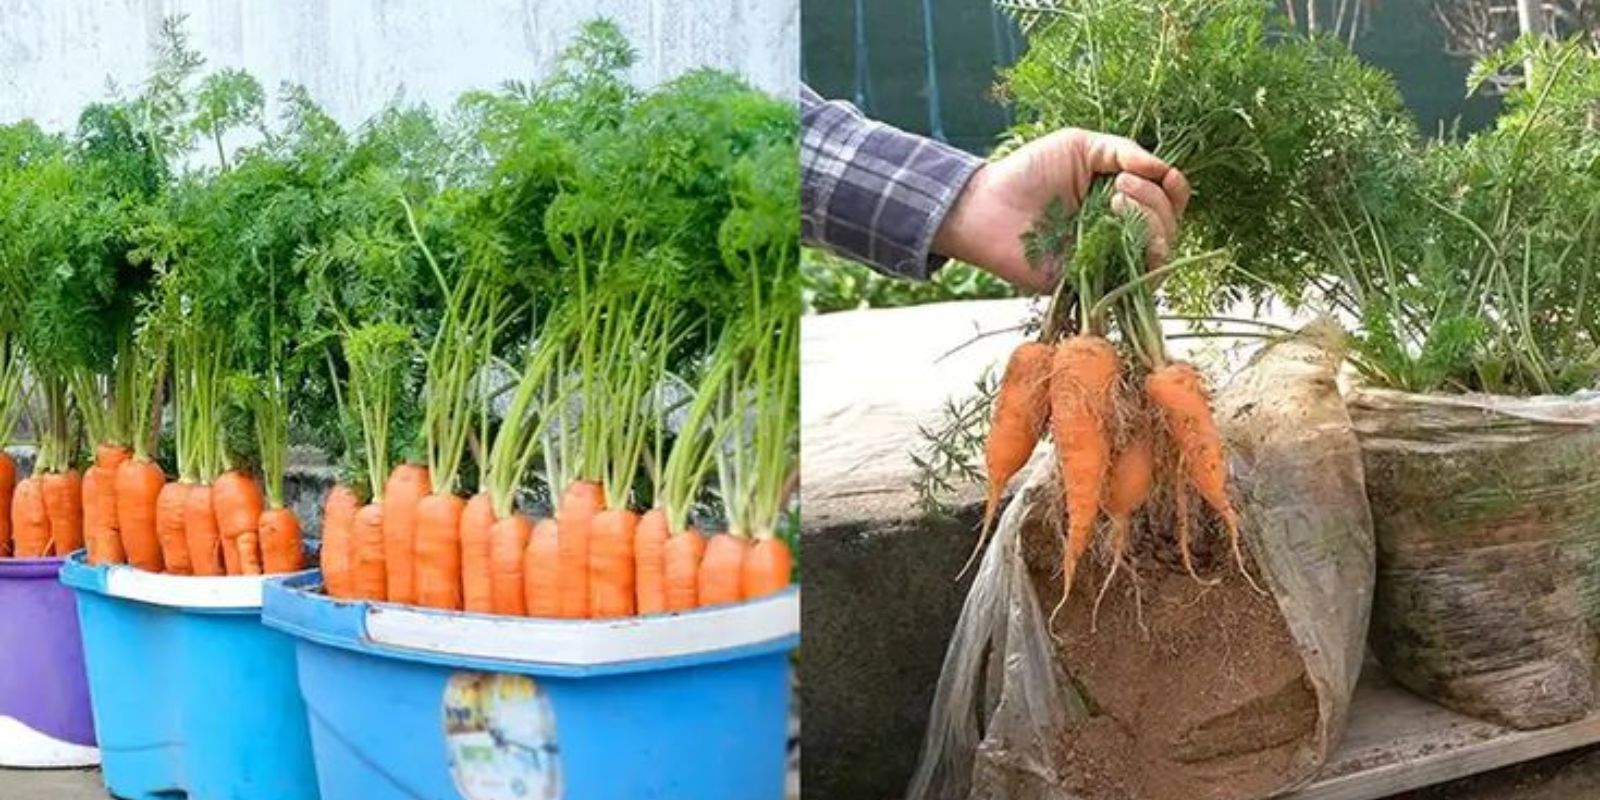
- Space-Saving: Carrots grown in containers don’t require much space, making them ideal for small balconies, patios, or even windowsills.
- Pest Control: Growing carrots in containers reduces the risk of common garden pests such as carrot flies and slugs that typically target crops grown directly in the ground.
- Improved Soil Quality: Containers allow you to control the quality of the soil, ensuring your carrots have a nutrient-rich environment free from weeds and poor soil conditions.
- Portability: You can move your carrot containers around as needed to optimize sunlight exposure or to protect them from adverse weather conditions.
- Extended Growing Season: By growing carrots in containers, you can extend your growing season by starting them indoors early in the year or moving them to a sheltered spot during colder months.
Common Mistakes to Avoid
- Using the Wrong Soil: Carrots need loose, well-draining soil to grow properly. Compact or heavy soils can stunt the growth of the roots, leading to small or misshapen carrots.
- Overcrowding the Container: Carrots need enough space to grow deep roots, so avoid planting too many in one container. Follow the spacing recommendations for your carrot variety to ensure proper growth.
- Inconsistent Watering: Carrots need consistent moisture to grow properly. If the soil dries out too much, it can cause the carrot roots to split or develop a bitter flavor.
- Harvesting Too Early: While it’s exciting to grow your own carrots, patience is key. Harvesting too early can result in small, underdeveloped carrots. Wait until the carrot tops are about an inch in diameter before pulling them from the soil.
Final Thoughts
Growing carrots at home in containers is a rewarding and sustainable way to enjoy fresh produce, even in small spaces. Whether you’re an experienced gardener or just starting, this method is simple and fun. Not only will you be able to regrow a vegetable from kitchen scraps, but you’ll also have the satisfaction of harvesting your own carrots in just a few months.
Start your carrot-growing journey today, and share your progress with the gardening community! 🌱🥕 #HomeGardening #ContainerGardening #CarrotLove #GrowYourOwnFood #UrbanGardening #SustainableLiving #GreenThumb #GardeningJourney #CarrotHarvest