
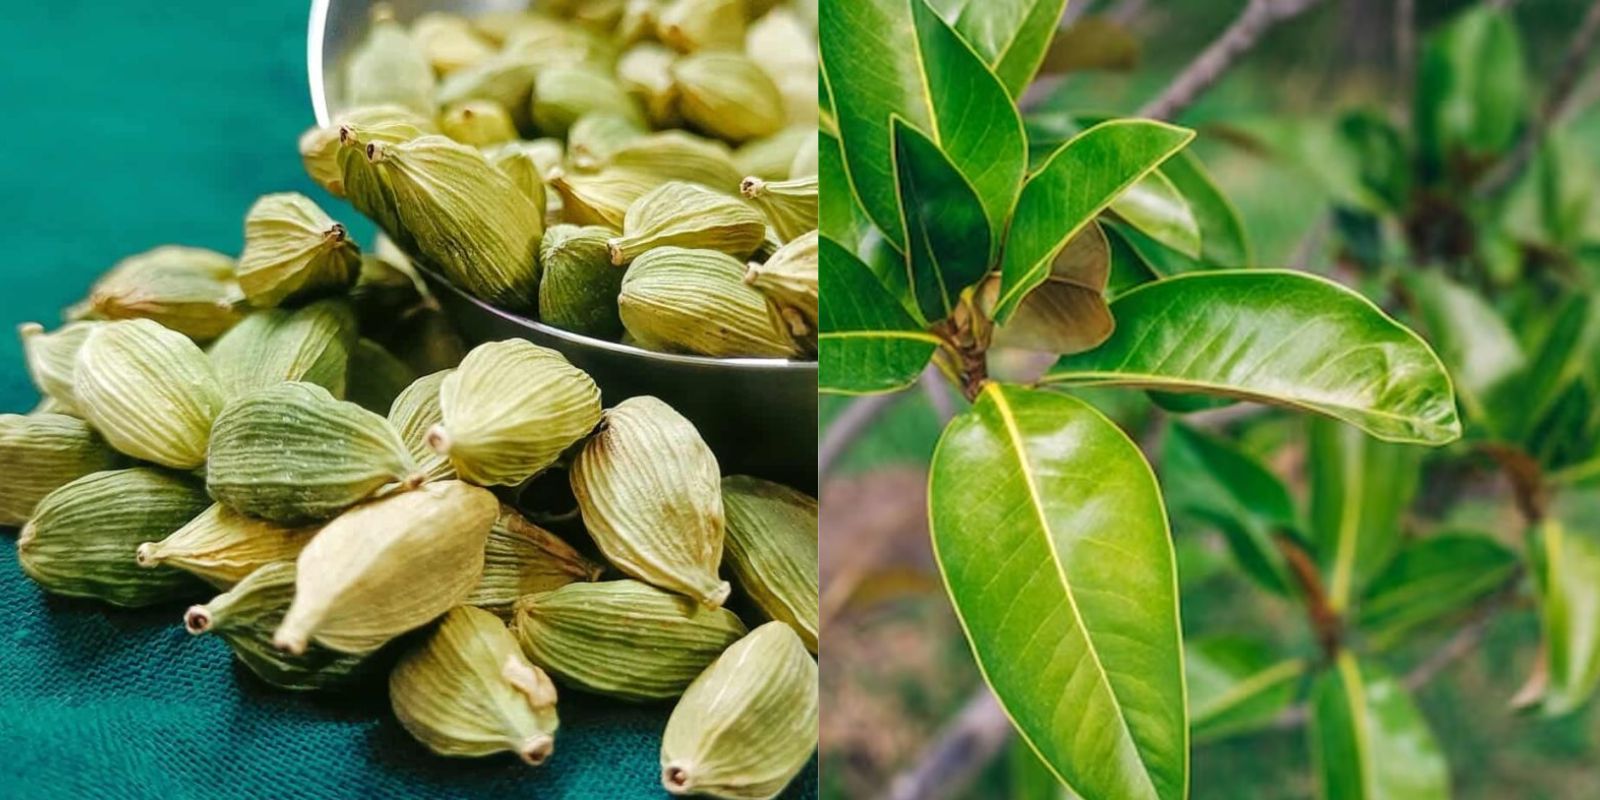
Cardamom, known for its aromatic seeds and rich flavor, is one of the most expensive spices in the world, often referred to as the “queen of spices.” It’s widely used in cooking, especially in South Asian, Middle Eastern, and Scandinavian cuisines, and has a long history of being valued for its medicinal properties. Traditionally grown in tropical climates, cardamom can be cultivated in home gardens, even in containers. Growing cardamom at home not only gives you access to fresh, flavorful pods but also adds a lush, tropical feel to your garden or indoor space.
In this article, we’ll walk you through the process of growing cardamom at home in containers, right from seed selection to harvesting. Whether you’re a seasoned gardener or a beginner, this step-by-step guide will help you nurture this exotic spice in the comfort of your home.
Why Grow Cardamom at Home?
There are several reasons to grow cardamom at home:
- Fresh and Organic Supply: Homegrown cardamom is free from chemicals, giving you a fresh, organic supply right at your fingertips.
- Aesthetic Appeal: Cardamom plants are not only functional but also beautiful, adding greenery to your indoor or outdoor garden.
- Cost-Effective: Considering its price in the market, growing your own cardamom can be a cost-saving endeavor in the long run.
- Medicinal Benefits: Cardamom has numerous health benefits, including aiding digestion, reducing inflammation, and fighting infections. Growing it at home allows you to access these benefits instantly.
Step-by-Step Guide to Growing Cardamom in Containers
1. Choosing the Right Seeds
To start, you need to acquire fresh cardamom seeds. You can get seeds from a reliable gardening store or extract them from cardamom pods purchased from an organic grocery store. However, seeds sourced from dried store-bought pods may have a lower germination rate. For the best results, buy seeds labeled for planting.
Tip: Soak the seeds in lukewarm water for 24 hours before planting. This helps soften the seed coat and encourages quicker germination.
2. Selecting the Ideal Container
Cardamom thrives in warm, humid environments, making it perfect for container gardening. Choose a container that’s at least 12 inches deep and has drainage holes. Cardamom roots require plenty of space, and proper drainage is essential to prevent waterlogging.
If you’re starting the seeds indoors, make sure the container is portable, as you might need to move it to warmer or brighter locations during different stages of growth.
3. Soil Preparation
Cardamom plants prefer rich, loamy soil with good drainage. The soil should be light, fluffy, and full of organic matter. A recommended soil mix includes equal parts of compost, peat, and garden soil. You can also add perlite or vermiculite to enhance drainage.
Tip: Cardamom is a heavy feeder, so the addition of organic compost or well-rotted manure will ensure that your plant has a constant supply of nutrients.
4. Planting the Seeds
Once your container and soil are ready, it’s time to plant the seeds. Here’s how you can do it:
- Sow the seeds about 1 inch deep in the soil.
- Space the seeds at least 2 inches apart to give the seedlings room to grow.
- After planting, cover the seeds lightly with soil and water gently to moisten the surface.
- Keep the container in a warm, humid spot with indirect sunlight. A temperature of 70°F to 85°F (21°C to 29°C) is ideal for germination.
Germination can take between 30 to 45 days, so be patient. Keep the soil moist but not waterlogged during this period.
5. Providing Adequate Watering and Humidity
Cardamom plants love moisture but do not tolerate waterlogged soil. It’s essential to maintain a balance when watering. Water the plants consistently to keep the soil damp but avoid letting the roots sit in standing water.
Because cardamom thrives in humid environments, you’ll need to increase the humidity around the plant. You can do this by misting the leaves regularly or placing a humidity tray (a shallow tray filled with water) near the container. Alternatively, placing your plant in a bathroom or kitchen, where humidity is naturally higher, can also help.
6. Sunlight and Temperature Needs
Cardamom grows well in areas with bright, indirect sunlight. Too much direct sunlight can scorch the leaves, so make sure to place your container in a spot where it gets filtered light. If you’re growing indoors, placing the pot near an east or north-facing window is ideal.
As a tropical plant, cardamom thrives in temperatures between 60°F to 95°F (15°C to 35°C). If the temperature drops below 50°F (10°C), you should consider bringing the plant indoors or using a grow light to maintain warmth.
7. Fertilizing Your Cardamom Plant
Cardamom is a heavy feeder, especially when grown in containers. Regular feeding with organic fertilizers is essential to ensure strong, healthy growth. Use a balanced liquid fertilizer every two to three weeks during the growing season (spring and summer).
Compost tea or diluted fish emulsion also works well to provide the necessary nutrients. Avoid over-fertilizing, as too much nitrogen can result in lush leaves with few seeds.
8. Pruning and Maintenance
Once the cardamom plant starts to grow, it’s important to prune it regularly to promote air circulation and prevent overcrowding. Remove any dead or damaged leaves, and trim back the plant if it becomes too bushy. This encourages healthy growth and helps prevent diseases.
Keep an eye out for pests such as aphids and spider mites, which can attack the leaves. Organic insecticides like neem oil can help control these pests.
9. Transplanting if Needed
Cardamom plants can grow up to 10 feet in their natural environment, but they’ll remain much smaller in a container. However, if your plant outgrows its pot, you may need to transplant it into a larger container. When transplanting, be gentle with the roots, as cardamom is sensitive to root disturbance.
10. Harvesting Cardamom
Cardamom plants typically take about 2-3 years to produce pods. The plant flowers in late summer, and the pods are ready for harvest in fall or early winter. The pods turn from green to a yellowish-brown color when ripe.
Harvest the pods by cutting them off the plant, and allow them to dry before storing them. Dried cardamom pods can be stored in an airtight container for use in cooking or medicinal purposes.
Benefits of Growing Cardamom at Home
- Fresh Flavor: Fresh cardamom pods have a more intense aroma and flavor compared to store-bought ones.
- Medicinal Uses: Cardamom is known for its digestive, anti-inflammatory, and antioxidant properties.
- Aesthetic Value: The lush, tropical foliage adds beauty to any garden or indoor space.
Conclusion
Growing cardamom at home in containers may require a little patience, but the reward is well worth the effort. With the right conditions and care, you can enjoy a steady supply of this aromatic spice, fresh from your garden. Whether you’re using it in your favorite recipes, teas, or for its health benefits, homegrown cardamom is a delightful addition to any herb collection.
Are you ready to start growing your own cardamom? 🌱 Share your gardening journey and tips with us! #GrowYourOwnSpices #CardamomInContainers #HerbGardening #TropicalSpices #GreenThumb