
Cardamom, known as the “Queen of Spices,” is a highly prized spice used in various cuisines and traditional medicines around the world. Growing cardamom from seeds at home can be a rewarding experience, providing you with fresh, aromatic spices right from your garden. In this detailed guide, we’ll walk you through the process of cultivating cardamom from seeds, ensuring that you grow it properly and successfully.
Introduction
Cardamom (Elettaria cardamomum) is a tropical plant native to India, and it thrives in warm, humid climates. While it may seem challenging to grow cardamom from seeds, with the right conditions and care, you can cultivate this exotic spice in your home garden. This article will provide you with a step-by-step guide to growing cardamom from seeds, from selecting the right seeds to harvesting your own fresh cardamom pods.
Steps to Grow Cardamom from Seeds
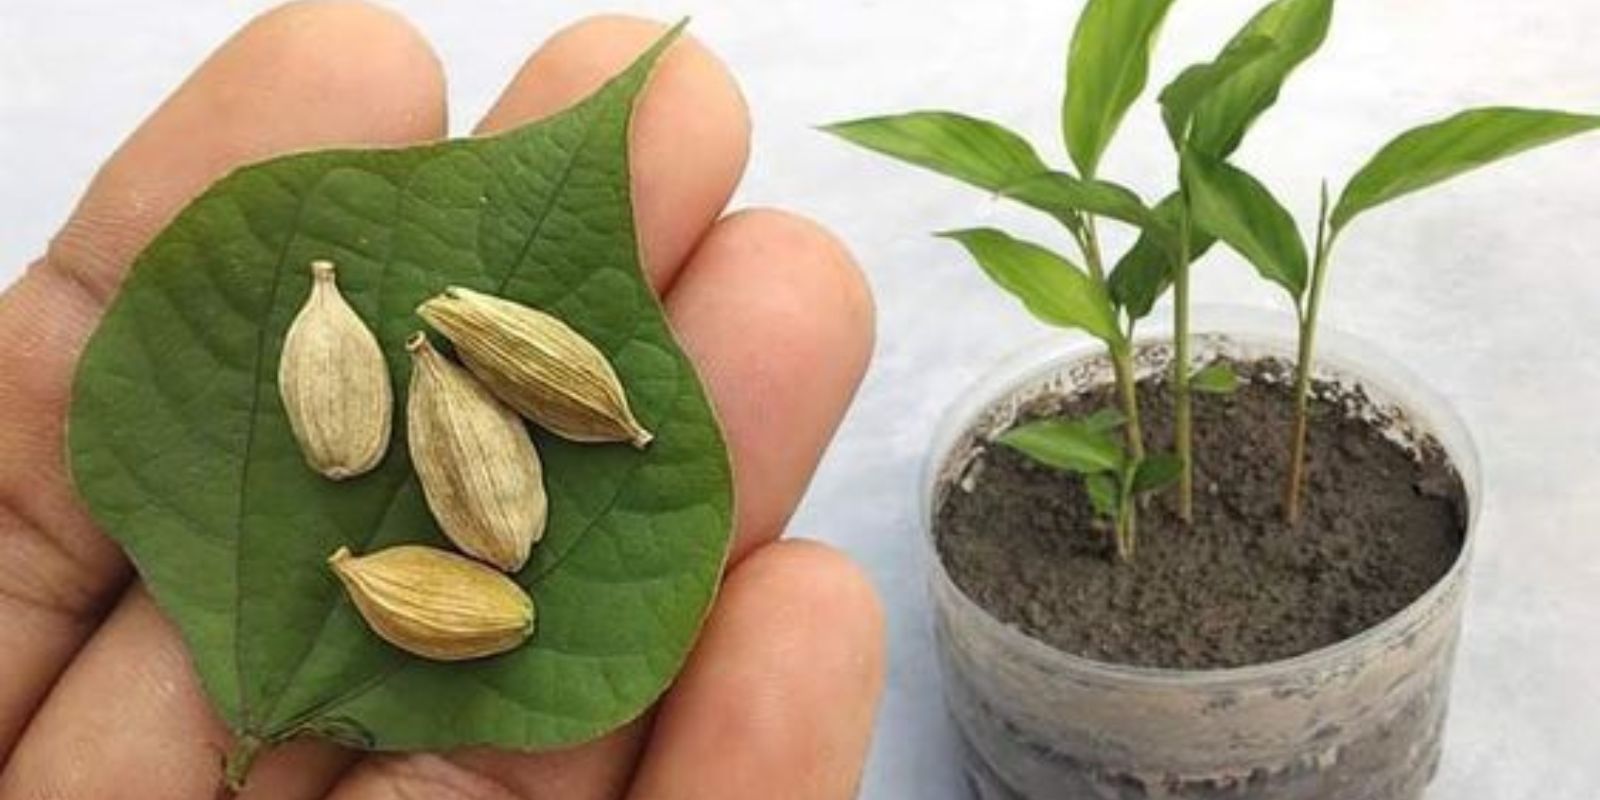
1. Select Fresh Seeds
The first and most crucial step in growing cardamom from seeds is to choose high-quality, fresh seeds. Fresh seeds have a higher germination rate compared to older ones. You can source cardamom seeds from a reputable supplier or use seeds from fresh cardamom pods. If you’re using seeds from store-bought pods, ensure they are fresh and not treated with any preservatives or chemicals.
2. Soak Seeds
Cardamom seeds have a tough outer shell that can hinder germination. To improve the chances of successful germination, soak the seeds in warm water for 24 hours. This process softens the seed coat, making it easier for the seeds to sprout. Use a clean container and lukewarm water, and change the water once or twice during the soaking period to keep it fresh.
3. Prepare Soil
Cardamom plants prefer well-draining soil that is rich in organic matter. Prepare a potting mix that consists of equal parts of garden soil, compost, and sand or perlite. This mixture provides the necessary nutrients and drainage for the seeds to grow. If you’re planting directly in the ground, choose a location with rich, loamy soil and good drainage.
4. Plant Seeds
Once the seeds have soaked for 24 hours, they are ready to be planted. Fill small pots or seed trays with the prepared soil mixture. Sow the seeds about 1 inch deep into the soil and cover them lightly. Ensure that the seeds are evenly spaced to give them room to grow. After planting, gently water the soil to settle it around the seeds.
5. Water Gently
Maintaining the right moisture level is crucial for seed germination and the growth of young seedlings. Keep the soil consistently moist but not waterlogged. Water the soil gently to avoid displacing the seeds. Using a spray bottle or a watering can with a fine nozzle can help provide the right amount of moisture without disturbing the soil.
6. Provide Warmth and Humidity
Cardamom seeds require a warm and humid environment to germinate successfully. Place the pots or seed trays in a location that receives indirect sunlight. The ideal temperature for germination is between 70°F to 85°F (21°C to 29°C). If you live in a cooler climate, consider using a heat mat or placing the pots in a greenhouse to maintain the necessary warmth.
To create a humid environment, you can cover the pots with a plastic wrap or place them inside a clear plastic bag. This helps retain moisture and warmth, promoting faster germination. However, ensure that there is some ventilation to prevent mold growth.
7. Transplant Seedlings
Germination can take several weeks, so be patient. Once the seedlings have developed a few true leaves and are strong enough to handle, they can be transplanted into larger pots or directly into your garden. If you’re planting in the garden, choose a shaded spot with partial sunlight and well-draining soil.
When transplanting, carefully remove the seedlings from the pots, taking care not to damage the delicate roots. Plant them at the same depth they were growing in the pots and water them gently after transplanting.
Caring for Cardamom Plants
Watering
Cardamom plants require consistent moisture to thrive. Water the plants regularly, ensuring that the soil remains moist but not soggy. Mulching around the base of the plants can help retain moisture and keep the roots cool.
Fertilizing
Feed your cardamom plants with a balanced, organic fertilizer every month during the growing season. Cardamom plants are heavy feeders and benefit from regular feeding to promote healthy growth and pod production. Compost tea or a diluted fish emulsion can also be used as a natural fertilizer.
Pruning
Prune the plants regularly to remove dead or damaged leaves and to promote airflow. This helps prevent fungal diseases and encourages healthy growth. Remove any weeds that compete with the cardamom plants for nutrients and water.
Pest and Disease Management
Cardamom plants can be susceptible to pests such as aphids, spider mites, and nematodes. Regularly inspect your plants for any signs of pest infestations and treat them promptly with organic insecticides or neem oil. Fungal diseases can be prevented by ensuring good airflow and avoiding waterlogged conditions.
Harvesting Cardamom Pods
Cardamom plants typically take around two to three years to start producing pods. The pods are ready for harvest when they turn green and are plump. Harvest the pods by hand, taking care not to damage the plant. After harvesting, the pods can be dried and stored for later use.
Conclusion
Growing cardamom from seeds at home is a rewarding endeavor that allows you to enjoy fresh, aromatic spices right from your garden. By following these steps and providing the right care, you can successfully cultivate cardamom plants that thrive with minimal maintenance. Start your cardamom-growing journey today and experience the joy of harvesting your own spices.
Whether you use cardamom in your cooking, for medicinal purposes, or simply enjoy its fragrant presence in your garden, the effort you put into growing this exotic spice will be well worth it. Happy gardening! 🌱✨