
Growing capsicum plants, commonly known as bell peppers, can be one of the most fulfilling gardening experiences. These vibrant, nutrient-packed vegetables are not only delicious, but also versatile in the kitchen. Whether you’re a seasoned gardener or just starting out, learning the skill of growing capsicum can elevate your gardening game. This guide will provide you with everything you need to know about growing capsicum plants, from planting seeds to harvesting peppers.
Introduction to Capsicum
Capsicum, commonly referred to as bell peppers, belong to the Solanaceae family and are often grown for their sweet and mild flavor. Capsicum varieties come in different colors, including green, red, yellow, and orange, and they are a great addition to a wide range of dishes. Whether you want to grow capsicum in your garden or on your balcony in containers, the process can be quite easy if you follow the right steps.
Before you get started, it’s essential to understand that capsicum plants thrive in warm conditions, making them an excellent option for gardeners in warmer climates or those growing plants indoors with the help of artificial lights. They require a fair amount of care and attention, but with patience and the right techniques, you’ll be able to harvest a bounty of fresh, crisp peppers.
In this guide, we’ll cover everything from selecting the right seeds to harvesting your crop, making it easier than ever to grow capsicum in your garden.
Step 1: Selecting the Right Capsicum Variety
The first step in successfully growing capsicum plants is to choose the right variety. There are many types of capsicum, each with its unique characteristics. Some popular varieties include:
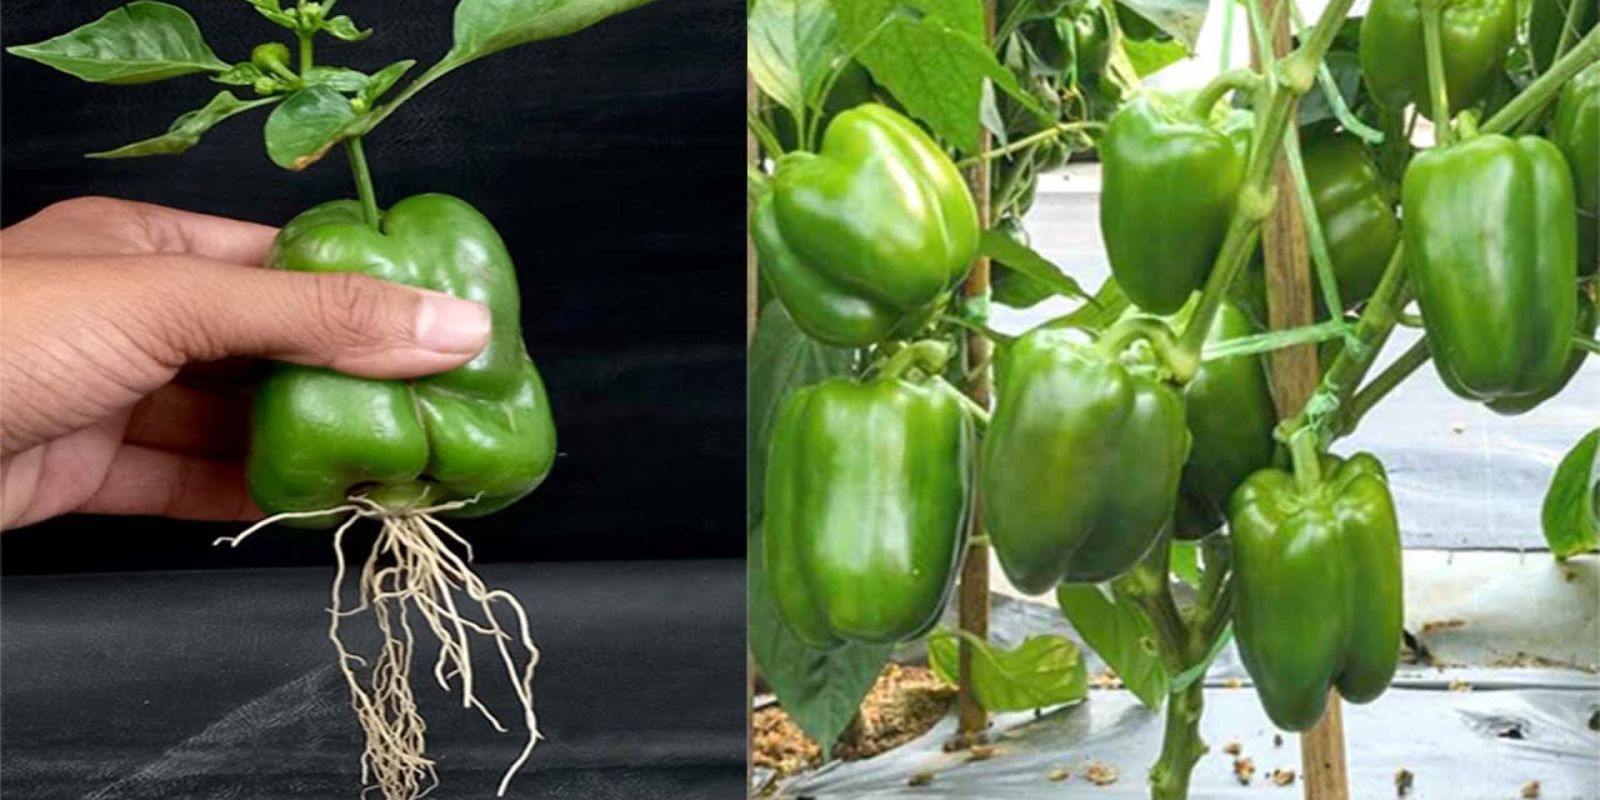
- Green Bell Pepper: The most common variety, green peppers are harvested before they fully ripen and change color.
- Red Bell Pepper: These peppers are the fully ripened version of green peppers and have a sweeter taste.
- Yellow and Orange Bell Peppers: These peppers are harvested at a later stage than green peppers and have a mild, sweet flavor.
- Mini Peppers: These small peppers are perfect for snacking and have a similar taste to full-sized bell peppers.
When selecting a variety, consider your local climate, as some varieties may thrive better in certain environments. For example, if you live in a warmer climate, you might want to choose a heat-tolerant variety. If you’re growing capsicum in containers, mini peppers or smaller bell pepper varieties may be easier to manage.
Step 2: Starting Capsicum from Seeds
Starting capsicum plants from seeds is a great way to grow peppers, especially if you want to control the varieties you plant. You can begin planting seeds indoors 8-10 weeks before the last expected frost in your region. This allows the plants to get a head start before being transplanted outside.
Here’s how to start capsicum seeds indoors:
- Prepare Your Containers: Use small pots, seed trays, or any containers with drainage holes. Fill them with a high-quality seed-starting mix to ensure proper germination.
- Plant the Seeds: Place 2-3 seeds per pot, about 1/4 inch deep. Press the soil gently over the seeds to cover them.
- Water and Cover: Water the soil lightly to moisten it, then cover the container with a plastic lid or plastic wrap to keep the moisture in.
- Provide Warmth: Capsicum seeds require warmth to germinate. Place the containers in a warm location, such as near a heater or on top of a seedling heat mat. The ideal temperature for germination is between 70-85°F (21-29°C).
- Provide Light: Once the seeds begin to sprout, remove the plastic cover and place the containers under grow lights or in a sunny window with at least 12-14 hours of light each day. This ensures strong, healthy seedlings.
- Thin the Seedlings: After a couple of weeks, thin out the seedlings to leave just one strong plant per pot. This prevents overcrowding and gives each plant room to grow.
Step 3: Transplanting the Seedlings
Once your capsicum seedlings are strong and have at least 2-3 sets of leaves, it’s time to transplant them outdoors. Choose a location in your garden that receives full sun, as capsicum plants require 6-8 hours of sunlight each day to thrive. Capsicum plants also need well-draining soil that is rich in organic matter.
Here’s how to transplant your capsicum seedlings:
- Harden Off the Seedlings: Before transplanting your seedlings outside, gradually acclimate them to outdoor conditions by placing them outside for a few hours each day, increasing the time each day over a week. This process is called “hardening off” and helps prevent transplant shock.
- Prepare the Soil: If you’re planting directly in the garden, loosen the soil and mix in compost to improve fertility. If you’re growing in containers, use a high-quality potting mix designed for vegetables.
- Plant the Seedlings: Dig holes slightly larger than the root ball of your seedlings, and gently place each seedling into the hole. Space the plants about 18-24 inches apart to allow them to spread out as they grow.
- Water Well: After transplanting, water the seedlings thoroughly to help them settle into their new environment.
Step 4: Providing Ongoing Care for Capsicum Plants
Once your capsicum plants are in the ground or containers, providing proper care is essential to ensure healthy growth and a bountiful harvest. Here’s what you need to do:
- Watering: Capsicum plants need regular watering, but they don’t like to sit in soggy soil. Water deeply at the base of the plant, allowing the soil to dry out slightly between waterings. Be careful not to overwater, as this can lead to root rot.
- Fertilizing: Capsicum plants are heavy feeders and benefit from regular fertilizing. Use a balanced fertilizer that is high in potassium and phosphorus to encourage fruiting. You can fertilize once a month or follow the instructions on your fertilizer package.
- Mulching: Apply a layer of mulch around the base of the plants to retain moisture, keep the soil temperature stable, and reduce weed growth.
- Pruning: Capsicum plants generally don’t require heavy pruning, but removing any dead or yellowing leaves can help improve airflow around the plant. You can also pinch off the first few flowers to encourage stronger plant growth and more peppers later on.
Step 5: Harvesting Your Capsicum Peppers
The time to harvest your capsicum peppers depends on the variety and your personal preference. Most peppers are harvested when they reach their full size and color, but you can harvest them earlier if you prefer a more tangy taste.
Here’s how to harvest capsicum:
- Check for Color: Bell peppers change color as they ripen, from green to yellow, orange, red, or purple, depending on the variety.
- Use Pruners: When harvesting, use sharp garden pruners or scissors to cut the peppers from the plant, leaving a small portion of the stem attached to the fruit. Avoid pulling the peppers off by hand, as this can damage the plant.
- Store Your Harvest: Freshly picked peppers can be stored in the refrigerator for up to a week. You can also freeze them for long-term storage, or preserve them by pickling or drying.
Conclusion: A Rewarding Experience in Your Garden
Growing capsicum plants is a gratifying and relatively easy gardening skill to master. Whether you’re growing them in a garden bed, raised bed, or container, these plants will reward you with delicious, homegrown peppers that are perfect for salads, stir-fries, or even stuffed peppers.
By following these essential steps, you’ll have your own thriving capsicum plants in no time. So, roll up your sleeves, get your hands dirty, and start growing your own fresh, flavorful peppers today!
Motivate Interaction:
Are you ready to grow your own peppers? Share your capsicum planting journey with us and don’t forget to tag us with your harvest pictures! 🌶️ Let’s grow together!
#GrowYourOwnFood #CapsicumPlant #HomegrownPeppers #GardeningTips #VegetableGarden #DIYGarden #GreenThumb #GardeningCommunity #FreshPeppers #GardeningJoy