
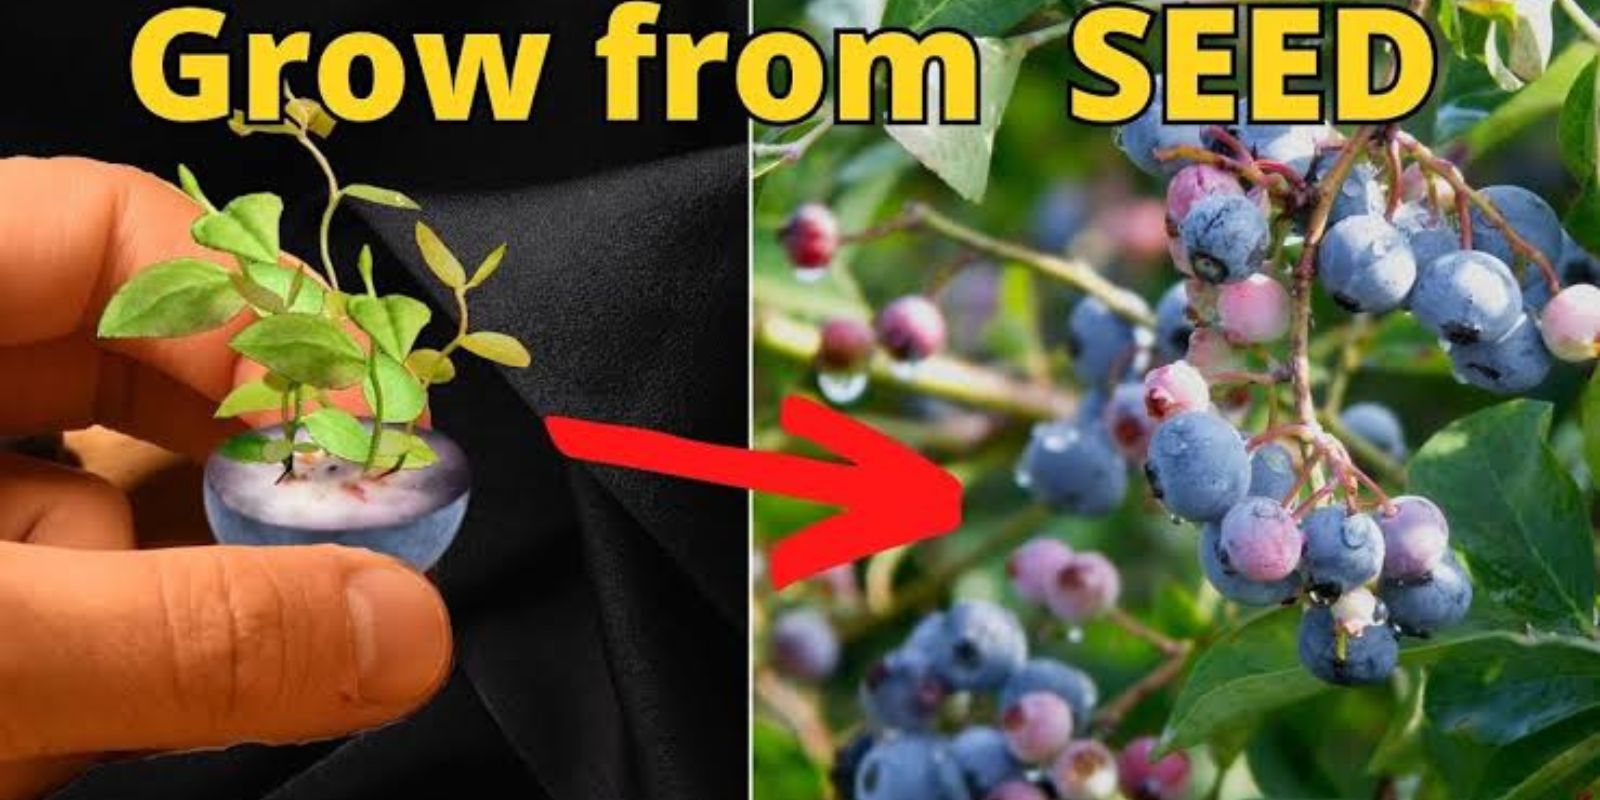
If you’re a fan of fresh, juicy blueberries and dream of having your own blueberry bush in your garden, you’ll be pleased to know that you don’t need to buy expensive plants from a nursery to grow your own! You can start your very own blueberry plants right from the blueberries you buy at the store. While it’s true that growing blueberries from seeds can take a little patience and effort, it’s also incredibly rewarding. In this article, we’ll take you through the process of growing blueberries from store-bought berries, from selecting the right fruit to nurturing your new plants.
Why Grow Blueberries from Store-Bought Fruit?
Blueberries are not only delicious but also packed with nutrients like antioxidants, vitamins, and minerals. Growing them at home can save you money and give you access to fresh, homegrown berries that taste much better than store-bought ones. While you might be familiar with the idea of starting plants from seeds in general, many don’t realize that blueberries can also be grown from the berries you buy at the store, provided you follow a few crucial steps.
The process of growing blueberries from store-bought berries may take some time and patience, but it is a rewarding gardening project for anyone interested in homegrown fruits. By growing your own blueberries, you can enjoy fresh fruit all year round and save money on purchasing new plants. Let’s take a closer look at how to grow blueberries from store-bought berries and ensure that your new plants thrive.
Step 1: Choose Fresh, Organic Blueberries
The first step in growing blueberries from store-bought fruit is to select the right berries. Not all blueberries will work well for this purpose. The best type of blueberries to use are fresh, organic blueberries. Organic berries are free from pesticides and chemicals, which can inhibit seed germination. You want to give your seeds the best chance of success, so make sure the berries you choose are untreated.
Look for plump, ripe blueberries, and avoid those that are overripe or have been sitting in the fridge for too long. Fresh berries will have a higher likelihood of germination, and the seeds inside will be more viable.
Step 2: Extract the Seeds
Once you’ve selected your fresh blueberries, it’s time to extract the seeds. The first step is to mash the berries to separate the seeds from the pulp. You can do this by gently pressing the berries between your fingers or using a spoon. Once the berries are mashed, you’ll notice the small seeds inside.
Rinse the seeds thoroughly under running water to remove any remaining pulp or juice. You can use a fine mesh sieve to make this process easier. After rinsing, place the seeds on a paper towel or a clean cloth to dry. The drying process is essential because wet seeds can lead to mold growth, which can hinder germination.
Step 3: Soak the Seeds
Before planting the seeds, they will need to be soaked to help them germinate. Place the seeds in a small bowl of water and let them soak for about 24 hours. This soaking process helps break down the seed coat, allowing for faster and more successful germination. After 24 hours, drain the water and allow the seeds to dry for a few hours before planting.
Step 4: Prepare the Soil
Blueberries are acid-loving plants, meaning they thrive in acidic soil. In order to create the best growing environment for your blueberry seeds, you need to ensure the soil is acidic enough. Rhododendron or azalea soil works well for blueberries, as it has the right pH balance.
You can either purchase this specialized soil from a garden center or make your own by mixing peat moss and perlite. Avoid using regular garden soil, as it is often too alkaline for blueberries to grow properly. The pH level of the soil should be around 4.5 to 5.5 for optimal growth.
Fill a small container, such as a seed tray or a small pot, with your prepared acidic soil. Make sure the container has drainage holes to prevent water from collecting at the bottom, which can cause root rot. After filling the container with soil, use a flat tool (like a small piece of wood or a ruler) to lightly press down on the soil to ensure it is firm.
Step 5: Plant the Seeds
Now that you have your soil prepared and your seeds are ready, it’s time to plant them. Plant the seeds on the surface of the soil, spacing them out evenly. You don’t need to bury the seeds too deeply, as they will need light to germinate. Simply sprinkle the seeds across the surface and gently press them into the soil with your fingers.
Lightly water the soil with a fine spray to moisten it. Be sure not to oversaturate the soil, as excess moisture can lead to mold growth. You want to maintain a consistently moist environment without making the soil soggy.
Step 6: Provide Indirect Light
Blueberry seeds need warmth and light to germinate, but direct sunlight can be too harsh for newly planted seeds. Place the container in a location with indirect light, such as a bright windowsill, and ensure that the temperature stays between 60-70°F (15-21°C). If you live in a particularly cold climate, you can also place a clear plastic dome or a plastic wrap over the container to maintain humidity levels and warmth.
Keep in mind that blueberry seeds can take several weeks to germinate, so don’t worry if you don’t see immediate results. During this time, be sure to check the soil regularly to make sure it stays moist but not waterlogged.
Step 7: Keep the Soil Moist
After planting the seeds, it’s important to maintain consistent moisture. Blueberries require regular watering to thrive, but it’s essential to avoid overwatering. Water the soil carefully, ensuring that it stays moist but not saturated. The best way to water blueberries is to use a watering can with a fine spout to ensure the water is distributed evenly over the soil. Water the seeds gently, taking care not to disturb them.
Step 8: Be Patient for Germination
Patience is key when growing blueberries from seeds. It can take several weeks for the seeds to germinate and sprout into small plants. While waiting, continue to provide the right environment—adequate moisture, indirect light, and a warm temperature. If you see mold forming on the soil’s surface, gently scrape it away and ensure that the soil remains properly aerated.
Once the seedlings have grown large enough to handle, you can transplant them into larger pots or directly into your garden, depending on the growing conditions in your area.
Step 9: Care for the Seedlings
As your blueberry seedlings grow, it’s important to continue providing the proper care. Blueberries thrive in acidic soil, so be sure to check the soil’s pH regularly. You can also provide additional nutrients by using a slow-release, organic fertilizer designed for acid-loving plants. Keep the seedlings in a location with plenty of light and continue to water them as needed.
Conclusion: Growing Blueberries from Store-Bought Fruit
Growing blueberries from seeds taken from store-bought fruit is a rewarding and sustainable way to create your own berry plants at home. Although the process requires patience and attention to detail, the end result is worth it: fresh, homegrown blueberries right in your garden! Whether you’re growing blueberries in containers or in the ground, following these steps will help you successfully grow your own blueberries from store-bought fruit.
By following these simple steps—choosing fresh, organic blueberries, extracting the seeds, soaking them, planting in acidic soil, and caring for your seedlings—you’ll be on your way to enjoying your own blueberries in no time. And remember, growing blueberries from seed can take a while, so be patient and enjoy the process. Happy gardening!