
Ashwagandha, scientifically known as Withania somnifera, is an herb with a long history of use in traditional medicine, especially in Ayurvedic healing. Often referred to as “Indian ginseng” or “winter cherry,” this hardy plant is known for its ability to help the body manage stress, enhance stamina, and improve overall well-being. Growing your own Ashwagandha can provide you with a fresh supply of this powerful herb, all while offering a rewarding gardening experience. Whether you are interested in cultivating it for its medicinal benefits or as part of your herb garden, Ashwagandha is relatively easy to grow with a little knowledge and patience.
In this article, we will walk you through the process of growing Ashwagandha at home, from selecting the right location to harvesting the plant’s roots, which contain the active compounds that make Ashwagandha so special.
Why Grow Ashwagandha?
Before we dive into the specifics of how to grow Ashwagandha, it’s worth exploring why you might want to grow it in the first place. Aside from its medicinal uses, which range from reducing stress to enhancing mental clarity and supporting immune health, Ashwagandha is an adaptable and hardy plant. It grows well in a variety of climates and soil types, making it an excellent addition to your garden or even your indoor plant collection. Moreover, it’s easy to cultivate, requiring only a few basic care steps.
Health Benefits of Ashwagandha
Ashwagandha has been revered for centuries in traditional healing practices due to its broad spectrum of health benefits. Some of the key benefits include:
- Stress Reduction: Ashwagandha is classified as an adaptogen, meaning it helps the body adapt to stress by regulating hormone levels and boosting the body’s resilience to stressful situations.
- Increased Energy and Stamina: Regular consumption of Ashwagandha is said to increase energy levels, improve stamina, and reduce fatigue.
- Immune System Support: It has immune-boosting properties, helping the body fight off infections and illnesses.
- Improved Sleep Quality: Ashwagandha has mild sedative properties, making it beneficial for improving sleep quality and addressing issues such as insomnia.
- Enhanced Cognitive Function: Ashwagandha may help improve memory, focus, and mental clarity.
By growing your own Ashwagandha, you gain access to these health benefits in a fresh, organic form.
How to Grow Ashwagandha: Step-by-Step Guide
Now that you know why Ashwagandha is worth growing, let’s dive into how you can cultivate it. Growing Ashwagandha requires patience, as it’s a long-term plant that takes several months to mature, but the rewards are well worth it.
1. Choosing the Right Location
Ashwagandha thrives in warm, dry climates, so selecting the right spot is essential. Ideally, you should plant Ashwagandha in an area where it will receive full sunlight for at least 6-8 hours a day. The plant is native to India and the Middle East, where it grows in regions with hot summers and moderate rainfall, so it mimics these conditions best.
2. Preparing the Soil
Ashwagandha prefers slightly sandy, well-draining soil. Before planting, prepare the soil by ensuring it drains well and is rich in organic matter. You can improve the soil’s drainage and fertility by adding compost or well-rotted manure. Ashwagandha grows well in slightly alkaline to neutral soil, with a pH of 7 to 8.
It’s crucial to ensure the soil isn’t too heavy, as the roots of Ashwagandha may struggle to establish in overly compact or clay-heavy soil. If you’re planting in a container, choose a pot with drainage holes to prevent waterlogging, which could rot the roots.
3. Sowing Seeds
Ashwagandha can be grown from seeds, which are widely available online or at specialty herb nurseries. The seeds are small, so handle them carefully during planting.
- Step 1: Fill a seed tray or small pots with a well-draining seed-starting mix.
- Step 2: Sprinkle the Ashwagandha seeds over the surface of the soil and press them down lightly.
- Step 3: Cover the seeds with a thin layer of soil (about ¼ inch deep).
- Step 4: Water gently, ensuring the soil remains moist but not soaked.
- Step 5: Place the pots or trays in a warm, sunny location. Ashwagandha needs a temperature of at least 70°F (21°C) to germinate. If you’re starting seeds indoors, consider using a grow light to supplement natural light.
Ashwagandha seeds generally take between 7 and 15 days to germinate. Once the seedlings appear, allow them to grow in their containers until they are strong enough to be transplanted.
4. Transplanting Seedlings
When the seedlings are large enough to handle (usually around 4-6 inches tall), you can transplant them to their permanent location in your garden or into larger pots. Be sure to space the plants about 2 feet apart to give them room to grow.
Ashwagandha is a slow-grower, so don’t be alarmed if the seedlings don’t show rapid growth at first. However, once they’re established, they’ll grow quickly, reaching 2-3 feet in height. The plants will also spread out horizontally as they mature, so allow them enough space.
5. Watering and Care
While Ashwagandha is relatively drought-tolerant once established, it does need regular watering while it’s growing. Water the plants when the soil feels dry to the touch, but avoid overwatering, as this can lead to root rot. Ashwagandha thrives in dry conditions, so be sure to let the soil dry out between waterings.
Mulching around the base of the plant can help retain moisture and keep the soil temperature consistent. However, keep the mulch a few inches away from the plant’s stems to prevent rot.
6. Fertilizing Ashwagandha
Ashwagandha doesn’t require heavy fertilization, as it thrives in nutrient-poor soil. However, you can give it a boost by adding a small amount of organic compost or a balanced, slow-release fertilizer once or twice during the growing season. This will help the plant grow strong roots and produce more leaves.
Avoid over-fertilizing, as this can encourage excessive leafy growth at the expense of root development. Since the medicinal benefits of Ashwagandha come from its roots, it’s important to maintain a balance in feeding.
7. Pest Control and Disease Prevention
Ashwagandha is generally resistant to pests and diseases. However, it’s important to keep an eye out for common garden pests like aphids, caterpillars, and spider mites. Organic insecticidal soap or neem oil can be used to manage pests safely.
If you’re growing Ashwagandha indoors, ensure that the plants are in a well-ventilated area to avoid fungal issues, especially during the rainy season. Good air circulation can help prevent problems like mildew or root rot.
8. Harvesting Ashwagandha
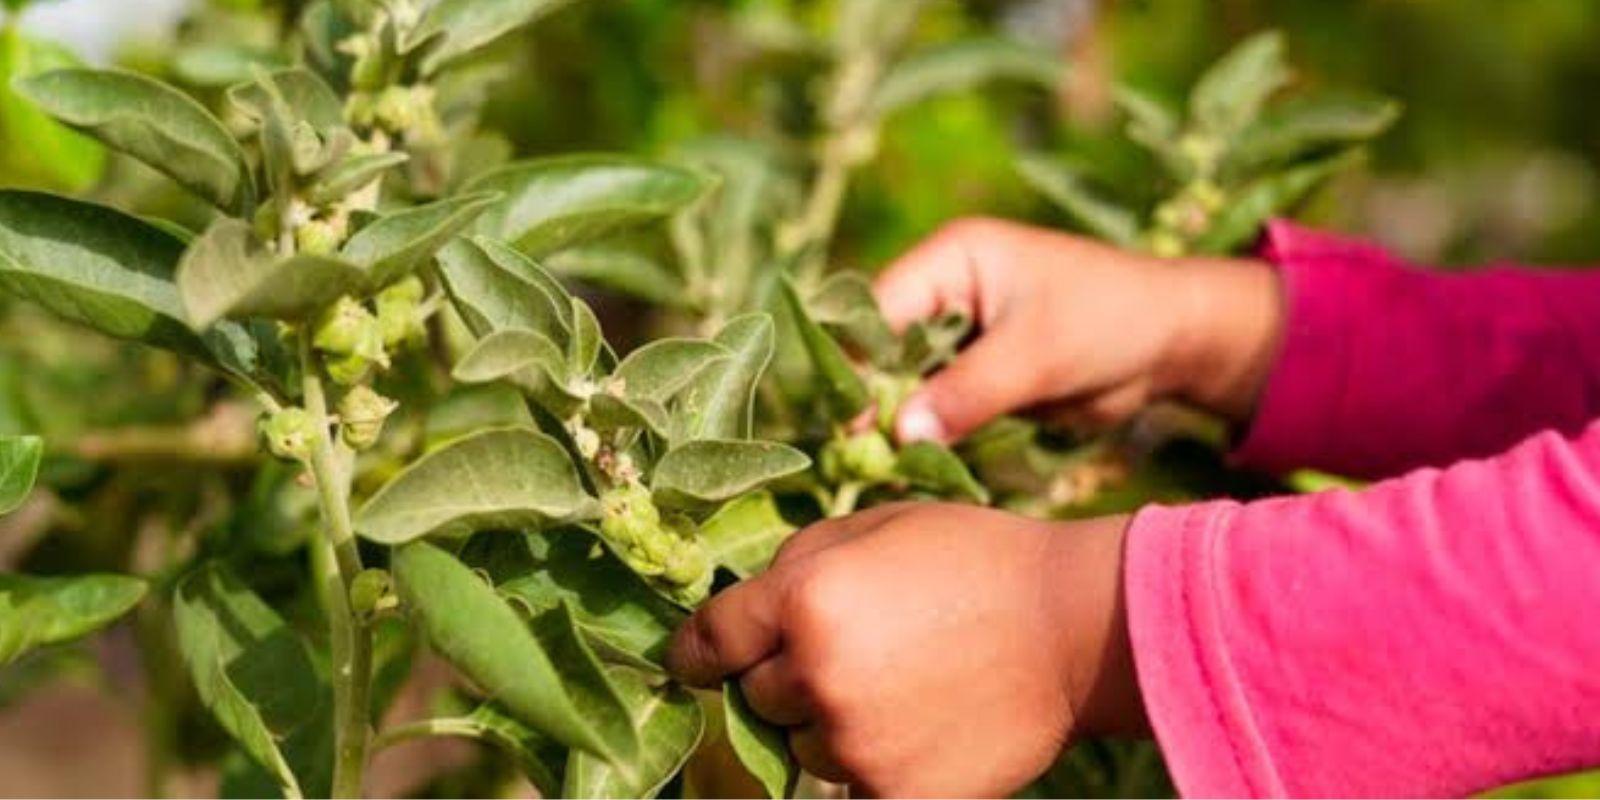
One of the most exciting aspects of growing Ashwagandha is the harvest. The plant’s roots are the main source of its medicinal properties, so it’s important to wait until the roots are fully developed before harvesting.
- When to Harvest: Ashwagandha takes about 6 months to mature. The best time to harvest the roots is when the plant has started to die back, usually in the late summer or early fall. The leaves will yellow, and the plant will begin to dry out.
- How to Harvest: Carefully dig up the plant with a shovel or garden fork. Gently remove the roots from the soil, being careful not to break them. Once harvested, wash the roots thoroughly and allow them to dry.
You can use the fresh roots immediately or dry them for later use. To dry Ashwagandha roots, simply place them in a well-ventilated area away from direct sunlight and allow them to dry completely. Once dried, you can grind the roots into powder for use in teas, capsules, or other preparations.
Final Thoughts
Growing Ashwagandha is an enjoyable and rewarding gardening project. It’s a resilient plant that thrives with minimal care and provides valuable medicinal benefits for your health. By following the steps outlined above, you can successfully grow your own Ashwagandha and enjoy the benefits of this ancient herb right from your garden.
Whether you’re growing it for personal use or as part of a larger medicinal herb garden, Ashwagandha is a fantastic addition to any green space. So, why not give it a try? With patience and care, you’ll soon be able to enjoy the rewards of your hard work—healthier plants, stronger roots, and the many benefits that Ashwagandha has to offer.