
Introduction
Anise, a spice renowned for its distinct, sweet flavor, is a delightful addition to both culinary dishes and herbal remedies. Growing anise at home is not only a rewarding experience but also a practical way to enjoy fresh, aromatic seeds for cooking and seasoning. Whether you’re an experienced gardener or a beginner, cultivating anise in pots offers a manageable and satisfying gardening project. This guide will walk you through each step of growing anise from seed to spice, ensuring you have a flourishing anise plant right in your home.
1. Choosing the Right Pot
The first step in growing anise is selecting the appropriate pot. Opt for a container that is at least 6 inches deep with good drainage holes. Anise plants have a deep root system, so a pot with adequate depth will support healthy growth. Ensure the pot is made from a durable material like plastic, clay, or ceramic, which can withstand various weather conditions if placed outdoors.
2. Preparing the Soil
Anise thrives in well-draining soil that is rich in organic matter. For best results, use a high-quality potting mix designed for herbs or vegetables. You can also create your own blend by mixing equal parts of compost, peat moss, and sand. Anise prefers slightly sandy soil with a pH level between 6.0 and 7.0. Ensure the soil is loose and well-aerated to allow proper root development and drainage.
3. Sowing the Seeds
Anise seeds are relatively easy to sow. Begin by planting the seeds about 1/4 inch deep in the prepared soil. If you’re sowing multiple seeds in one pot, space them 2 inches apart to give each plant room to grow. Cover the seeds lightly with soil and gently pat down to ensure good seed-to-soil contact. Water the area lightly to moisten the soil and encourage germination.
4. Watering and Germination
After sowing, keep the soil consistently moist but not waterlogged. Anise seeds need a steady supply of moisture to germinate, which typically takes about 2 to 3 weeks. Avoid letting the soil dry out completely, as this can hinder seedling development. A fine mist from a spray bottle can help keep the soil surface moist without overwatering.
5. Providing Adequate Light
Anise plants require plenty of light to grow well. Place the pot in a sunny location where it will receive at least 6 hours of direct sunlight each day. If growing indoors, position the pot near a south-facing window or use grow lights to supplement natural light. Adequate light is crucial for healthy growth and development of the anise plant.
6. Thinning Seedlings
Once the anise seedlings have emerged and grown to about 2 inches in height, it’s time to thin them out. This step is essential to prevent overcrowding and ensure that each plant has enough space to thrive. Thin the seedlings to 6 inches apart, removing the weaker or smaller plants. Use scissors or small garden shears to make clean cuts at the soil level, avoiding damage to the remaining seedlings.
7. Maintaining the Plant
Proper maintenance is key to a successful anise harvest. Water the plants regularly, keeping the soil evenly moist but not soggy. Anise prefers moderate watering, so check the soil moisture level frequently. Fertilize the plants with a balanced liquid fertilizer every 2 to 3 weeks to provide essential nutrients for growth. Be sure to follow the manufacturer’s instructions for application rates to avoid over-fertilizing.
8. Managing Pests and Diseases
Anise is relatively resilient but can be susceptible to common garden pests such as aphids and spider mites. Inspect your plants regularly for signs of infestations and treat them promptly with organic insecticidal soap or neem oil if necessary. Additionally, ensure proper air circulation around the plants to reduce the risk of fungal diseases. Remove any yellowing or damaged leaves to keep the plant healthy.
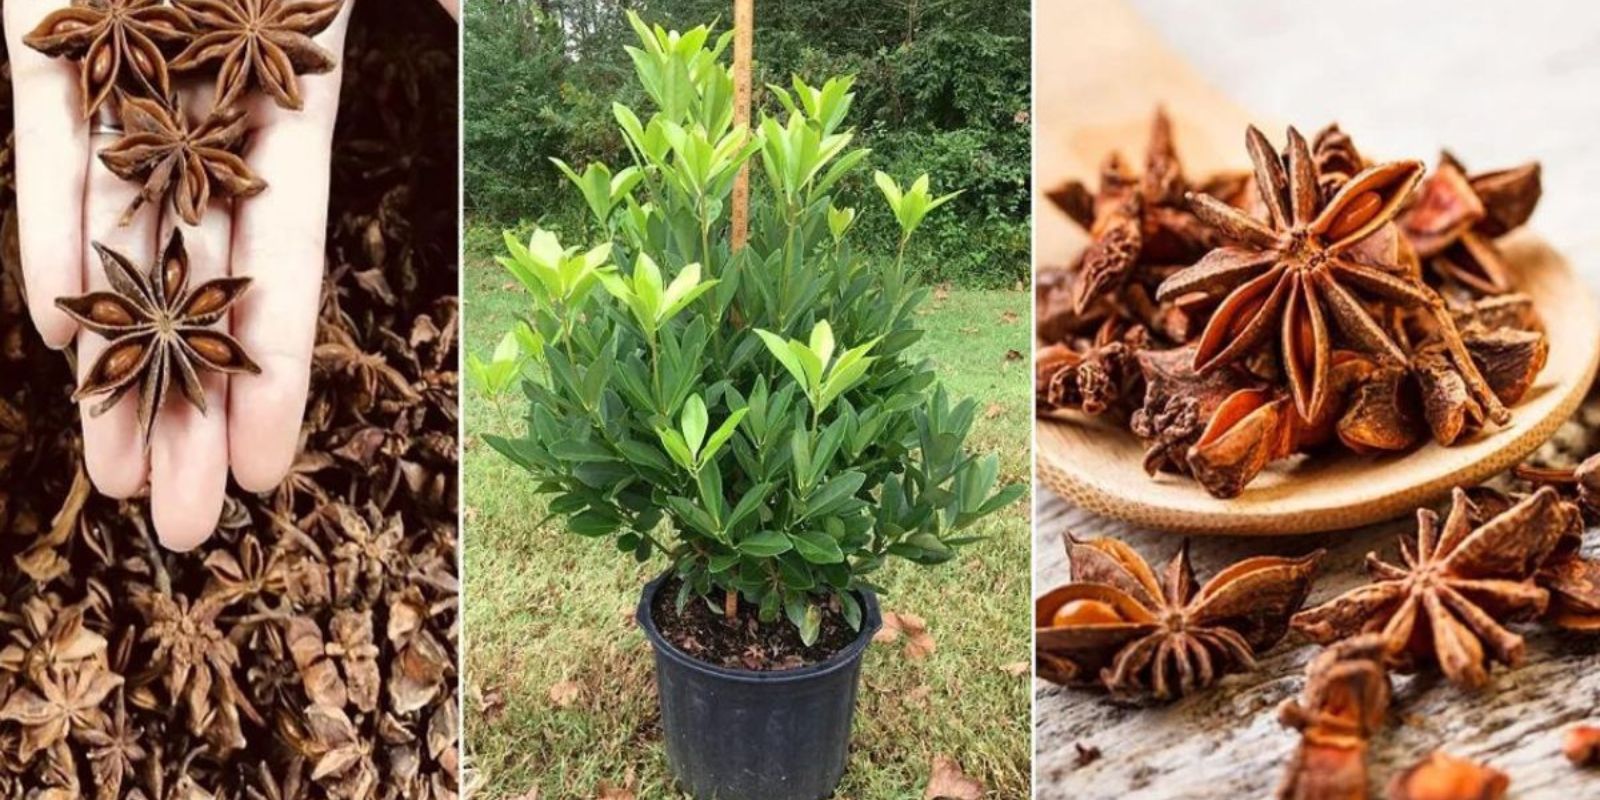
9. Harvesting Anise Seeds
Harvesting is one of the most rewarding parts of growing anise. The seeds are ready for harvest when the anise flowers have dried and turned brown. Cut the seed heads from the plants and place them in a dry, well-ventilated area to complete the drying process. Once fully dried, gently rub the seed heads between your hands to release the seeds. Store the harvested seeds in an airtight container in a cool, dark place to maintain their freshness.
10. Using Your Anise Harvest
Once harvested, anise seeds can be used in a variety of culinary and medicinal applications. They are a popular ingredient in baked goods, spice blends, and herbal teas. Freshly ground anise seeds have a more potent flavor, so consider grinding them just before use for the best taste. Anise can also be used to make liqueurs or as a natural remedy for digestive issues.
Motivational Sentence
Growing anise at home is not only an enjoyable gardening project but also a way to enhance your culinary creations with fresh, aromatic spice. Start your anise-growing adventure today and experience the satisfaction of cultivating your own delicious and versatile spice! 🌿🌟
Conclusion
By following these steps, you can successfully grow anise from seed to spice in your own pots. With proper care and attention, your anise plants will thrive, providing you with a bountiful harvest of aromatic seeds. Enjoy the process of nurturing your plants and the rewards of home-grown anise in your kitchen. Happy gardening!