
Growing your own apple tree from seeds is an exciting journey that not only brings the joy of nurturing a living plant but also rewards you with delicious fruits in the years to come. While it requires patience and dedication, the satisfaction of harvesting your apples makes the effort worthwhile. In this comprehensive guide, we will walk you through the step-by-step process of growing an apple tree from seeds, from seed selection to planting and caring for your tree. So grab your gardening gloves, and let’s get started on this fruitful adventure!
1. Understanding Apple Trees and Their Growth
Before diving into the planting process, it’s important to understand that apple trees are a member of the Rosaceae family and can take several years to produce fruit. Growing an apple tree from seed can be an exciting but challenging process due to the genetic variability in apples. The seeds from a specific apple variety might not produce identical fruit, so you may end up with a different type of apple than the one you initially enjoyed. However, this adds to the fun of the experience!
Apple Tree Varieties
There are countless apple varieties, each with unique flavors, textures, and uses. Some popular ones include:
- Granny Smith: Known for its tart flavor and crisp texture, perfect for pies and eating fresh.
- Fuji: A sweet, juicy apple that is great for snacking and salads.
- Honeycrisp: Renowned for its crunchy texture and balanced sweetness.
- Gala: A sweet apple that is perfect for fresh eating and salads.
When selecting your apple seeds, consider the flavor and use of the apple variety you enjoy most.
2. Choosing Your Seeds
To start your apple-growing journey, you need to obtain seeds. You can either purchase seeds from a reliable source or save seeds from an apple you enjoyed. If you choose to save seeds, opt for organic or heirloom varieties to improve the chances of successful growth.
Seed Extraction
To extract seeds from an apple, follow these steps:
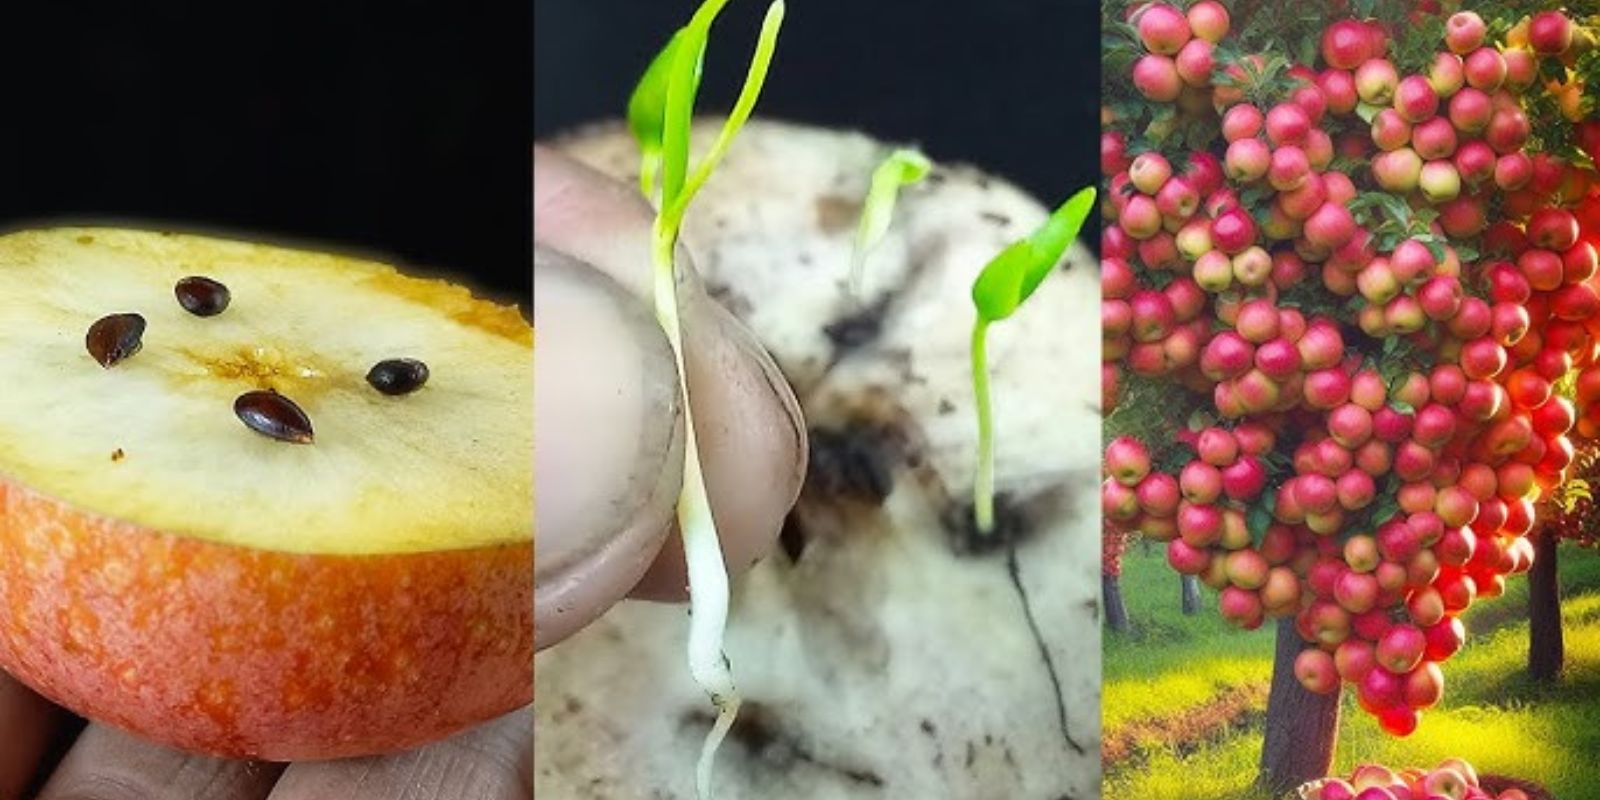
- Select a Ripe Apple: Choose an apple that is fresh and ripe. The seeds should be brown and firm.
- Cut the Apple: Cut the apple in half and carefully remove the seeds. Be cautious not to damage them.
- Clean the Seeds: Rinse the seeds in water to remove any pulp or residue. This step helps prevent mold growth during the stratification process.
3. Preparing the Seeds
After you have your seeds ready, the next step is to prepare them for germination. Apple seeds require a process called cold stratification to mimic the natural winter conditions they would experience in the wild.
Cold Stratification Process
- Soak the Seeds: Soak the cleaned seeds in water for about 24 hours. This helps soften the seed coat and aids in germination.
- Dampen Paper Towels: Place the soaked seeds in a damp paper towel.
- Plastic Bag: Put the paper towel with seeds into a plastic bag to retain moisture.
- Refrigerate: Place the bag in the refrigerator for 6-8 weeks. This mimics the cold winter conditions necessary for apple seeds to sprout.
4. Planting the Seeds
Once the cold stratification period is complete, it’s time to plant your seeds.
Choosing the Right Soil
Apple seeds thrive in well-draining soil. A mix of potting soil and perlite or sand is ideal. This combination allows for good drainage while retaining necessary moisture.
Planting Instructions
- Prepare the Pots: Fill small pots with your chosen soil mix. Make sure to leave about an inch of space at the top.
- Plant the Seeds: Plant each seed about 1 inch deep into the soil. You can plant multiple seeds in one pot but be prepared to thin them out later.
- Watering: Water the seeds gently to moisten the soil. Avoid overwatering, as this can lead to rot.
5. Providing Proper Light and Temperature
Light and temperature are crucial for the germination of apple seeds.
Optimal Light Conditions
- Bright Indirect Light: Place your pots in a location that receives bright, indirect sunlight. A south-facing window is ideal.
- Supplemental Grow Lights: If you lack sufficient natural light, consider using grow lights to provide the necessary light for at least 6-8 hours daily.
Ideal Temperature
Apple seeds prefer a warm environment for germination. Maintain a temperature between 70°F to 75°F (21°C to 24°C) for optimal growth.
6. Watering and Care
Caring for your seeds during the germination phase is essential.
Keeping the Soil Moist
- Check Moisture Levels: Regularly check the soil to ensure it remains moist but not soggy.
- Mist the Soil: If the soil appears to be drying out, mist it with water to prevent overwatering.
Thin Out the Seedlings
Once the seedlings reach about 2-3 inches tall, thin them out by removing the weaker seedlings, leaving the strongest one or two in each pot. This allows the remaining plants to grow without competition for resources.
7. Transplanting Your Seedlings
After your seedlings have developed a few sets of true leaves and are around 6-8 inches tall, it’s time to transplant them.
Preparing for Transplanting
- Choose a Suitable Location: Select a sunny spot in your garden or a larger pot for transplanting.
- Hardening Off: Gradually acclimate your seedlings to outdoor conditions over a week. Start by placing them outside for a few hours a day, increasing the time gradually.
Transplanting Instructions
- Dig a Hole: Dig a hole that is slightly larger than the root ball of your seedling.
- Transplant: Gently remove the seedling from its pot, being careful not to damage the roots. Place it in the hole and cover it with soil.
- Water: Water the transplanted seedling thoroughly to help settle the soil around the roots.
8. Ongoing Care and Maintenance
Caring for your apple tree after transplanting is essential for its growth and productivity.
Watering
- Consistent Watering: Water your apple tree regularly, especially during dry spells. Aim for about an inch of water per week.
- Mulching: Apply a layer of mulch around the base of the tree to retain moisture and suppress weeds.
Fertilizing
- Fertilize: Use a balanced fertilizer during the growing season, following the package instructions for application rates.
- Organic Options: Consider organic fertilizers such as compost or well-rotted manure to provide essential nutrients.
Pruning
- Prune Regularly: Prune your apple tree to encourage healthy growth and shape. Remove any dead or damaged branches and thin out crowded areas to improve air circulation.
- Timing: The best time to prune is in late winter or early spring before new growth begins.
9. Patience is Key
Apple trees take time to bear fruit. Typically, it can take anywhere from 5 to 10 years for an apple tree grown from seed to produce apples. This long wait can be challenging, but the anticipation and excitement of harvesting your own apples will make the journey worthwhile.
Keep Nurturing Your Tree
Continue to care for your apple tree, providing it with the necessary water, nutrients, and sunlight. Monitor for pests and diseases, taking action as needed to protect your tree.
10. Enjoying Your Harvest
Once your apple tree begins to bear fruit, you can enjoy the delicious harvest of homegrown apples. Here are a few ideas for using your apples:
- Fresh Eating: Enjoy your apples straight from the tree.
- Baking: Use them in pies, tarts, or crumbles.
- Preserves: Make homemade apple preserves or applesauce.
- Cider: If you have a large harvest, consider making homemade apple cider.
Celebrate Your Achievement
Growing an apple tree from seeds is a rewarding process that connects you with nature. Celebrate your achievements as you enjoy the fruits of your labor!
Conclusion
In conclusion, growing an apple tree from seeds requires dedication, patience, and care. By following these steps, you can successfully nurture your apple tree and eventually enjoy a bountiful harvest of fresh apples right from your backyard. Whether you choose to enjoy them fresh, bake them into delicious treats, or make cider, the fruits of your labor will be a testament to your gardening skills.
So, roll up your sleeves and embark on this exciting gardening journey. Remember, with time and care, you’ll soon be enjoying your very own homegrown apples! Happy gardening! 🍏🌳
Feel free to use this article for your gardening blog or website. If you need further adjustments or additional sections, let me know!