
Amaryllis plants are famous for their bold, trumpet-shaped flowers that bring a touch of elegance to any space. While traditionally grown in soil, cultivating amaryllis in water has become a popular, mess-free alternative. This method not only showcases the beauty of the blooms but also allows you to observe the intricate root system as it develops. Whether you’re a seasoned gardener or a beginner, this step-by-step guide will help you grow amaryllis in water with minimal effort and maximum reward.
Why Grow Amaryllis in Water?
Growing amaryllis in water is a unique way to enjoy these striking flowers. Unlike soil planting, water cultivation offers several benefits:
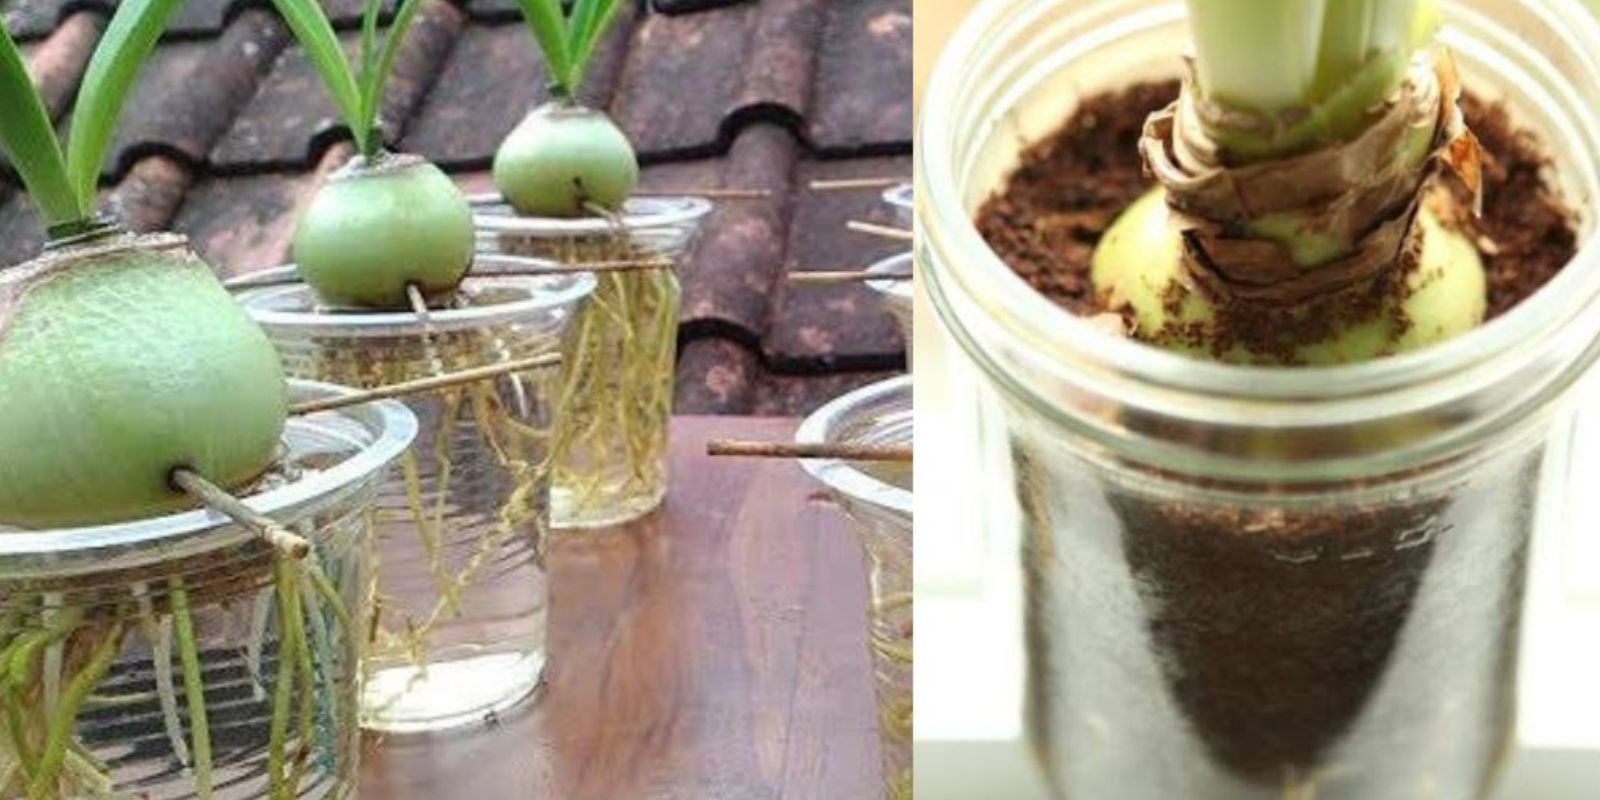
- Aesthetic Appeal: The clear container lets you admire the root system as well as the flowers.
- Low Maintenance: There’s no need for soil, fertilizers, or frequent repotting.
- Compact and Clean: Ideal for small spaces and indoor environments.
- Accessible: Perfect for gardeners of all skill levels.
Materials Needed
To get started, gather the following materials:
- Healthy amaryllis bulbs
- Clear plastic cups or glass containers
- Small pebbles, stones, or decorative marbles
- Fresh water (preferably distilled or filtered)
Step-by-Step Guide to Growing Amaryllis in Water
1. Select and Prepare the Bulb
The success of your amaryllis depends on choosing a healthy bulb. Look for one that is firm, plump, and free from mold or damage.
- If the bulb has been stored, allow it to sit at room temperature for a few hours before planting.
- Trim any dried or damaged roots carefully using a clean pair of scissors.
2. Choose the Right Container
Pick a clear plastic cup or glass container that is slightly larger than the bulb. The container should allow the bulb to rest above the water while providing enough space for the roots to grow freely.
- Tip: Transparent containers make it easy to monitor water levels and root development.
3. Add Pebbles for Support
Place a layer of pebbles, stones, or decorative marbles at the bottom of the container.
- These will act as a base to support the bulb and prevent it from tipping over.
- Make sure the layer is thick enough to stabilize the bulb.
4. Position the Bulb
Set the bulb on top of the pebble layer, with the pointed end facing upward. The base of the bulb should rest just above the water level to avoid direct contact, which can lead to rot.
5. Add Water
Pour water into the container until it just touches the bottom of the bulb.
- Avoid submerging the bulb to prevent it from rotting.
- Use distilled or filtered water for best results, as tap water may contain chemicals that can harm the bulb.
6. Provide Adequate Sunlight
Place the container in a bright location that receives indirect sunlight, such as a south- or west-facing window.
- Amaryllis bulbs thrive in warm environments, so maintain a temperature of 65–75°F (18–24°C).
- Rotate the container every few days to ensure even growth.
7. Monitor Water Levels
Check the water level regularly to ensure it remains just below the bulb. Add more water as needed, but avoid overfilling the container.
- Replace the water every two weeks to keep it fresh and oxygenated.
8. Watch for Growth
Within a few weeks, you’ll notice roots extending into the water and a flower stalk emerging from the bulb.
- Roots will develop first, followed by the stalk.
- Growth may vary depending on the bulb’s condition and environment.
9. Provide Support for the Stalk
As the flower stalk grows taller, it may become top-heavy. Use a small stake or bamboo stick to provide support.
- Tie the stalk gently with soft ties to avoid damaging it.
10. Enjoy the Blooms
After 6–8 weeks, your amaryllis will reward you with stunning blooms that last for several weeks.
- Once the flowers fade, cut the stalk back to the bulb to encourage future growth.
Post-Bloom Care
After your amaryllis has bloomed, you can either discard the bulb or prepare it for the next growing season. To do this:
- Remove the bulb from the water and let it dry out completely.
- Store it in a cool, dark place for at least 6–8 weeks to allow it to rest.
- Once rested, you can replant the bulb in water or soil for another round of blooms.
Tips for Success
- Timing: Start your amaryllis bulbs in late fall or early winter to enjoy blooms during the holiday season.
- Cleanliness: Keep the container and water clean to prevent algae growth or bacteria.
- Bulb Rotation: Rotate the container regularly to promote even growth and prevent leaning.
- Decorative Touch: Use colored pebbles or marbles for added aesthetic appeal.
Common Mistakes to Avoid
- Overwatering: Submerging the bulb in water can cause it to rot.
- Insufficient Sunlight: Without adequate light, the stalk may grow weak and spindly.
- Neglecting Water Quality: Dirty or chlorinated water can harm the bulb and roots.
Why You’ll Love Growing Amaryllis in Water
Growing amaryllis in water is a rewarding and visually appealing gardening project that brings life and color to your home. It’s perfect for anyone who wants to enjoy nature indoors without the mess of soil. The process is simple, the results are stunning, and it’s a great conversation starter for guests.
Conclusion
Amaryllis bulbs are versatile, easy to grow, and undeniably beautiful. By following this water-growing method, you can create a striking display of flowers with minimal effort. Whether you’re an experienced gardener or a beginner looking for a fun project, this guide will help you achieve spectacular blooms in no time.
What are you waiting for? Start your amaryllis-growing journey today and bring a touch of natural beauty to your home!
#AmaryllisInWater #IndoorGardening #FlowerLovers #DIYGardening #EasyGardening #BloomingBeauty