
Growing your own fruit trees from seed is a rewarding and fulfilling experience. Imagine savoring the sweet, juicy peaches from a tree that you nurtured from the very beginning! While peach trees are typically grown through grafting to ensure consistency, growing a peach tree from seed is a fun and educational project that can ultimately yield beautiful results, especially for home gardeners who enjoy a challenge.
Peach trees are hardy and adaptable, and with some patience and care, you can successfully grow one from a seed. This step-by-step guide will walk you through the process of growing a peach tree from seed, from obtaining the seed to caring for your tree as it grows.
Why Grow a Peach Tree From Seed?
While it may take a few years longer to yield fruit from a seed-grown tree compared to a grafted one, growing a peach tree from seed has its unique charm. Here are some reasons why you might want to give it a try:
- Personal Satisfaction: There’s a special sense of accomplishment in watching a tree you started from seed grow and thrive.
- Cost-Effective: Growing from seed is less expensive than purchasing a grafted tree.
- Unique Variations: Seeds from different peach varieties might result in trees with different characteristics, giving you a one-of-a-kind tree.
- Educational Experience: This process offers valuable lessons in horticulture, patience, and care, making it a great learning opportunity for gardeners of all ages.
Step 1: Harvest the Peach Seed
The first step to growing a peach tree from seed begins with selecting the right peach. Whether you’ve just enjoyed a fresh peach or have a stash of store-bought peaches, you’ll want to save the pit for your seed. Here’s how you can get started:
- Eat or Buy a Peach: Choose a ripe peach, preferably one from a local grower or farmer’s market. Fresh, non-store-bought peaches may give you better results because they tend to be more naturally grown and might be more adapted to your local climate.
- Extract the Seed: After eating the peach, carefully remove the pit (also called the stone) from the fruit. Make sure to rinse it thoroughly to remove any remaining fruit flesh. Avoid eating the pit, as it’s not edible.
Step 2: Crack the Peach Pit
Peach pits are quite hard, and the seed inside is protected by the tough exterior of the pit. To access the seed, you need to crack the pit open:
- Use a Nutcracker: Carefully use a nutcracker to break open the pit, making sure to not crush the seed inside. You can also gently tap it with a hammer, but be cautious not to damage the seed.
- Extract the Seed: Once cracked, you’ll find the actual seed inside. Remove the seed and set it aside.
At this point, you’ve now obtained the seed, and it’s time to prepare it for planting!
Step 3: Cold Stratification – Breaking Dormancy
Peach seeds, like many other fruit tree seeds, require a period of cold stratification to mimic winter conditions and break dormancy. This cold treatment encourages the seed to begin the germination process. Cold stratification helps the seed become “chilled,” which is essential for a successful germination.
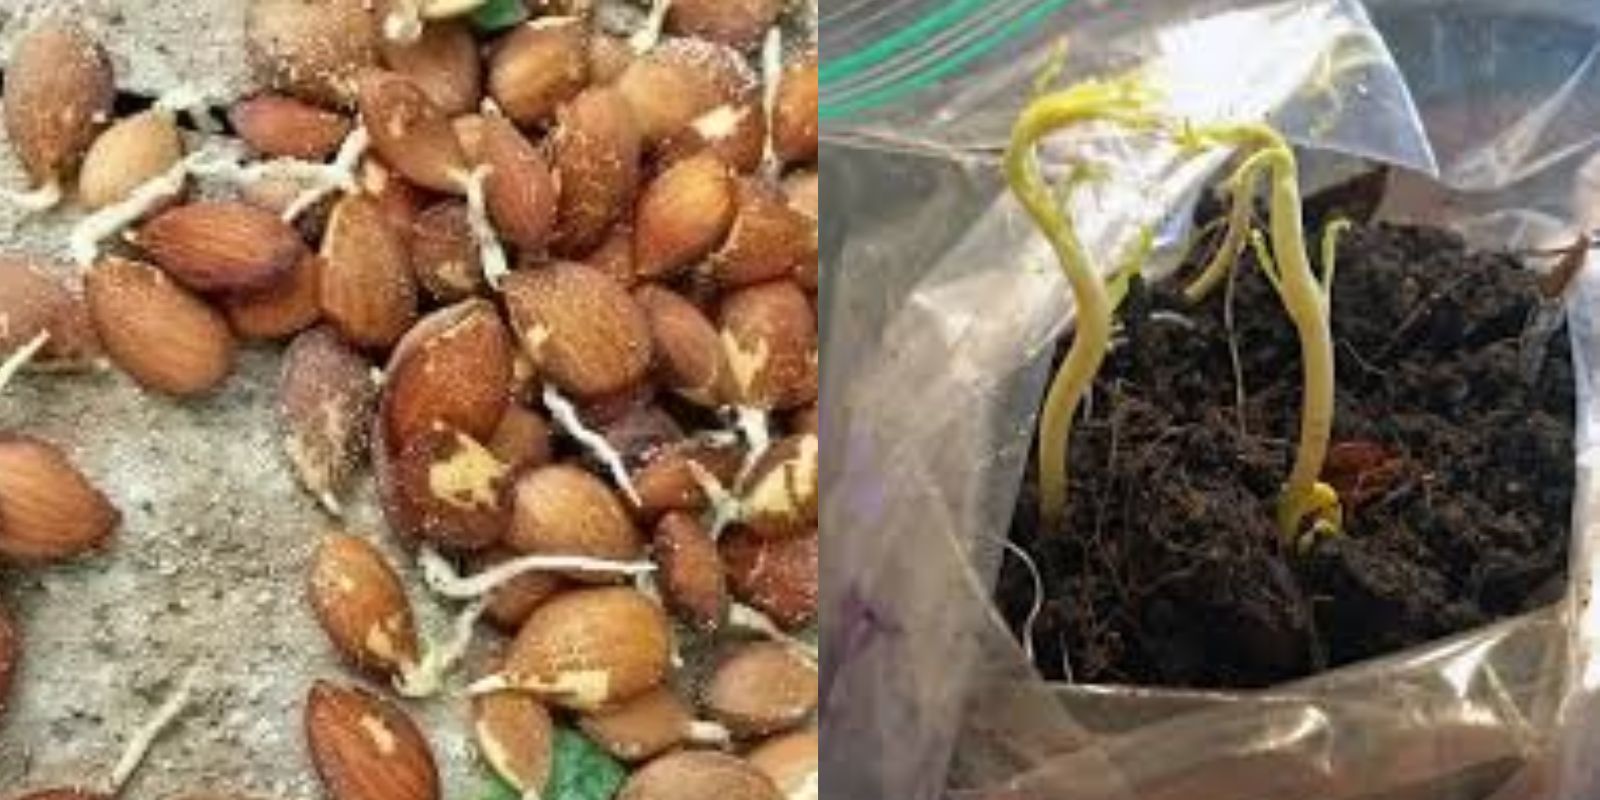
- Wrap the Seed: Place the peach seed in a damp paper towel. The towel should be slightly moist but not soaking wet.
- Place in a Bag: Put the wrapped seed into a plastic bag or small container to retain moisture. Make sure the seed is not directly exposed to air, as it could dry out.
- Refrigerate for 8-10 Weeks: Place the bag in the fridge for 8-10 weeks. The cold will simulate winter conditions and prompt the seed to start germinating.
Step 4: Prepare for Planting – Spring Is Coming!
After the cold stratification period, it’s time to plant your peach seed. As spring approaches, the seed will be ready to start its journey to becoming a tree.
- Choose the Right Pot and Soil: Select a small pot with drainage holes to allow for water flow. Use a well-draining potting mix, which will prevent the seed from becoming waterlogged and promote root health.
- Plant the Seed: Gently plant the seed about 1-2 inches deep into the soil. You can place the seed flat or on its side in the soil. Lightly cover the seed with soil, ensuring it’s not too deep, as the seed needs room to sprout.
Step 5: Caring for Your Seedling
Once planted, your peach seed will need warmth, light, and water to encourage germination. Follow these steps to help your seedling thrive:
- Keep the Soil Moist: Water the soil regularly to keep it moist but not soaking wet. It’s important to avoid overwatering, as this can lead to root rot.
- Provide Plenty of Light: Place the pot in a location with plenty of sunlight. Peach trees thrive in full sunlight, so ensuring your seedling gets at least 6-8 hours of direct sunlight each day is crucial.
- Monitor Temperature: Peach seeds need warmth to germinate, ideally between 65°F and 75°F (18°C and 24°C). Make sure the environment is warm enough for your seedling to grow.
Step 6: Transplanting the Seedling
Once the peach seedling has grown large enough to handle, it’s time to transplant it into a larger pot or into the ground. This step will vary depending on your local climate.
- Transplant into a Larger Pot: If you’re keeping your tree in a container, carefully transplant it into a larger pot once it reaches 6-8 inches tall. Make sure to use a well-draining potting mix.
- Transplant into the Ground: If you live in a region with a warm climate, you can transplant the tree into your garden or orchard once it’s big enough to handle outdoor conditions. Peach trees need full sun and well-draining soil, so choose a planting site carefully.
Step 7: Ongoing Care for Your Peach Tree
As your peach tree continues to grow, it will require ongoing care and attention to ensure it remains healthy and productive. Here are some key factors to consider:
- Watering: Keep the tree well-watered, especially during dry periods. However, be careful not to overwater, as this can lead to root rot.
- Pruning: Regularly prune your tree to encourage healthy growth and maintain its shape. Removing dead or diseased branches helps prevent the spread of pests and diseases.
- Fertilizing: Apply a balanced fertilizer during the growing season to support healthy growth. Be sure to follow the manufacturer’s instructions for the best results.
- Pest and Disease Control: Watch for common peach tree pests, such as aphids and caterpillars, and use natural pest control methods to keep them at bay.
Step 8: Patience – Waiting for Fruit
Growing a peach tree from seed is a long-term project, and it may take several years before your tree starts producing fruit. Typically, a seed-grown peach tree will begin to bear fruit in 3-4 years, but it could take longer depending on growing conditions. Remember, patience is key!
Conclusion
Growing a peach tree from seed is an exciting and educational process that allows you to witness the transformation of a small seed into a full-grown tree. With patience, care, and attention to detail, you can enjoy the fruits of your labor in the form of fresh, juicy peaches right from your backyard.
While it may take time, the satisfaction of nurturing your tree from seed to fruit-bearing tree is a rewarding experience that every gardener can appreciate. Whether you’re looking to expand your home orchard or simply enjoy the process of growing your own fruit, starting a peach tree from seed is a fun and worthwhile endeavor.
So why not start today? Grab a peach, plant the seed, and begin the journey of growing your very own peach tree! 🌳🍑
#PeachTree #FruitTreeCare #GardeningJourney #FromSeedToTree #HomeGrownFruit #OrganicGardening #GardeningTips #PlantingPeaches #GrowYourOwn #GardeningCommunity