
Germinating seeds is a crucial step in the gardening process, laying the foundation for a fruitful growing season. For many gardeners, the anticipation of seeing those first sprouts emerge from the soil is one of the most rewarding aspects of gardening. However, the germination process can sometimes be unpredictable. Fortunately, with the right techniques, you can speed up seed germination and increase your chances of growing healthy plants. In this article, we’ll explore six simple steps to help you germinate seeds quickly and effectively, ensuring your garden flourishes.
Understanding Seed Germination
Before diving into the steps, it’s essential to understand what seed germination is and the factors that influence it. Seed germination is the process by which a seed develops into a new plant. This process requires specific conditions, including moisture, warmth, and oxygen. Different seeds have varying germination times and requirements, but the basic principles remain the same.
Seeds contain a dormant embryo, which, under the right conditions, absorbs water, swells, and breaks through the seed coat. Once the seed coat splits, the root (radicle) emerges first, followed by the shoot (plumule) that develops into the stem and leaves.
Step 1: Choose Quality Seeds
The foundation of successful germination starts with the seeds themselves. Choosing high-quality seeds from reputable sources ensures better germination rates and healthier plants. Here are some tips for selecting quality seeds:
- Check the Expiry Date: Seeds have a limited shelf life, and using old or expired seeds can result in low germination rates. Always check the packet for the expiry date and choose seeds that are fresh.
- Buy from Reputable Suppliers: Purchase seeds from trusted nurseries, garden centers, or reputable online retailers. These sources often provide high-quality seeds with a proven track record.
- Consider Heirloom or Organic Seeds: Heirloom seeds are open-pollinated and have been passed down through generations, ensuring unique traits. Organic seeds are grown without synthetic pesticides or fertilizers, promoting environmental sustainability.
Step 2: Soak Seeds
Soaking seeds before planting is a simple yet effective technique to enhance germination speed. Here’s how to do it:
- Why Soak Seeds?: Soaking seeds softens the hard seed coat, allowing water to penetrate and activate the germination process. This pre-soaking technique can significantly reduce germination time for many seeds.
- How to Soak: Place the seeds in a container filled with water and let them soak for 12 to 24 hours. Be cautious not to soak them for too long, as this can lead to seed rot.
- Tip: Some seeds, like peas and beans, particularly benefit from soaking, while others may not require it. Always check the seed packet for specific recommendations.
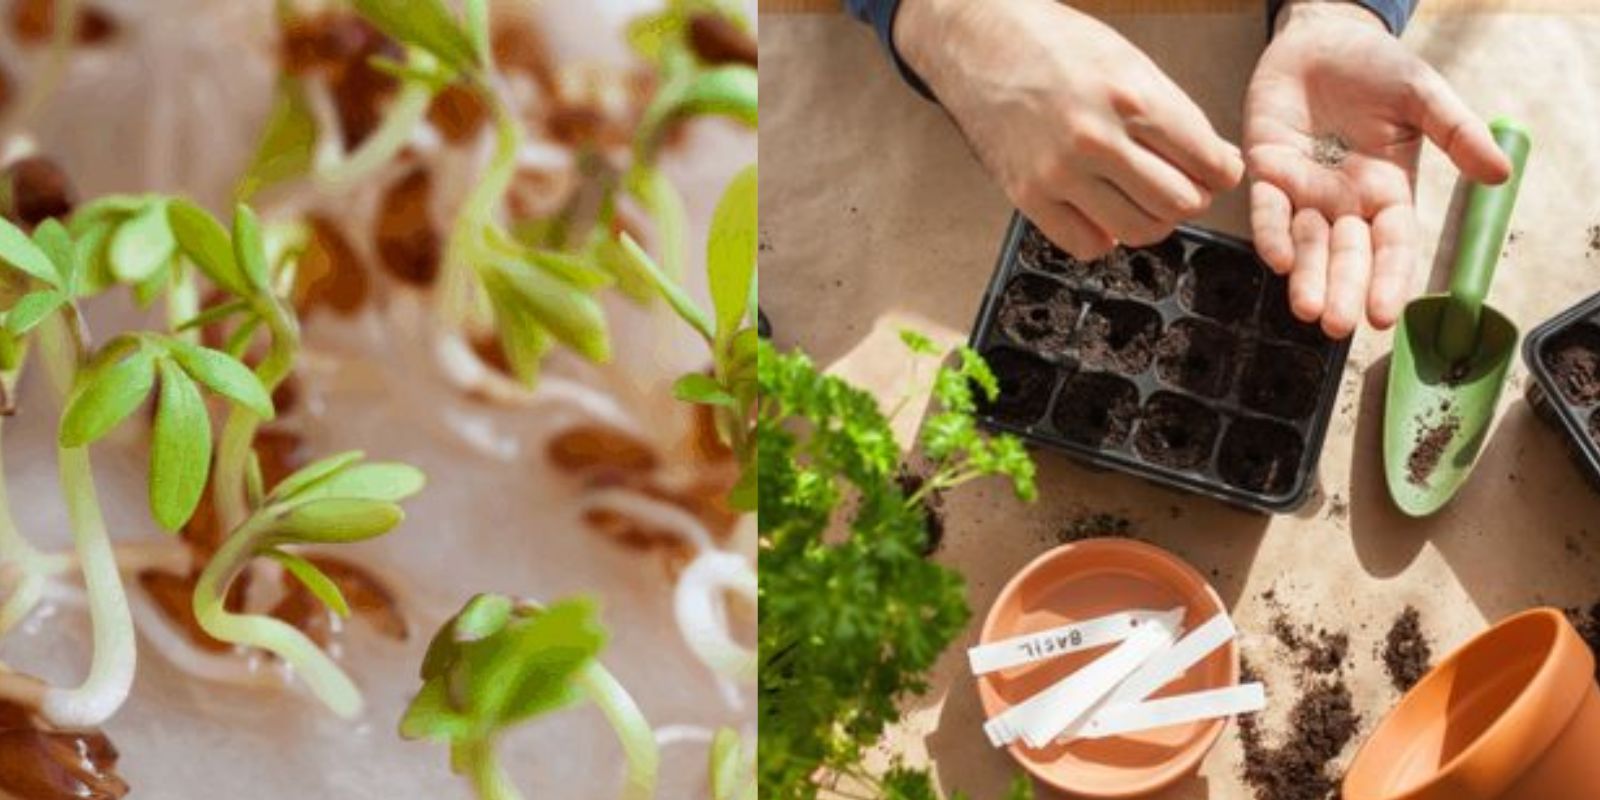
Step 3: Use a Seed Starting Mix
The medium in which you plant your seeds plays a crucial role in their germination. A seed starting mix is specifically designed to provide the ideal environment for seed germination.
- Why Use Seed Starting Mix?: Unlike regular garden soil, which can be too dense and may contain pathogens, seed starting mixes are lightweight, well-draining, and sterile. This promotes healthy root development and minimizes the risk of disease.
- Choosing a Seed Starting Mix: Look for a mix that contains peat moss, coconut coir, and perlite or vermiculite. These ingredients ensure good aeration, moisture retention, and drainage.
- Preparing the Mix: Before planting, moisten the seed starting mix with water until it’s damp but not soggy. This ensures that the seeds have the moisture they need without drowning.
Step 4: Plant at the Right Depth
Planting seeds at the correct depth is crucial for successful germination. Here’s how to do it:
- Follow Seed Packet Instructions: Seed packets usually provide specific planting depth recommendations. As a general rule, plant seeds at a depth of two to three times their size.
- Using a Ruler or Stick: If you’re unsure about the depth, use a ruler or a stick to create uniform holes in the seed starting mix. This ensures consistent planting depth for all your seeds.
- Spacing Matters: Pay attention to spacing as well. Crowding seeds can lead to competition for resources, resulting in weaker plants. Follow the recommendations on the seed packet for spacing.
Step 5: Maintain Moisture
Moisture is a critical factor for seed germination. Without adequate moisture, seeds can dry out and fail to germinate.
- Watering: After planting the seeds, gently water the soil using a spray bottle or a watering can with a fine spout. Ensure the soil is evenly moist but not waterlogged.
- Covering the Containers: To retain moisture, cover the containers with plastic wrap or a clear plastic lid to create a mini greenhouse effect. This helps maintain humidity and temperature, promoting faster germination.
- Check Moisture Regularly: Check the moisture level daily and remove the cover once the seeds begin to germinate. If the soil starts to dry out, mist it lightly with water.
Step 6: Provide Warmth and Light
Temperature and light conditions significantly impact the germination process. Here’s how to create the right environment for your seeds:
- Ideal Temperature: Most seeds germinate best at temperatures between 65°F and 75°F (18°C to 24°C). Placing your seed trays on a heat mat can help maintain consistent warmth, especially in cooler conditions.
- Providing Light: Once the seeds germinate, they will need plenty of light to grow strong and healthy. If you’re starting seeds indoors, use grow lights or place them in a sunny windowsill where they receive at least 12-16 hours of light per day.
- Rotate Seedlings: If you’re using natural light, rotate the seed trays regularly to ensure even exposure to sunlight, preventing seedlings from becoming leggy or weak.
Additional Tips for Quick Germination
- Patience is Key: While these steps can significantly speed up germination, some seeds naturally take longer than others. Be patient and monitor their progress.
- Label Your Seeds: Keep track of what you’ve planted by labeling your seed containers. This helps you remember which seeds are which, making it easier to care for them as they grow.
- Transplanting: Once seedlings develop a few true leaves, they may need to be transplanted into larger containers. This promotes healthy growth and prepares them for eventual planting in the garden.
Conclusion
Germinating seeds quickly is an essential skill for any gardener looking to maximize their growing season. By following these six steps—choosing quality seeds, soaking them, using a seed starting mix, planting at the right depth, maintaining moisture, and providing warmth and light—you can create the perfect conditions for successful seed germination.
With a little effort and attention, you’ll be well on your way to cultivating a thriving garden filled with vibrant plants. So why wait? Start your seed germination journey today and watch as your garden comes to life!
Ready to grow your own food? Share your seed germination experiences and tips with us! 🌱✨ #Gardening #SeedStarting #HomeGarden #GrowYourOwnFood #PlantCare #GardenGoals