
Gardening can be an incredibly rewarding hobby, offering not just the joy of nurturing plants but also the satisfaction of harvesting your own fruits, vegetables, and flowers. One of the most popular and effective ways to garden is through raised beds. They provide numerous benefits, such as improved drainage, better soil quality, and easier access for planting and harvesting. However, filling a deep raised bed can seem daunting, especially if you’re on a budget. In this article, we will explore simple, economical ways to fill your raised bed efficiently and effectively, ensuring that you create an environment where your plants can thrive.
Understanding the Benefits of Raised Beds
Before diving into the specifics of filling your raised bed, it’s important to understand why this gardening method is so advantageous:
- Improved Drainage: Raised beds allow excess water to drain away from plant roots, reducing the risk of rot and disease.
- Enhanced Soil Quality: You can customize the soil mix to meet the specific needs of your plants, ensuring they receive the right nutrients.
- Ease of Access: Raised beds are often easier to tend to than traditional garden plots, especially for those with mobility issues.
- Extended Growing Season: Soil in raised beds warms up more quickly in the spring, allowing for earlier planting and extended growing seasons.
- Weed and Pest Control: A well-constructed raised bed can help minimize weeds and can be designed to deter pests.
Now that you understand the benefits, let’s explore how to fill a deep raised bed without spending a fortune!
Step 1: Choose the Right Location
The first step in creating your raised bed is selecting the right location. Look for an area that receives at least 6 to 8 hours of sunlight each day. Avoid spots with heavy shade from trees or buildings. Additionally, ensure the location has good drainage—if water tends to pool in your yard after heavy rain, it may not be ideal for a raised bed.
Step 2: Gather Your Materials
Filling a raised bed doesn’t have to be expensive. In fact, many materials can be sourced for free or at a low cost. Here’s a list of materials you can use:
- Cardboard: Use old cardboard boxes to create a weed barrier.
- Leaves: Fallen leaves make an excellent carbon source.
- Grass Clippings: Fresh or dried grass clippings add nitrogen to the soil.
- Kitchen Scraps: Vegetable peels, coffee grounds, and eggshells can enrich your soil.
- Compost: If you have a compost bin, use it to add nutrients to your raised bed.
- Soil Mix: Purchase a mix of topsoil, compost, and peat moss for the best results.
- Coarse Materials: Twigs, branches, and straw can be used to fill the bottom layers.
Step 3: Layering Techniques
Now that you have your materials ready, it’s time to start layering in your raised bed. Layering helps create a healthy ecosystem for your plants, allowing for proper drainage and nutrient retention. Here’s how to do it:
1. Start with a Weed Barrier
Begin by laying down a thick layer of cardboard across the bottom of the raised bed. This will help suppress weeds and prevent them from growing up into your garden. Ensure that the cardboard is overlapping and covers the entire base of the bed. You can also wet the cardboard to help it break down over time.
2. Coarse Materials Layer
Next, add a layer of coarse materials such as small branches, twigs, or straw. This layer should be about 6 to 12 inches deep. These materials will help create air pockets for drainage and will eventually break down, adding organic matter to the soil.
3. Green Materials Layer
After the coarse layer, add a layer of green materials, which are high in nitrogen. This can include fresh grass clippings, vegetable scraps, and other kitchen waste. This layer should be about 4 to 6 inches deep. It will provide essential nutrients as it decomposes.
4. Soil Mixture
Now it’s time to fill the bed with your soil mixture. A recommended mix is one part topsoil, one part compost, and one part peat moss. This will provide a balanced environment for your plants. Fill the bed to about 2 to 3 inches from the top to allow for mulching later.
5. Water Thoroughly
After filling the raised bed, water it thoroughly to settle the soil and eliminate any air pockets. This step is crucial for ensuring that your plants have access to water and nutrients as they begin to grow.
Step 4: Planting
Once your raised bed is filled and settled, you can start planting your favorite vegetables, herbs, or flowers! Be sure to space plants according to their requirements, taking into account their mature size.
Recommended Plants for Raised Beds
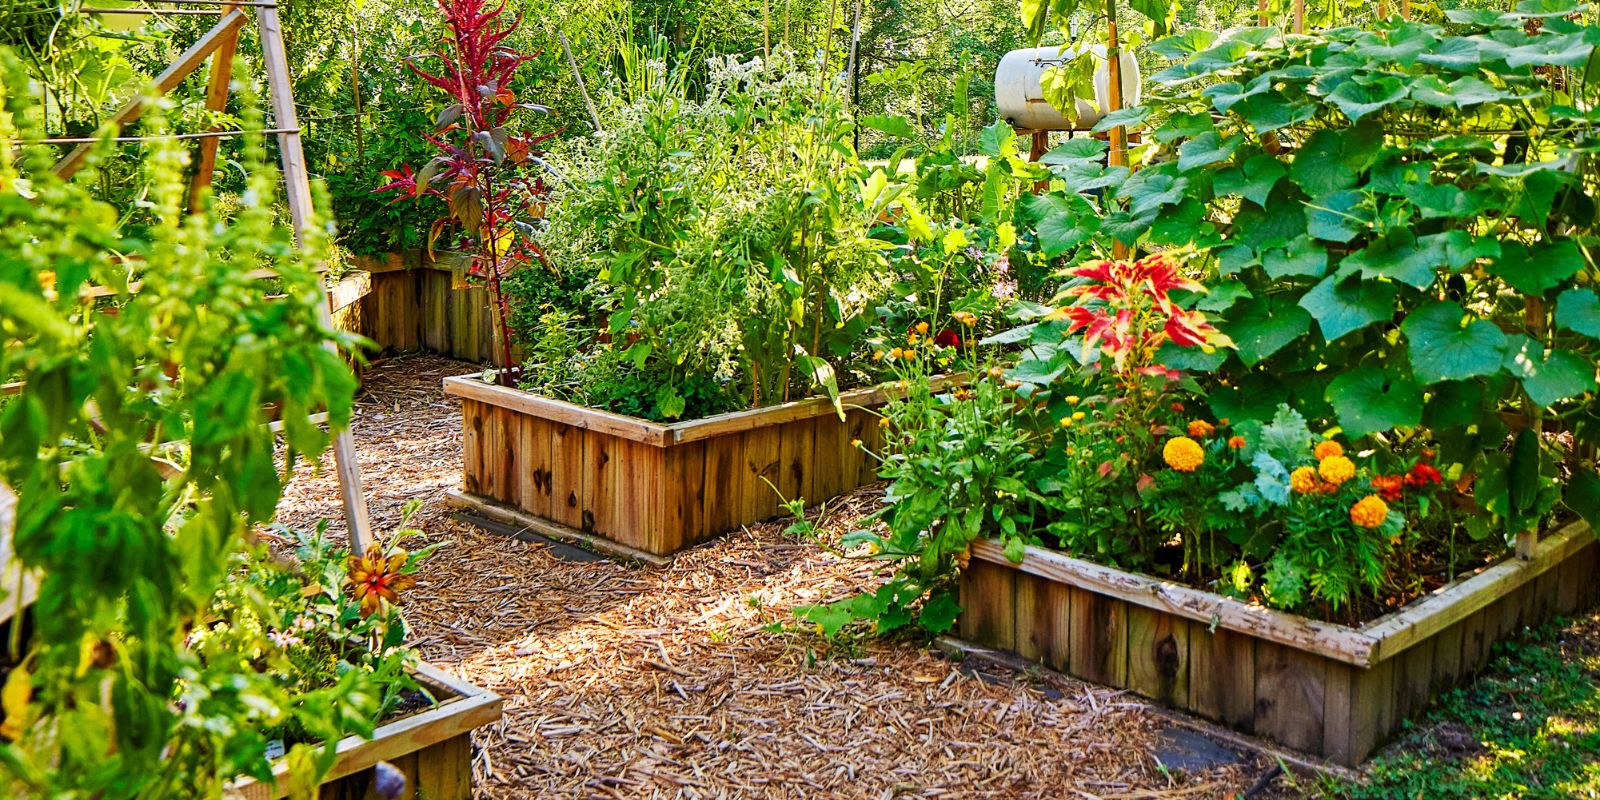
- Leafy Greens: Lettuce, spinach, and kale thrive in raised beds.
- Root Vegetables: Carrots, radishes, and beets can grow well in deep soil.
- Herbs: Basil, thyme, and cilantro are great options for small spaces.
- Flowers: Marigolds and zinnias can attract pollinators and add color to your garden.
Step 5: Maintenance and Care
Maintaining a raised bed garden is relatively simple. Here are some tips for keeping your plants healthy:
- Mulching: Add a layer of mulch on top of the soil to retain moisture, suppress weeds, and regulate soil temperature.
- Regular Watering: Monitor the moisture level and water when necessary, especially during dry spells.
- Fertilizing: Depending on the plants you choose, you may need to add organic fertilizers throughout the growing season.
- Pest Control: Keep an eye out for pests and diseases. Use natural remedies, such as insecticidal soap or neem oil, to treat any infestations.
Conclusion
Creating and filling a deep raised bed garden doesn’t have to be an overwhelming or expensive task. By following these steps, you can create an efficient, nutrient-rich environment for your plants while sticking to a budget.
Get Started Today!
Now that you have the knowledge and steps to fill your raised bed, it’s time to get started on your gardening journey. Not only will you enjoy fresh produce and beautiful flowers, but you’ll also experience the therapeutic benefits of gardening.
Whether you’re a seasoned gardener or a beginner, a raised bed can be a fantastic addition to your home. Get out there, roll up your sleeves, and enjoy the fruits (and vegetables) of your labor! Happy gardening! 🌱
#GardeningTips #RaisedBedGardening #DIYGarden #SustainableGardening #GrowYourOwnFood #GardenInspiration