
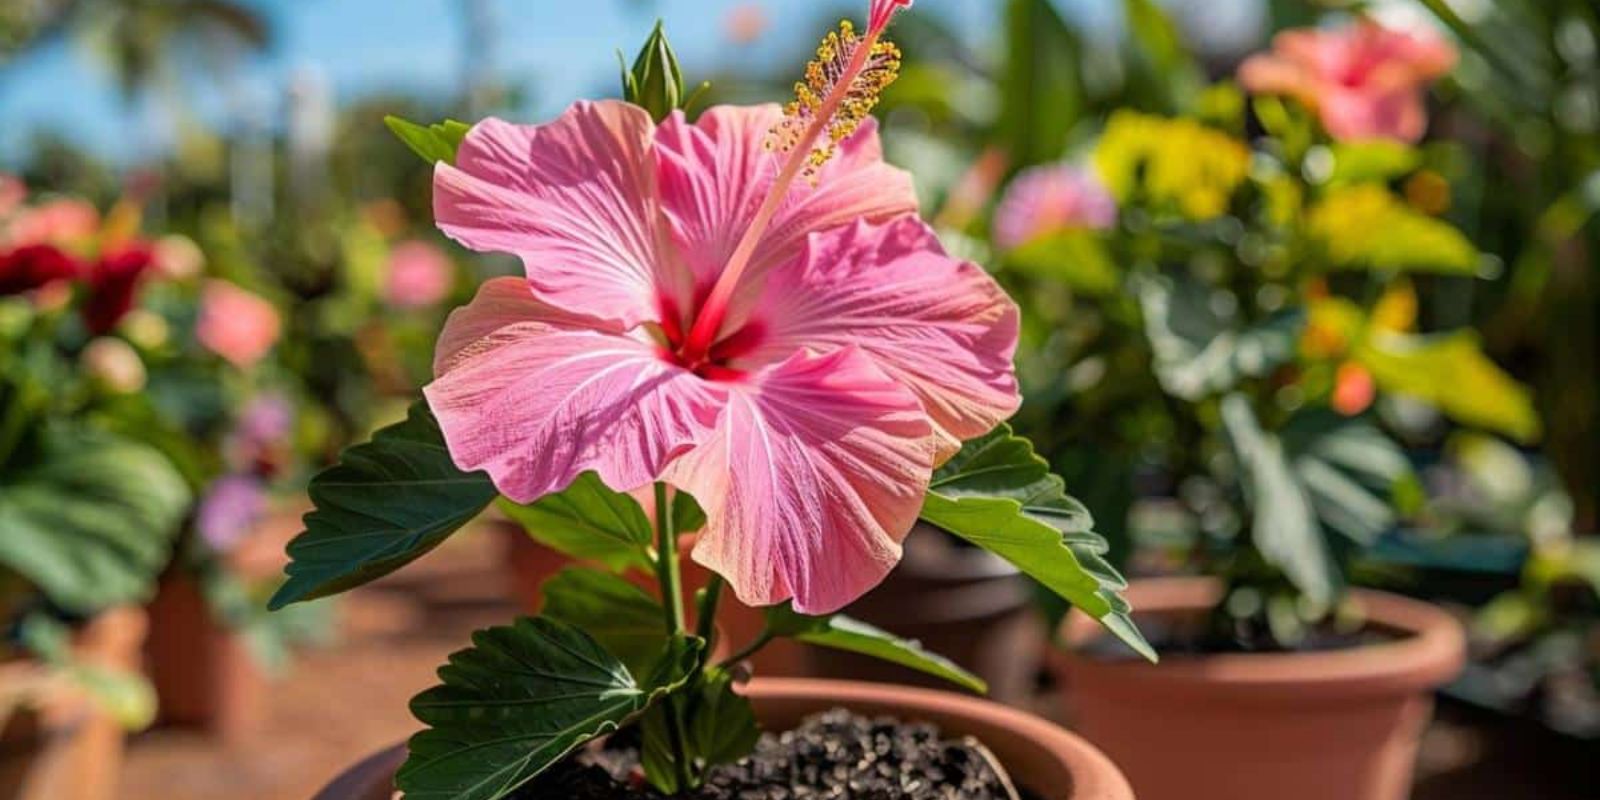
Growing hibiscus plants from cuttings is a fantastic way to expand your garden or indoor space with these stunning tropical flowers. Known for their large, vibrant blooms and lush green foliage, hibiscus plants can be propagated relatively easily if you follow the right steps. This comprehensive guide will walk you through the process of growing hibiscus from cuttings, ensuring that you can enjoy beautiful blooms in no time.
Why Grow Hibiscus from Cuttings?
Hibiscus plants are prized for their striking flowers and are a favorite among gardeners for adding a touch of the tropics to any space. Growing hibiscus from cuttings offers several benefits:
- Cost-Effective: Propagating from cuttings is often less expensive than purchasing new plants.
- Personalization: You can create a collection of hibiscus varieties and colors that suit your preferences.
- Expansion: It’s a great way to share plants with friends and family or to enhance your garden without buying new plants.
Materials Needed
Before you start, gather the following materials:
- Healthy hibiscus plant
- Sharp, clean scissors or pruning shears
- Rooting hormone (optional, but recommended)
- Pot with drainage holes
- Well-draining soil mix (e.g., peat moss and perlite)
- Plastic bag or clear plastic dome
- Watering can or spray bottle
Step-by-Step Guide to Growing Hibiscus from Cuttings
1. Select Healthy Cuttings
To begin, choose a healthy hibiscus plant from which to take cuttings. Look for non-flowering stems that are 4-6 inches long. These stems should be healthy, green, and free of any disease or damage.
- Cut the Stem: Use sharp, clean scissors or pruning shears to make a clean cut just below a leaf node (where a leaf attaches to the stem). This will help the cutting root more effectively.
2. Prepare the Cutting
Once you have your cutting, prepare it for planting:
- Remove Lower Leaves: Strip the lower leaves from the cutting, leaving just the top set of leaves. This helps the cutting focus its energy on developing roots rather than sustaining excess foliage.
- Dip in Rooting Hormone: For better results, dip the cut end of the stem into rooting hormone powder. This hormone stimulates root growth and increases the likelihood of successful propagation.
3. Plant the Cutting
Next, it’s time to plant your cutting:
- Choose the Right Pot: Select a small pot with drainage holes to prevent waterlogging. Fill the pot with a well-draining soil mix, such as a combination of peat moss and perlite.
- Insert the Cutting: Make a small hole in the soil using a pencil or stick. Insert the cutting into the hole, ensuring that at least one leaf node is buried in the soil. Gently firm the soil around the cutting to secure it in place.
- Water the Cutting: Lightly water the soil to settle it around the cutting. Be careful not to overwater, as this can lead to rot.
4. Create a Humid Environment
Cuttings require a humid environment to encourage root development:
- Cover with Plastic: Place a plastic bag or clear plastic dome over the pot to create a mini greenhouse effect. This will help retain moisture and create a warm, humid environment ideal for rooting.
- Positioning: Place the pot in a bright, warm location. It should receive indirect sunlight, as direct sunlight can be too intense for the cutting.
5. Monitor and Water
Proper care is crucial during the rooting process:
- Check Moisture Levels: Keep the soil consistently moist but not waterlogged. Check the soil regularly and water as needed.
- Ventilation: Occasionally remove the plastic cover to allow fresh air to circulate and prevent mold growth. Ensure that the environment remains humid but not excessively wet.
- Root Development: After a few weeks, gently tug on the cutting to check for root development. If you feel resistance, the cutting has likely developed roots.
6. Transplant the Rooted Cutting
Once the cutting has developed a healthy root system and shows signs of new growth, it’s time to transplant:
- Prepare a Larger Pot: Choose a larger pot or prepare a garden bed with well-draining soil.
- Transplant the Cutting: Carefully remove the rooted cutting from its small pot. Plant it in the new container or garden bed, ensuring that the soil level is the same as it was in the smaller pot.
- Water Thoroughly: Water the newly transplanted hibiscus thoroughly to help it settle into its new environment.
Care and Maintenance
After transplanting, continue to care for your hibiscus plant to ensure its continued health and blooming:
- Light: Hibiscus plants thrive in bright, indirect light. If growing indoors, place them near a sunny window. Outdoors, choose a spot with full sun to partial shade.
- Watering: Keep the soil consistently moist but not soggy. Water when the top inch of soil feels dry.
- Fertilizing: Feed your hibiscus plant with a balanced fertilizer every 4-6 weeks during the growing season (spring and summer). Follow the manufacturer’s instructions for application.
- Pruning: Regularly prune your hibiscus plant to encourage bushier growth and remove any dead or damaged stems.
Troubleshooting Common Issues
1. Wilting Leaves: If your hibiscus leaves are wilting, it may be due to underwatering or overwatering. Check soil moisture and adjust watering as needed.
2. Yellowing Leaves: Yellow leaves can indicate overwatering, poor drainage, or nutrient deficiencies. Ensure proper drainage and consider using a balanced fertilizer.
3. Mold or Mildew: If mold or mildew appears, reduce humidity around the plant and improve air circulation. Avoid overhead watering and ensure good ventilation.
Conclusion
Growing hibiscus from cuttings is a straightforward and enjoyable way to propagate these beautiful tropical plants. By following these steps and providing proper care, you can successfully cultivate hibiscus plants that will brighten up your space with their vibrant blooms. Whether you’re an experienced gardener or a beginner, this method offers a rewarding experience and a chance to enhance your garden or indoor plant collection.
Call to Action:
Ready to start growing your own hibiscus? Follow these simple steps, and share your progress with us! 🌺🌿 Enjoy the beauty and satisfaction of cultivating your own tropical flowers at home.