
Gardening enthusiasts know the joy of harvesting fruits of their labor. But what if you could extend that joy to next year with minimal cost and effort? Drying and storing seeds from your bell peppers is an excellent way to maintain the cycle of growth and save money while ensuring your garden remains productive. Whether you’re a seasoned gardener or just starting, this guide will help you master the art of saving bell pepper seeds.
Why Save Bell Pepper Seeds?
Saving seeds is a sustainable gardening practice that offers several benefits:
- Cost-Effectiveness: Reduce the need to purchase new seeds every season.
- Adapted Plants: Seeds saved from your local garden adapt to your climate, making them more resilient.
- Control Over Varieties: Ensure your favorite bell pepper variety is available every year.
What You’ll Need
Before you begin, gather the following materials:
- Ripe, healthy bell peppers
- Knife and cutting board
- Clean water and a bowl
- Paper towels or mesh trays
- Airtight containers or seed envelopes
- A cool, dry, and dark storage space
Step 1: Select the Right Bell Peppers
Start by choosing bell peppers that are fully ripe and free from disease or damage. The ideal peppers should have vibrant, deep colors (red, yellow, or orange, depending on the variety) as this indicates full maturity. Immature peppers often have seeds that are underdeveloped and less viable for planting.
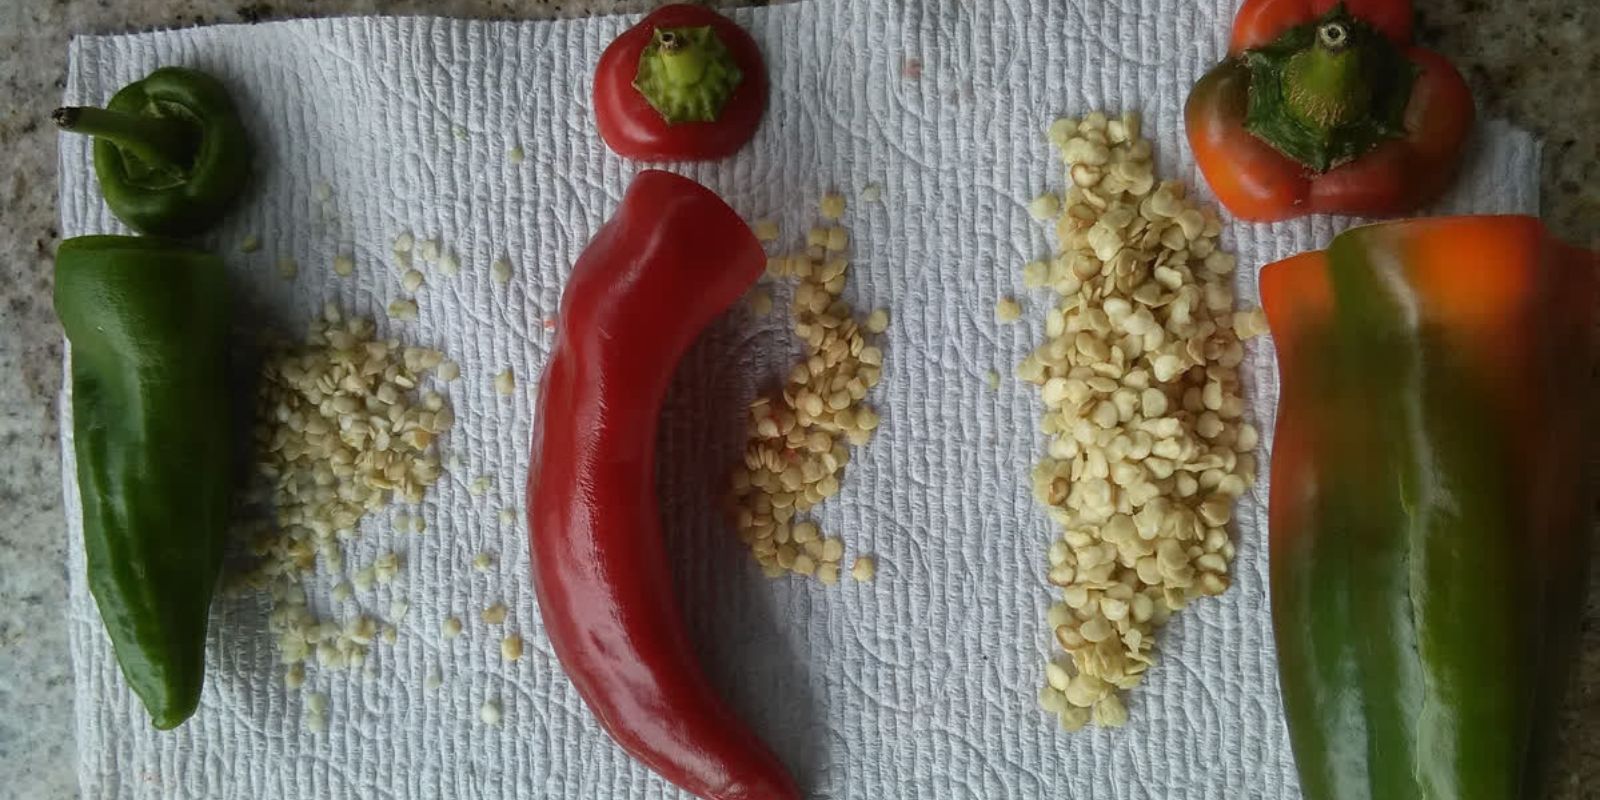
Step 2: Extract the Seeds
Using a sharp knife, slice open the pepper, making a vertical cut down the side. Carefully pull apart the halves to reveal the seeds attached to the core. Gently remove the seeds with your fingers or a small spoon. Avoid damaging the seeds during this process.
Step 3: Clean the Seeds
Place the extracted seeds in a bowl of clean water and swirl them gently. This removes pulp or residue clinging to the seeds. You can also rub the seeds lightly between your fingers under running water for more thorough cleaning. After cleaning, discard any floating seeds; they are likely unviable.
Step 4: Dry the Seeds Properly
Drying is the most crucial step in preserving seeds for future planting. Here’s how:
- Spread the cleaned seeds in a single layer on a paper towel or a fine mesh tray.
- Place the tray in a warm, well-ventilated area, away from direct sunlight. Exposure to sunlight can degrade the seeds’ viability.
- Allow the seeds to dry for 1-2 weeks. Check them regularly, turning them over gently to ensure even drying.
💡 Tip: You’ll know the seeds are fully dry when they feel brittle and hard to the touch.
Step 5: Store the Seeds for Longevity
Once the seeds are thoroughly dry, store them in an airtight container such as a glass jar, plastic container, or specialized seed envelope. Label the container with the pepper variety and the date of collection to keep track of its viability.
To maintain seed quality, store the container in a cool, dry, and dark location, such as a pantry or basement. Avoid humid areas like kitchens or bathrooms, as moisture can lead to mold growth.
Pro Tips for Maximum Success
- Seed Viability: Bell pepper seeds can remain viable for up to five years if stored correctly. Test old seeds by germinating a few before planting season.
- Avoid Hybrid Seeds: If your bell peppers are hybrids, their seeds may not produce true-to-type plants. Opt for heirloom or open-pollinated varieties for reliable results.
- Silica Packets: Add a silica gel packet to the container to absorb any residual moisture.
Planting Your Saved Seeds
When spring arrives, your stored seeds will be ready to plant! Here’s a brief guide:
- Start seeds indoors 6-8 weeks before the last frost date.
- Sow them ¼ inch deep in seed-starting mix.
- Keep the soil moist and warm, around 70-80°F (21-27°C).
- Transplant seedlings into the garden or larger containers after the last frost.
Benefits of DIY Seed Saving
- Eco-Friendly Practice: Reduces waste and reliance on commercial seed suppliers.
- Customizable Gardens: Gives you the freedom to experiment with unique varieties.
- Connection with Nature: Deepens your understanding of the lifecycle of plants.
Common Mistakes to Avoid
- Inadequate Drying: Seeds stored while still damp can develop mold and spoil.
- Exposure to Sunlight: Direct sunlight during drying can harm seed quality.
- Improper Storage: Avoid fluctuating temperatures and high humidity to prevent seed deterioration.
Final Thoughts
Drying and saving bell pepper seeds is a simple yet impactful way to enhance your gardening journey. It’s an excellent practice that combines sustainability, creativity, and resourcefulness. By following these steps, you’re not just growing plants—you’re cultivating a deeper connection to your garden.
💬 Have you tried saving seeds before? Share your experiences or ask questions in the comments below! Let’s grow together! 🌱🌟