
Introduction
Keeping plants well-watered can be one of the more challenging aspects of gardening, especially if you have a busy schedule or are often away from home. Fortunately, a DIY self-watering system offers a practical solution to this problem. This simple, yet effective, setup ensures your plants receive consistent moisture, reducing the need for frequent manual watering. Whether you have a small indoor garden or a sprawling outdoor space, this guide will walk you through creating a self-watering system that suits your needs.
1. Understanding Self-Watering Systems
What Is a Self-Watering System?
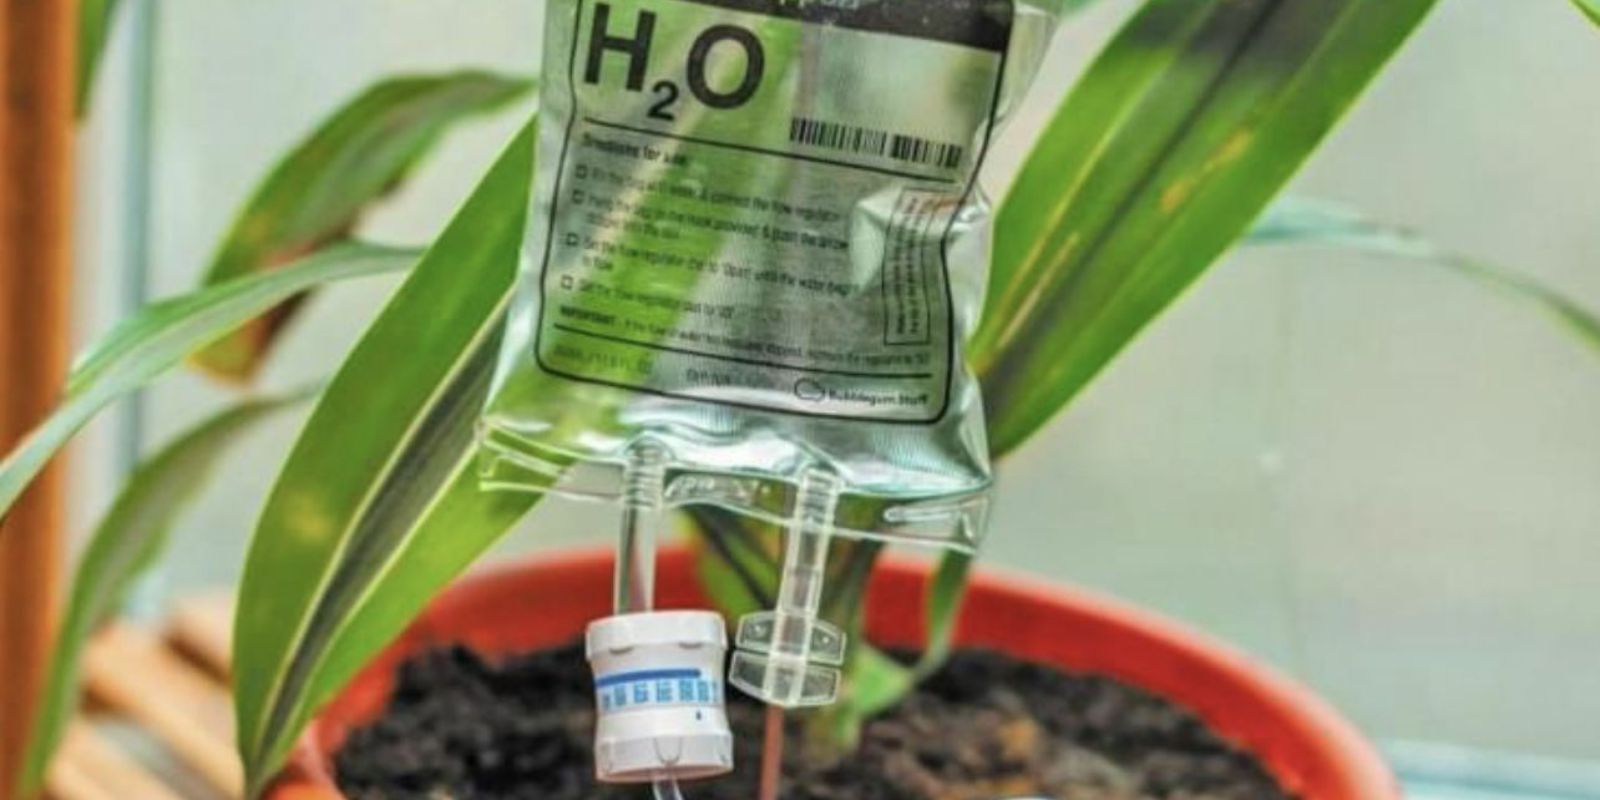
A self-watering system is a setup designed to provide a consistent supply of water to plants over an extended period. It typically includes a water reservoir and a mechanism to deliver water to the soil as needed. The goal is to maintain optimal soil moisture levels without requiring daily attention.
Benefits of a Self-Watering System
- Reduced Watering Frequency: Automates the watering process, making it easier to manage plants, especially when you’re busy or away.
- Consistent Moisture: Helps maintain even soil moisture levels, which is crucial for plant health.
- Water Conservation: Reduces water waste by delivering water directly to the plant roots where it’s needed most.
2. Choosing Your Container
Selecting the Right Container
The container you choose for your self-watering system can greatly impact its effectiveness. Here are a few options to consider:
- Plastic Bottles: An easy and cost-effective choice. Ideal for small to medium-sized plants.
- Large Pots with Reservoirs: Perfect for larger plants or multiple plants. These often come with built-in reservoirs or can be modified to include one.
- Repurposed Containers: Consider using old containers like buckets or storage bins if you have larger garden areas.
3. Preparing the Wick
Understanding the Wick Mechanism
A wick draws water from the reservoir into the soil through capillary action. It’s a crucial component of the self-watering system, ensuring that plants receive water consistently.
Materials Needed
- Cotton Rope: A commonly used material for wicking. It’s absorbent and durable.
- Fabric Strip: An alternative to rope. It should be made from a water-absorbent material like cotton or felt.
Steps to Prepare the Wick
- Cut the Wick Material: Cut a length of cotton rope or fabric strip long enough to reach from the bottom of the reservoir to the plant’s root zone.
- Insert the Wick: If using a plastic bottle, make a small hole in the side near the bottom and thread one end of the wick through the hole. If using a pot, create a hole in the bottom and insert the wick.
4. Creating the Reservoir
Types of Reservoirs
- Plastic Bottles: Ideal for small-scale systems. The bottle serves as the water reservoir.
- Built-In Reservoirs: Many larger pots come with built-in reservoirs that can be modified to improve water delivery.
Steps to Create a Reservoir
- Prepare the Bottle: If using a plastic bottle, make small holes in the cap for water to flow out. Ensure the bottle is clean and dry before use.
- Attach the Wick: Place the wick inside the bottle, ensuring it touches the water. Secure the cap tightly.
- Position the Reservoir: Place the reservoir (bottle or pot) under or beside your plant container.
5. Assembling the System
Combining Components
Once you have prepared the wick and reservoir, it’s time to assemble your self-watering system.
Steps to Assemble
- Position the Wick: Insert the wick into the soil of your plant container. Ensure it extends from the reservoir to the plant’s root zone.
- Set Up the Reservoir: Place the water reservoir below or beside the plant container. Ensure the wick is in contact with both the reservoir and the soil.
- Fill the Reservoir: Add water to the reservoir. The wick will start drawing water into the soil.
6. Monitoring and Adjusting the System
Checking Functionality
Regular maintenance is key to ensuring your self-watering system functions effectively.
Monitoring Tips
- Check Water Levels: Regularly monitor the water level in the reservoir and refill as needed.
- Inspect the Wick: Ensure the wick remains in contact with the soil and the reservoir. Adjust if necessary.
- Observe Plant Health: Watch for signs of overwatering or underwatering. Adjust the wick length or reservoir size if needed.
7. Troubleshooting Common Issues
Addressing Common Problems
- Wick Not Drawing Water: Ensure the wick is properly positioned and in contact with the water. Check for blockages.
- Overwatering: If plants show signs of overwatering, such as yellowing leaves, reduce the amount of water in the reservoir or adjust the wick placement.
- Underwatering: If plants appear dry, increase the water level in the reservoir or lengthen the wick.
8. Enhancing Your Self-Watering System
Additional Tips
- Add Mulch: Mulching around the plants can help retain soil moisture and reduce evaporation.
- Use a Timer: For more advanced systems, consider adding a timer to regulate watering intervals.
- Integrate with Drip Irrigation: Combine with drip irrigation for larger garden areas or more complex setups.
Conclusion
Creating a DIY self-watering system is an excellent way to simplify plant care and ensure consistent hydration. By following these steps, you can build a system that meets your needs and keeps your plants healthy and thriving. Whether you’re an experienced gardener or a beginner, this project offers an accessible and effective solution to one of gardening’s most common challenges.
Call to Action
Ready to make your garden maintenance easier and more efficient? Try out this DIY self-watering system and enjoy lush, thriving plants with minimal effort! 🌱💧✨