
Orchids are celebrated for their striking beauty and diversity, making them a prized addition to any home. With over 25,000 species and countless hybrids, these captivating plants offer something for everyone. However, their unique needs can make them a bit challenging for beginners. If you’re new to orchid care, this guide will help you get started with essential tips to ensure your orchids thrive and bring beauty to your home.
Introduction to Orchid Care
Orchids are renowned for their delicate blooms and sophisticated allure. They are often associated with luxury and elegance, and caring for them can be a rewarding experience. Although orchids might seem demanding, they are actually quite resilient if provided with the right conditions. Understanding their specific needs is key to cultivating healthy plants and enjoying their stunning flowers. This guide will cover fundamental aspects of orchid care, from choosing the right potting mix to encouraging blooming.
1. Choose the Right Potting Mix
Orchids require a specialized potting mix to thrive. Unlike typical houseplants that grow in soil, orchids prefer a well-draining mix that allows air to reach their roots. A commercial orchid potting mix is ideal as it typically contains ingredients such as bark, perlite, and sphagnum moss. These materials mimic the natural environment of orchids, where their roots cling to tree branches and other surfaces. Avoid using regular potting soil, as it retains too much moisture and can lead to root rot.
When repotting, choose a mix that matches your orchid species. Phalaenopsis orchids, for instance, thrive in a mix with larger bark chunks, while other types may benefit from finer mixes or added sphagnum moss. Regularly inspect the mix for breakdown or compaction and refresh it as needed to maintain good aeration and drainage.
2. Provide Proper Light
Light is crucial for the health and blooming of orchids. Most orchids prefer bright, indirect light, which can be achieved by placing them near a north or east-facing window. Direct sunlight can scorch their leaves, so filtered light is preferable. If natural light is insufficient, consider using fluorescent or LED grow lights designed for plants. Proper lighting helps orchids perform photosynthesis and supports their growth and flowering processes.
Monitor your orchids for signs of inadequate light, such as leggy growth or lack of blooms. Conversely, if the leaves develop a yellowish hue or show sunburn, they may be receiving too much light. Adjust their position accordingly to find the perfect balance.
3. Water Wisely
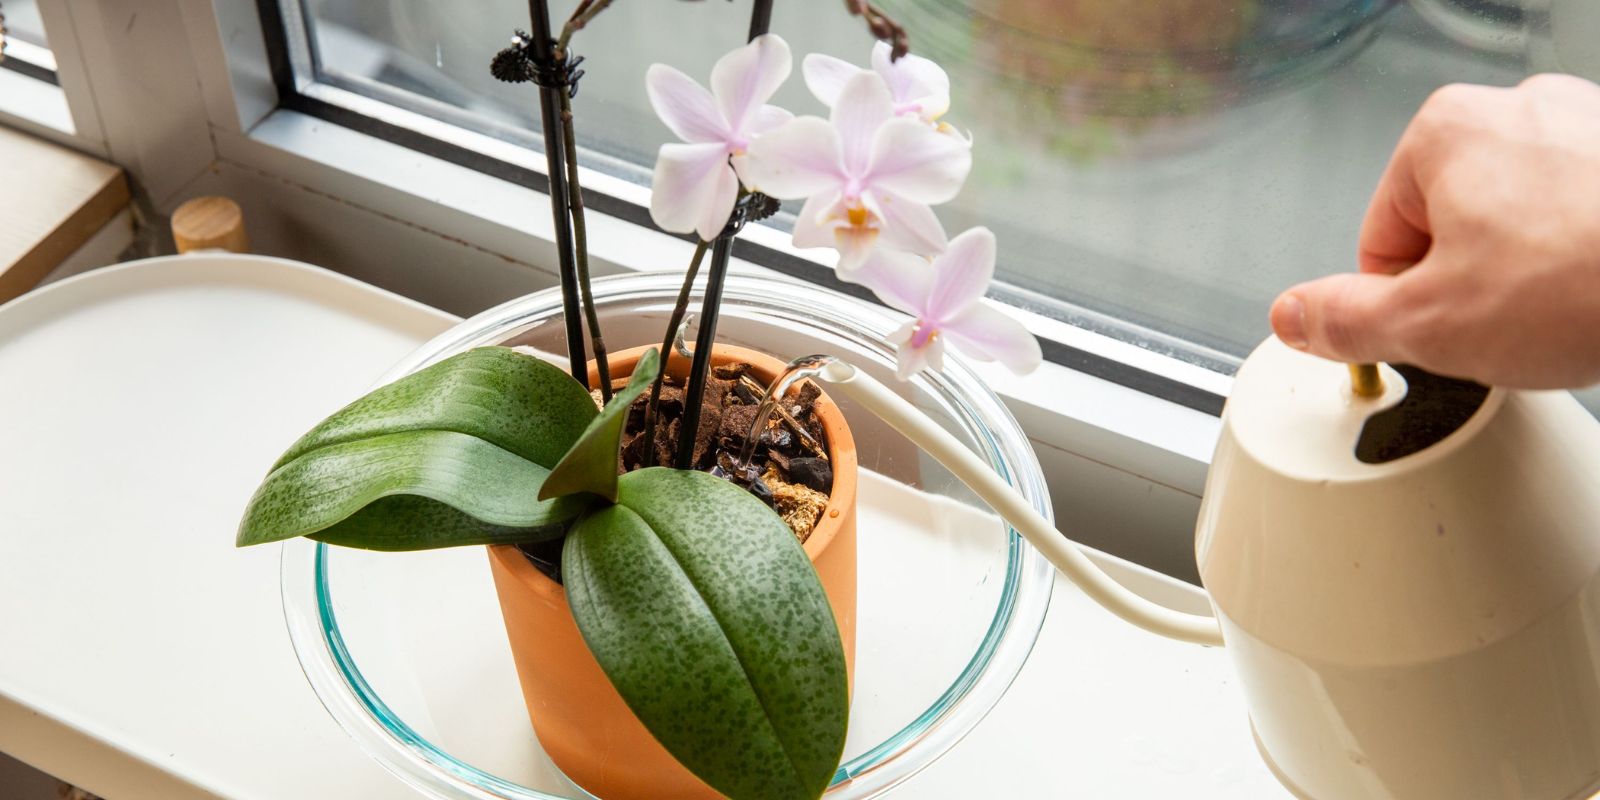
Watering is a critical component of orchid care and must be done correctly to prevent problems like root rot. Orchids should be watered thoroughly but infrequently. Allow the potting mix to dry out slightly between waterings. Overwatering is a common mistake and can lead to root rot, while underwatering can stress the plant.
A good practice is to water when the top inch of the mix feels dry. When watering, ensure that water drains freely from the pot to avoid waterlogging. Use room-temperature water, as cold or hot water can shock the plant. Adjust your watering frequency based on the season and environmental conditions, as orchids generally need less water during the winter months.
4. Maintain Humidity
Orchids thrive in environments with high humidity, which mimics their native tropical habitats. Aim to maintain humidity levels between 40-60% for optimal growth. If you live in a dry climate, you can increase humidity by using a humidity tray or a room humidifier.
To create a humidity tray, place a shallow dish filled with pebbles and water under the orchid pot. As the water evaporates, it increases the humidity around the plant. Regular misting can provide temporary relief but is not a substitute for consistent humidity. Proper humidity helps prevent issues such as dry leaf tips and supports overall plant health.
5. Fertilize Regularly
Fertilization is essential for orchids to thrive and bloom. Use a balanced orchid fertilizer, such as a 30-10-10 or 20-20-20 formulation, every 2-4 weeks during the growing season, which typically spans from spring to early fall. Follow the manufacturer’s instructions for the correct dosage and application method.
Over-fertilizing can lead to salt buildup and damage the plant, so it’s better to err on the side of caution. Some gardeners prefer to use a diluted solution, applying less fertilizer more frequently. During the dormant period, usually in the winter, reduce the frequency of fertilization to allow the plant to rest.
6. Ensure Good Airflow
Good airflow is crucial for preventing diseases and promoting strong growth in orchids. Orchids benefit from a gentle breeze, which helps to dry excess moisture from their leaves and potting mix. In indoor environments, ensure that your orchids are not in stagnant air or overly humid conditions.
Using a small fan can help improve air circulation, especially in closed or poorly ventilated spaces. However, avoid placing orchids in drafty areas, as sudden temperature changes can stress the plants. Good airflow helps reduce the risk of fungal and bacterial infections, keeping your orchids healthy.
7. Repot When Needed
Repotting is an important part of orchid care and should be done every 1-2 years or when the potting mix breaks down. Over time, the mix can decompose and become less effective at draining water and providing nutrients. Repotting also allows you to inspect the roots and remove any that are dead or diseased.
Choose a pot that is slightly larger than the current one and refresh the potting mix with a new orchid blend. Repotting is best done after the blooming period to avoid disrupting the plant’s growth. Be gentle with the roots and ensure that they are properly supported in the new pot.
8. Monitor Temperature
Temperature control is crucial for the health of orchids. Most orchids prefer temperatures between 65-75°F (18-24°C) during the day and slightly cooler temperatures at night. Avoid exposing orchids to sudden temperature fluctuations or extreme temperatures, as this can stress the plant and affect its growth.
Some orchid species have specific temperature requirements, so it’s important to research the needs of your particular variety. Providing consistent temperature conditions helps ensure healthy growth and vibrant blooms.
9. Check for Pests
Pests can be a significant issue for orchids and may cause various problems if not addressed promptly. Common pests include mealybugs, scale insects, and aphids. Regularly inspect your orchids for signs of infestation, such as discolored leaves, sticky residue, or visible insects.
If you find pests, treat them with an appropriate insecticide or natural remedy, such as neem oil or insecticidal soap. Keeping your orchids clean and free from debris can also help prevent pest problems. Early detection and treatment are key to managing pest infestations effectively.
10. Encourage Blooming
To encourage your orchids to bloom, they need a period of rest and proper care. For many orchids, a slight temperature drop at night can help trigger flowering. This mimics the natural conditions orchids experience in their native environments.
In addition to temperature adjustments, ensure that your orchids are not exposed to excessive stress or changes in their environment. Providing a consistent care routine and meeting the plant’s specific needs will help encourage blooming and ensure that your orchids produce beautiful and long-lasting flowers.
Conclusion
Caring for orchids can be a rewarding and enjoyable experience with the right knowledge and attention. By following these beginner-friendly tips, you’ll be well-equipped to nurture your orchids and enjoy their stunning blooms. Embrace the challenge of orchid care and let your efforts blossom into a beautiful display of nature’s artistry. With patience and dedication, your orchids will thrive and continue to brighten your home with their elegance and charm.
Dive into the world of orchid care and experience the joy of growing these magnificent plants! 🌸🌿