
Daylilies, scientifically known as Hemerocallis, are among the most popular and resilient perennials in gardens across the world. Their brightly colored, trumpet-shaped flowers can bloom all summer long, making them a go-to choice for gardeners looking to add a burst of color to their outdoor spaces. But while daylilies are low-maintenance and hardy, the post-bloom care is essential to ensure they continue to thrive in your garden season after season. If you’ve ever wondered what to do with your daylilies after they bloom, this guide will help you keep them strong and healthy throughout the summer.
Understanding Daylilies: What Makes Them Unique
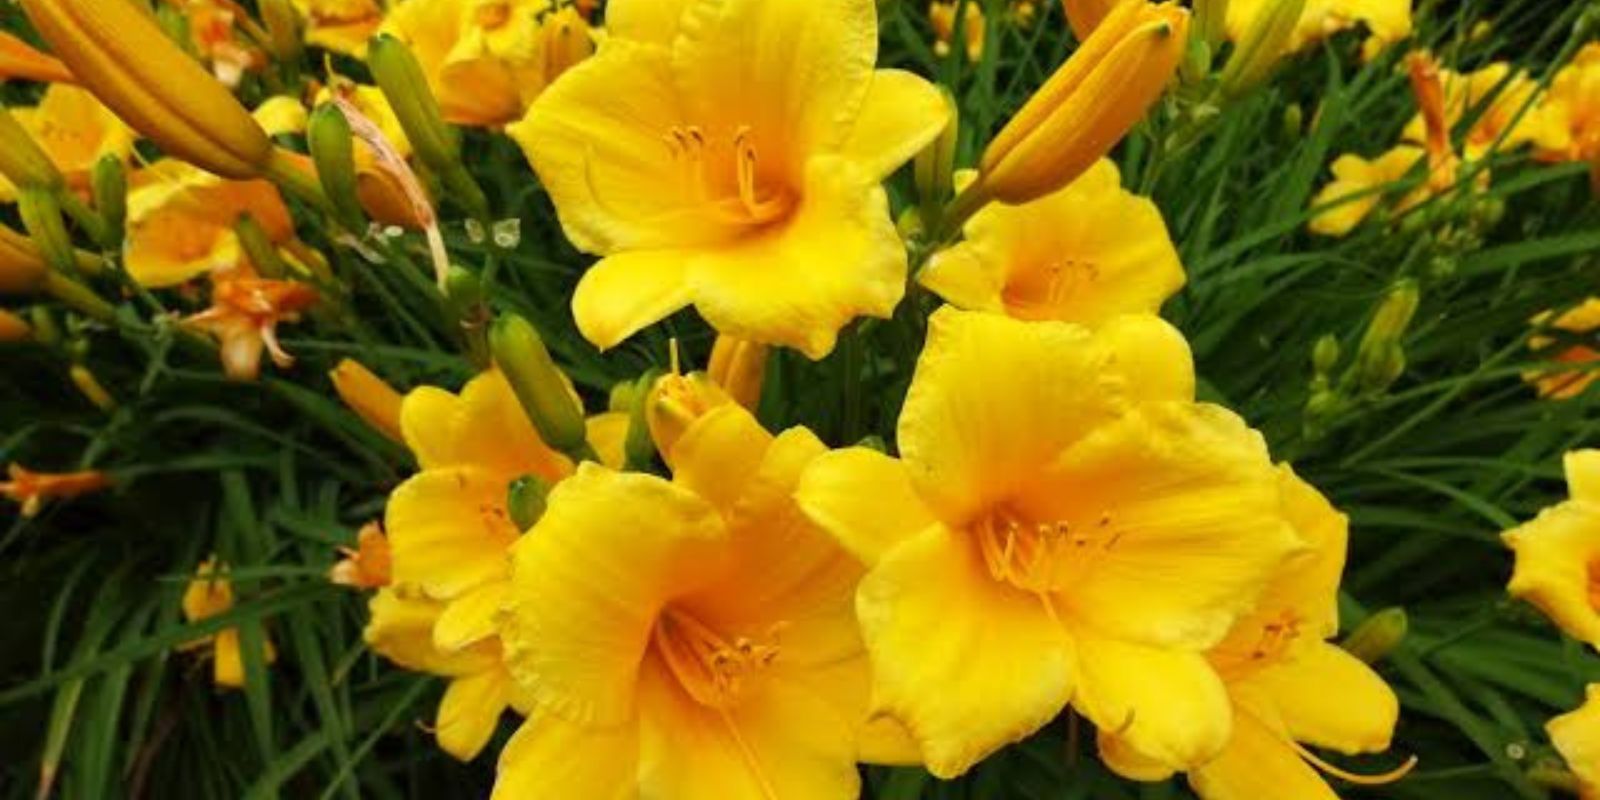
Before diving into post-bloom care, it’s essential to understand why daylilies are so beloved in gardens. Daylilies are incredibly adaptable plants that can grow in various soil types and lighting conditions, though they thrive in well-drained soil and full sun. Known for their ability to produce a profusion of flowers, each bloom typically lasts for only a single day, but because daylilies produce so many buds, they can continue to bloom throughout the growing season.
However, after the bloom fades, proper care is vital for maintaining the plant’s overall health and ensuring it continues to provide beauty throughout the summer.
Step-by-Step Guide to Caring for Daylilies After Blooming
1. Deadheading: Removing Spent Blooms
The first and most crucial step after your daylilies have bloomed is deadheading, which is simply the process of removing spent flowers. While daylilies are known for their prolific blooms, each flower only lasts a single day. If you leave these spent flowers on the plant, they can waste energy by producing seeds, which can prevent the plant from focusing its resources on new growth and additional blooms.
How to deadhead daylilies:
- Using a sharp pair of garden shears or scissors, snip off the spent flowers right at the base of the bloom stalk.
- For best results, trim just above the foliage, ensuring that you don’t cut into the healthy leaves.
- Deadheading will not only keep the plant looking tidy but will also encourage the daylily to produce more flowers during the growing season.
2. Trimming Back Foliage
After the blooms fade, the foliage of daylilies can sometimes begin to look a bit ragged or yellowed. Trimming back these leaves can help the plant focus on new, healthy growth rather than sustaining the older, dying foliage. However, be careful not to remove too much of the healthy foliage, as leaves play a significant role in photosynthesis.
How to trim daylily foliage:
- Cut back any leaves that are yellowed or damaged, but leave the healthy green foliage intact.
- Use sharp pruning shears to cut the leaves down to just above the soil line if necessary, but only trim what’s needed. Removing too much foliage can stress the plant and reduce its energy reserves.
3. Fertilizing for Continued Growth
Daylilies are relatively low-maintenance in terms of fertilization, but like all plants, they benefit from periodic feedings. After the bloom has faded, it’s time to provide your daylilies with the nutrients they need to produce more flowers and maintain healthy growth throughout the summer.
How to fertilize daylilies:
- Apply a balanced, slow-release fertilizer that includes essential nutrients like nitrogen, phosphorus, and potassium.
- It’s important to avoid high-nitrogen fertilizers, as too much nitrogen can encourage lush leaf growth at the expense of flowers.
- Fertilize your daylilies in the spring before the blooming season begins and again after they have finished flowering to help them continue to thrive. Follow the manufacturer’s instructions for the best application method and quantity.
4. Proper Watering: Keep the Soil Moist
Daylilies are fairly drought-tolerant once established, but they still require regular watering during dry periods. During the blooming season and afterward, it’s essential to ensure they receive enough water to continue producing strong foliage and to prevent dehydration.
How to water daylilies:
- Water your daylilies consistently, especially during dry spells. Deep watering is recommended to encourage deep root growth.
- Daylilies do best in well-drained soil, so be sure that your garden has proper drainage to avoid root rot.
- Water in the early morning to allow the soil to dry before evening, which helps prevent fungal diseases.
5. Mulching for Moisture Retention
Mulching is another important practice to help keep your daylilies healthy. Adding mulch around the base of the plant will help retain moisture, keep the roots cool during hot weather, and reduce weed growth that could compete for nutrients.
How to mulch daylilies:
- Spread a 2- to 3-inch layer of organic mulch, such as shredded bark, around the base of the plant.
- Be careful not to pile mulch directly against the stems, as this can promote rot. Leave a small gap between the mulch and the plant’s stems.
- Mulch will also help maintain soil fertility as it decomposes over time, adding valuable organic matter to the soil.
6. Dividing and Replanting Daylilies
As daylilies grow, their clumps can become overcrowded. This may lead to decreased blooming and poor overall health. Dividing your daylilies every three to five years can help reinvigorate the plants and encourage new, stronger growth.
How to divide daylilies:
- After the bloom has finished and the foliage begins to die back in the fall, dig up the entire clump of daylilies.
- Carefully separate the bulbs or roots into smaller sections, ensuring that each division has at least one healthy fan of leaves and some roots attached.
- Replant the divisions in a new location, or share them with friends or neighbors to expand your garden.
- Dividing your daylilies also helps prevent them from becoming too crowded, which can lead to poor air circulation and increase the risk of diseases.
7. Preparing for Winter: After-Bloom Care for the Fall
As the weather begins to cool in late summer or early fall, your daylilies will start preparing for dormancy. To ensure they survive the winter and bloom again next year, it’s essential to provide them with the right care.
How to prepare daylilies for winter:
- After the first frost, trim back any remaining foliage to about 2-3 inches above the ground.
- Apply a layer of mulch over the soil to insulate the roots from freezing temperatures. This will also help prevent the soil from drying out during the winter months.
- In colder climates, you may want to consider additional protection for the plants, such as covering them with a frost cloth or burlap to shield them from harsh winter winds.
Conclusion: Keep Your Daylilies Thriving All Summer Long
Caring for daylilies after they bloom doesn’t require much effort, but it does involve a few key tasks to ensure they continue to thrive. By deadheading spent flowers, trimming back old foliage, fertilizing, and keeping them well-watered, you’ll encourage your daylilies to produce even more beautiful blooms. With these simple yet effective tips, your daylilies will continue to brighten your garden throughout the summer, adding color and vibrancy to your landscape year after year.
So, don’t forget to give your daylilies the care they deserve, and watch them flourish in your garden! Happy gardening!