
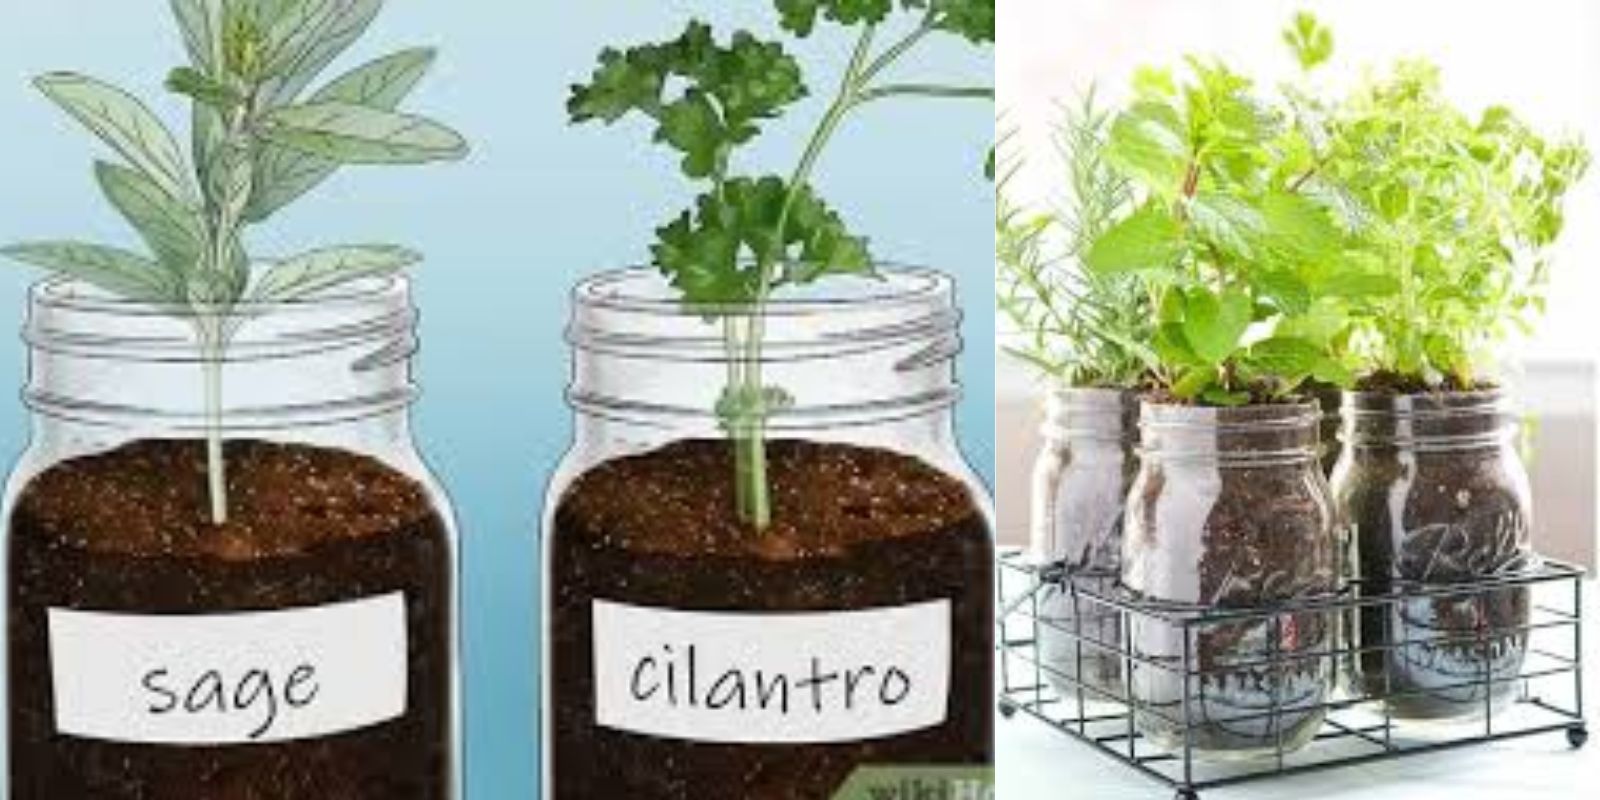
There’s something incredibly rewarding about growing your own herbs. The taste, the aroma, and the satisfaction of knowing you’ve cultivated something yourself are just a few of the joys of home gardening. If you don’t have a large garden or outdoor space, growing herbs indoors is an excellent solution. A mason jar herb garden is the perfect project for those with limited space, and it’s an excellent way to bring a touch of greenery into your home. Whether you want to grow fresh basil for your pasta or mint for your mojito, this simple guide will show you how to set up your own mason jar herb garden with 11 easy steps.
Why Build a Mason Jar Herb Garden?
Mason jars are incredibly versatile, affordable, and readily available. They make an excellent container for growing herbs, particularly for those living in apartments or small spaces. Additionally, using mason jars adds a rustic, aesthetic appeal to your indoor garden, making it not only functional but also decorative.
Not only are mason jar herb gardens visually appealing, but they also offer the convenience of fresh herbs on hand whenever you need them. Imagine adding a pinch of fresh rosemary to your roasted chicken or snipping a few basil leaves to top your homemade pizza. With a mason jar garden, you can harvest exactly what you need, whenever you need it.
If you’re ready to get started on your own mason jar herb garden, follow this simple, step-by-step guide to create an indoor garden that’s both beautiful and practical.
Materials You’ll Need
Before we dive into the steps, let’s take a look at the materials you’ll need:
- Mason jars (preferably quart or pint-sized)
- Potting soil (lightweight, well-draining soil)
- Small rocks or gravel (for drainage)
- Herb seeds or small starter plants (basil, rosemary, thyme, mint, parsley, etc.)
- Water (a gentle spray bottle works well for watering)
- A sunny location (windowsill or balcony)
- Scissors or pruning shears (for trimming and harvesting)
Step 1: Choose Your Herbs
The first step in building your mason jar herb garden is to choose which herbs you want to grow. Consider your cooking habits, the herbs you use most often, and the amount of light your indoor space receives. Some of the best herbs to grow in mason jars include:
- Basil: A popular herb for Italian dishes, pesto, and salads.
- Mint: Perfect for teas, cocktails, and desserts.
- Rosemary: A fragrant herb that pairs well with meats, potatoes, and soups.
- Thyme: A hardy herb that adds flavor to many savory dishes.
- Parsley: Versatile and great for garnishing and flavoring almost any dish.
If you’re starting from scratch, you can either plant seeds or buy small starter plants. For beginners, starter plants can be a great way to skip the waiting period associated with germination.
Step 2: Gather Your Materials
Gather everything you need to get started. The beauty of a mason jar garden is that it’s simple and affordable. Mason jars can be found at most grocery stores, hardware stores, or online. Potting soil is readily available at garden centers, and you can find small rocks or gravel at many garden supply stores as well.
Once you have all your materials, you’re ready to move on to the next step.
Step 3: Prepare the Mason Jars
The first thing you need to do with your mason jars is clean them thoroughly. Wash off any dust or debris, especially if the jars are being reused. Dry them well, ensuring that no moisture remains inside before planting your herbs. You want to avoid mold or mildew growth, so cleanliness is key.
Next, if you’d like, you can decorate your mason jars. Some people choose to add labels or paint the jars for a more personalized, rustic look. However, this is entirely optional and doesn’t impact the functionality of the jars for growing.
Step 4: Add Drainage
One of the most important things to remember when planting in mason jars is that herbs need proper drainage. Without it, the soil can become waterlogged, leading to root rot and unhealthy plants. To prevent this, add a layer of small rocks or gravel to the bottom of each jar. This will allow excess water to drain away from the roots, ensuring they remain healthy and strong.
You don’t need to add a thick layer of rocks—just enough to cover the bottom of the jar will do.
Step 5: Add Potting Soil
Now that the drainage layer is in place, it’s time to add the potting soil. Use a lightweight, well-draining soil mixture designed for indoor plants. Avoid using garden soil, as it can be too dense and may lead to poor drainage.
Fill each jar with potting soil, leaving about an inch of space at the top. This space will allow room for watering without spilling over. Be sure to gently pack the soil down, but avoid compacting it too tightly.
Step 6: Plant Your Herbs
At this point, it’s time to plant your herbs. If you’re using seeds, follow the instructions on the seed packet for planting depth and spacing. Generally, you’ll want to plant seeds about 1/4 to 1/2 inch deep, and space them apart as indicated.
If you’re using starter plants, gently remove them from their containers and carefully transplant them into the mason jars, ensuring that the root ball is well-covered with soil. Make sure the plants are placed at the same level as they were in their original pots.
Once your herbs are planted, give them a gentle pat-down to settle the soil around the roots.
Step 7: Water Your Plants
After planting, water your herbs lightly. Be careful not to overwater—mason jars don’t have drainage holes in the sides, so you’ll need to be cautious about water accumulation. A good rule of thumb is to keep the soil evenly moist but not soggy. If using seeds, water gently to avoid disturbing the seeds.
Step 8: Find the Perfect Spot for Your Garden
Herbs need plenty of sunlight to grow, so it’s important to place your mason jar herb garden in a spot that gets at least 6 hours of sunlight per day. A south-facing windowsill is typically an ideal location, as it receives the most light throughout the day.
If you don’t have a sunny windowsill, consider using a grow light to supplement natural light. These lights are easy to find and can be set up above your jars to help your plants thrive.
Step 9: Care for Your Herbs
As your herbs grow, be sure to check on them regularly. Herbs need consistent moisture, but you should avoid overwatering. Check the soil’s moisture level by sticking your finger into the soil; if it feels dry a few inches below the surface, it’s time to water.
You should also keep an eye on the growth of your herbs. Trim and prune them regularly to encourage new growth. If any leaves turn yellow or brown, remove them promptly to keep the plant healthy.
Step 10: Harvest Your Herbs
One of the most exciting parts of growing herbs in mason jars is the ability to harvest fresh leaves whenever you need them. You can begin harvesting once the plants have grown strong enough, typically after a few weeks. Simply snip the leaves you need, making sure to leave enough on the plant so it can continue to grow.
It’s best to harvest in the morning when the oils in the herbs are most concentrated. Take care not to remove too many leaves at once, as this can stress the plant. Regular trimming and harvesting will encourage your herbs to grow fuller and more robust.
Step 11: Enjoy Your Fresh Herbs
With a mason jar herb garden, you’ll have fresh, homegrown herbs at your fingertips, ready to elevate your meals. Add a sprig of rosemary to roasted potatoes, a few sprigs of mint to your iced tea, or fresh basil to a pizza. The possibilities are endless!
Remember, indoor herb gardens require consistent care and attention. With the right light, water, and love, your mason jar garden will continue to provide you with fresh herbs year-round.
Conclusion
Building a mason jar herb garden is a simple and enjoyable way to grow fresh herbs at home. It’s a perfect project for small spaces, beginner gardeners, and anyone looking to add a little green to their indoor environment. By following these 11 easy steps, you can create your very own herb garden in mason jars, and enjoy the satisfaction of having fresh, homegrown herbs at your fingertips whenever you need them.
So, what are you waiting for? Get started today, and transform your kitchen into a fresh, fragrant oasis with your very own mason jar herb garden!