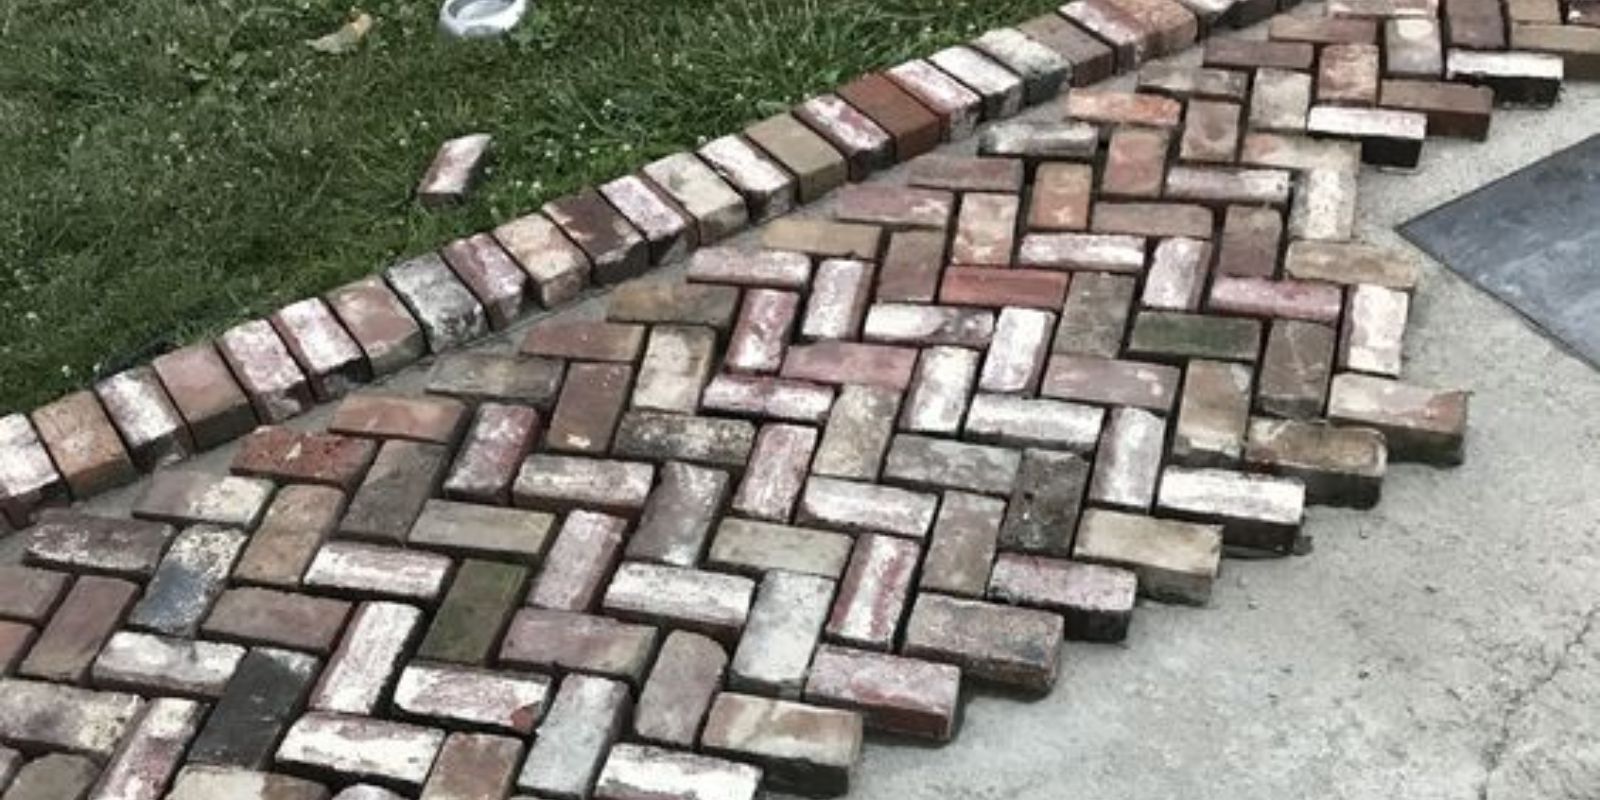
Creating a brick walkway in your garden can enhance both the functionality and aesthetic appeal of your outdoor space. Whether you’re looking to add a charming path through your flower beds or create a more defined entryway to your garden, a well-constructed brick walkway can provide a durable and attractive solution. This article will guide you through the process of building a brick walkway, from planning and preparation to the final touches.
Introduction
A brick walkway is a timeless addition to any garden, offering both elegance and practicality. It provides a solid path that can withstand heavy foot traffic while adding a classic, refined look to your outdoor space. Building a brick walkway might seem like a daunting task, but with the right approach and tools, you can create a beautiful and functional feature that enhances your garden. This guide will walk you through the steps involved in building a brick walkway, ensuring a successful and satisfying project.
Step 1: Plan Your Design
Before you start digging and laying bricks, it’s important to plan your walkway design.
- Design and Layout: Consider the purpose of the walkway and how it will fit into your garden. Sketch out your design, taking into account the shape, width, and length of the path. Common designs include straight paths, curved paths, and geometric patterns. Decide on the brick pattern you’d like to use, such as herringbone, basket weave, or running bond.
- Measure the Area: Measure the dimensions of the walkway area to determine how many bricks and other materials you’ll need. Remember to account for extra bricks in case of mistakes or future repairs.
Step 2: Prepare the Area
Proper preparation of the walkway area is crucial for ensuring a stable and long-lasting path.
- Mark the Outline: Use stakes and string or a garden hose to mark the outline of the walkway. This will help you visualize the path and ensure it stays within the desired boundaries.
- Excavate the Area: Remove the top layer of soil, grass, and debris within the marked outline. Dig down approximately 6-8 inches to create enough space for the base layers. The depth can vary based on the type of soil and the expected foot traffic.
Step 3: Create a Base
A solid base is essential for preventing shifting and settling of the bricks over time.
- Add Gravel or Crushed Stone: Fill the excavated area with gravel or crushed stone. This layer should be about 4-6 inches deep. The gravel helps with drainage and provides a stable foundation.
- Level and Compact the Base: Use a garden rake to level the gravel and a hand tamper or plate compactor to compact it. Ensure the base is smooth and even, as this will affect the final appearance and stability of your walkway.
Step 4: Add a Sand Layer
A sand layer provides a smooth surface for laying the bricks and helps to hold them in place.
- Spread the Sand: Spread a 1-2 inch layer of sand over the compacted gravel. Use a rake to level the sand and ensure it’s evenly distributed.
- Smooth the Surface: Use a straight board or a screed to smooth the sand layer, ensuring it’s level and free of bumps. This will help your bricks lay flat and stay in place.
Step 5: Lay the Bricks
Now it’s time to lay the bricks according to your design.
- Start Laying Bricks: Begin at one end of the walkway and start laying the bricks in your chosen pattern. Use a small rubber mallet to tap each brick into place, ensuring they’re level with the sand layer.
- Check Alignment: Regularly check that the bricks are aligned and level. Adjust as necessary to maintain a consistent pattern and alignment.
Step 6: Compact and Fill
Once all the bricks are in place, it’s important to secure them and fill in any gaps.
- Compact the Bricks: Use a plate compactor or a hand tamper to gently compact the bricks into the sand. This helps to set the bricks firmly in place and compress the sand around them.
- Add Sand Between Bricks: Sweep sand over the surface of the walkway to fill in the gaps between the bricks. Use a broom to push the sand into the joints.
- Compact Again: After filling the gaps with sand, use the compactor or tamper once more to settle the sand into the joints and ensure the bricks are securely in place.
Step 7: Final Touches
Complete your walkway by cleaning up and making any final adjustments.
- Clean the Surface: Sweep off any excess sand from the surface of the walkway. This will help to reveal the clean lines and patterns of your brick design.
- Inspect the Walkway: Check for any uneven bricks or gaps that may need adjustment. Make any necessary tweaks to ensure a smooth and even surface.
- Seal the Bricks (Optional): For added durability and to enhance the appearance, consider applying a brick sealer. This can help protect the bricks from weathering and staining.
Conclusion
Building a brick walkway in your garden is a rewarding project that adds both beauty and functionality to your outdoor space. By following these steps—planning your design, preparing the area, creating a solid base, laying the bricks, and finishing with final touches—you can create a walkway that enhances your garden’s charm and provides a durable path for years to come.
Share your own brick walkway projects or ask for advice below—let’s inspire and support each other in making our outdoor spaces exceptional! 🌿👣

