
If you’re looking to extend your growing season, protect your plants from harsh weather, and give your garden an extra edge, adding PVC hoops to your raised beds is an excellent solution. This DIY project is affordable, easy to execute, and incredibly beneficial for gardeners looking to maintain healthy crops year-round. Whether you’re aiming to shield plants from frost, keep pests away, or create a microclimate to improve growth, PVC hoops can transform your garden setup into a flexible, efficient, and productive space.
In this detailed guide, we’ll walk you through everything you need to know about adding PVC hoops to your raised beds, including the materials you’ll need, step-by-step instructions, and tips to maximize their effectiveness.
Why Add PVC Hoops to Your Raised Beds?
PVC hoops are essentially a framework that can support protective coverings like plastic sheeting, row covers, or shade cloth. When installed over a raised bed, they act as a mini-greenhouse or protective tunnel. The advantages of adding PVC hoops include:
- Extending the Growing Season: You can plant earlier in spring and keep your crops growing later into the fall, even in colder climates.
- Protecting Against Weather: Whether it’s frost, excessive rain, or strong winds, PVC hoops provide a shield that helps keep plants safe.
- Pest Control: Adding a cover over your hoops can prevent birds, insects, and other pests from reaching your plants.
- Improved Growth Conditions: The structure allows you to control temperature and humidity, creating a more stable environment for your plants to thrive.
Materials You’ll Need
Before starting the installation process, gather all the necessary materials. Here’s a list of what you’ll need to complete this project:
- Flexible PVC Pipes (1/2-inch or 3/4-inch diameter works well)
- The length of the pipes depends on the width of your raised bed and the height you want for your hoops. For a standard 4-foot-wide bed, a 10-foot-long pipe should create a good arch.
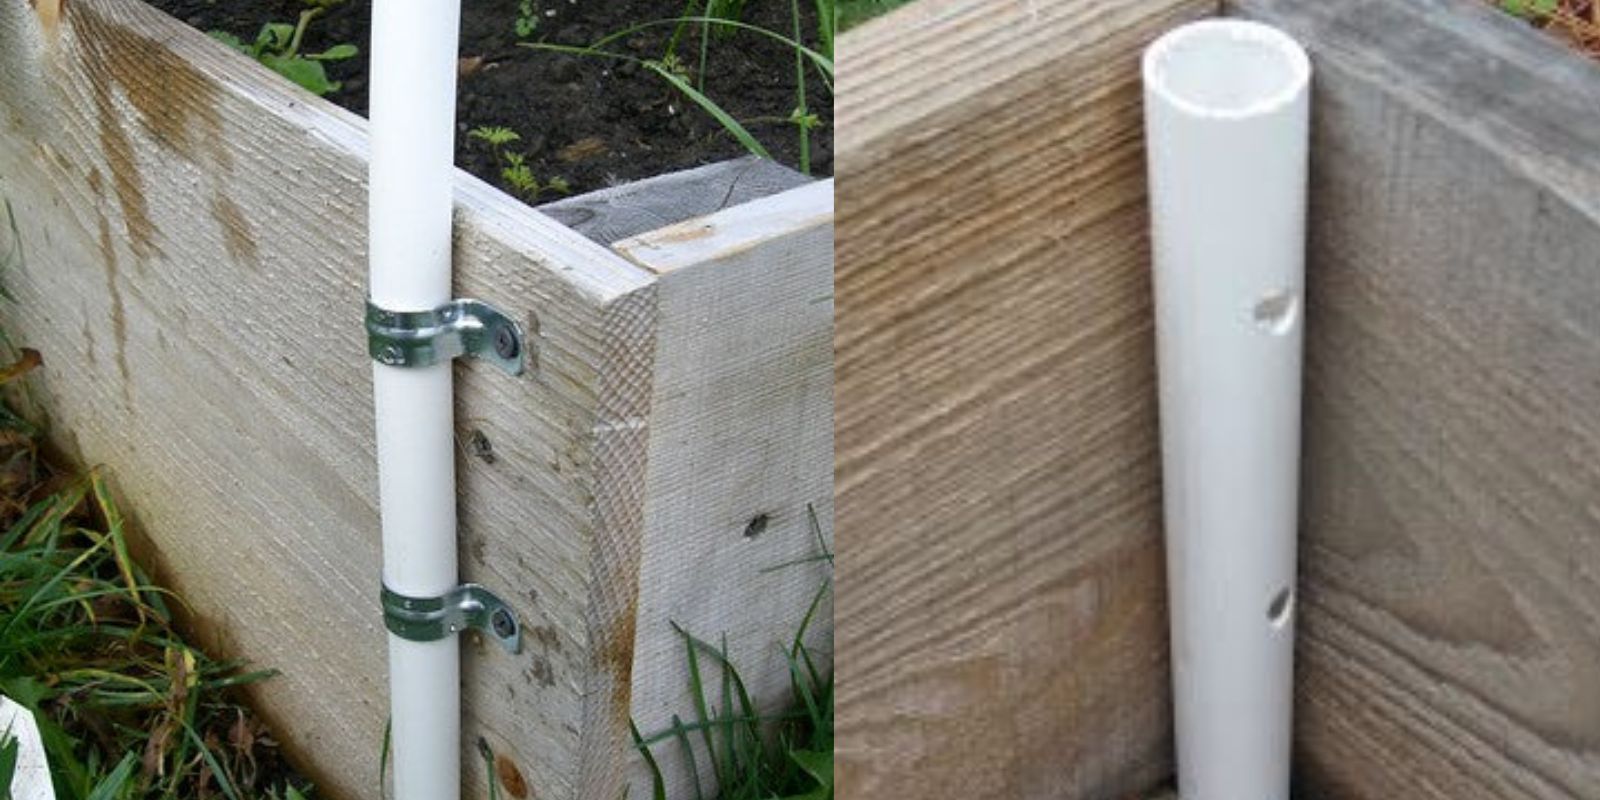
- Rebar or Wooden Stakes
- These will act as supports for the PVC pipes. Rebar should be around 12-18 inches long, depending on the height of your raised bed.
- Plastic Sheeting, Row Covers, or Shade Cloth
- Choose your cover material depending on your goals. Plastic sheeting is great for insulation, while row covers allow airflow and light but keep pests out.
- Clamps or Clips
- These will secure the cover to the PVC pipes. You can use spring clamps or dedicated garden clips designed for attaching covers to hoops.
- Zip Ties, Garden Staples, or Twine
- These help to secure the plastic or fabric to the ground or the structure itself.
- Measuring Tape and PVC Pipe Cutter
- For precise measurements and clean cuts on the PVC pipes.
Step-by-Step Guide: How to Add PVC Hoops to Raised Beds
Now that you have your materials ready, follow these steps to set up your PVC hoops and create a protected, efficient garden space.
Step 1: Measure the Width of Your Raised Bed
First, measure the width of your raised bed. Standard raised beds are usually around 4 feet wide, but make sure to get an accurate measurement, as this will determine the length of PVC pipes you need for your hoops.
Step 2: Cut PVC Pipes to the Appropriate Length
Cut your flexible PVC pipes based on the width of your raised bed and the desired height of your hoops. For example, a 10-foot PVC pipe can create a nice arch over a 4-foot-wide bed, leaving enough height for most vegetables and plants to grow underneath. Use a PVC pipe cutter or a hacksaw to cut the pipes to your required length.
Step 3: Install Rebar or Wooden Stakes as Anchors
Next, place rebar or wooden stakes into the soil on each side of your raised bed. The rebar should be spaced evenly along the sides of the bed, where each hoop will be installed. Hammer them into the ground, leaving around 6-8 inches of the rebar or stake above the soil. Make sure the rebar is secure, as it will hold the PVC hoops in place.
Step 4: Bend and Attach PVC Pipes to the Rebar
Now, take your PVC pipes and bend them into an arch, inserting the ends of the pipes over the rebar or wooden stakes. The flexibility of the PVC pipe allows you to easily create a hoop shape. Continue this process along the length of the raised bed, spacing the hoops evenly apart. A spacing of about 2-3 feet between hoops is ideal for proper support.
Step 5: Cover the Hoops with Plastic Sheeting or Fabric
Once your PVC hoops are in place, it’s time to cover them. Drape plastic sheeting, row cover, or shade cloth over the arches, ensuring that the entire bed is covered. The material you choose will depend on your specific needs:
- Plastic sheeting works well for creating a greenhouse effect, trapping heat and moisture, which is ideal for extending your growing season in colder months.
- Row covers allow airflow and light to reach the plants while keeping out pests like aphids or cabbage moths.
- Shade cloth is perfect for protecting delicate plants from the intense summer sun while still allowing air and water to penetrate.
Step 6: Secure the Cover
After draping the cover material over the hoops, secure it using clamps or clips along the edges of the PVC pipes. Make sure the cover is taut but not so tight that it may tear under pressure. Use garden staples, zip ties, or twine to secure the edges of the cover to the ground, preventing wind from lifting it.
Step 7: Adjust for Ventilation and Access
On warmer days or when you need to tend to your plants, simply lift the cover to allow for ventilation. You can either remove the cover entirely or create flaps that allow you to easily access your plants without dismantling the whole structure. Proper ventilation is crucial to prevent plants from overheating, especially on sunny days.
Maximizing the Benefits of Your PVC Hoops
Now that your PVC hoops are installed, it’s essential to make the most of them. Here are a few tips to ensure your garden thrives under this new system:
- Monitor Temperatures: If you’re using plastic sheeting to create a mini greenhouse, be sure to keep an eye on temperatures inside the covered area. On hot days, the temperature can rise quickly, so venting the structure is important to avoid cooking your plants.
- Seasonal Covering: You can switch out your covers based on the season. For instance, use plastic sheeting in early spring to trap warmth and row covers in summer to protect plants from pests while allowing air to flow.
- Use for Frost Protection: During the fall or late winter, when frost is a concern, the PVC hoops can protect your plants from freezing temperatures, giving you extra weeks of growing time.
- Reuse and Adapt: One of the great things about PVC hoops is that they are versatile and reusable. You can easily take them down and store them for future use, adapting the setup as needed for different seasons or plant types.
Conclusion
Adding PVC hoops to your raised beds is a simple yet effective way to improve your garden’s productivity, extend your growing season, and protect your plants from pests and weather. This DIY project is both budget-friendly and highly functional, making it an ideal solution for gardeners looking to create a more controlled environment for their plants.
Whether you’re growing vegetables, flowers, or herbs, these hoops can make a significant difference in the health and success of your garden. So why not give it a try? With just a few materials and a little bit of time, you can transform your raised beds into mini greenhouses that will keep your garden thriving year-round.
Get started today and share your garden transformation with us! 🌱🏡