
Starting seeds indoors is one of the most rewarding parts of gardening, yet it’s also one of the most challenging. Over the years, my methods for starting seeds and the equipment I use have changed drastically, resulting in healthier plants, bigger yields, and a more streamlined gardening experience. Whether you’re new to starting seeds or an experienced gardener looking for fresh insights, this article will walk you through the evolution of my seed-starting process and give you valuable tips to implement in your own gardening routine.
The Early Days: Learning the Basics
When I first started gardening, I didn’t know much about starting seeds indoors. Like many new gardeners, I used basic tools—a small pot, a bit of soil, and a sunny windowsill. My approach was simple, almost too simple. I would grab a bag of potting soil from the garden center, sprinkle the seeds on top, and wait for them to sprout.
I remember having mixed results. Some seeds germinated quickly and grew strong, while others never sprouted at all. I had no understanding of the optimal conditions for seed germination or the importance of controlling temperature, moisture, and light. As you might expect, my first few attempts were hit or miss.
What I quickly realized was that I needed more than just soil and a sunny spot. To achieve better results, I had to do more research, learn about the science behind seed starting, and invest in equipment that would create ideal conditions for germination. Little did I know, this was just the beginning of a journey that would dramatically improve my gardening success.
Adapting to the Challenges: The First Changes
As I gained more experience, I began to learn the importance of a few key factors: light, temperature, and humidity. I started to understand that growing plants indoors isn’t the same as planting them outside. Indoors, we need to replicate the conditions that plants would experience in nature as closely as possible.
1. Adding Grow Lights
The first major change I made to my seed-starting setup was adding grow lights. While a sunny windowsill is fine for some plants, it wasn’t enough for all of my seeds. Plants need a certain amount of light to germinate and grow strong, and natural light from a window doesn’t always provide that.
I invested in a couple of LED grow lights, which allowed me to control the light intensity and duration. This was a game-changer. The plants responded quickly—sprouting faster, growing sturdier, and becoming much more resilient.
I also learned about the importance of light cycles. For most plants, 12-16 hours of light per day is ideal for seed starting. Too little light can cause leggy, weak seedlings, while too much light can overheat them and stunt their growth. With my grow lights, I could adjust the settings to meet the specific needs of each plant.
2. Temperature and Humidity Control
While grow lights were helping with the light issue, temperature and humidity presented their own challenges. Many seeds need warmth to germinate, and I found that my room temperature wasn’t always ideal. I discovered that using a heat mat was essential for ensuring even and consistent soil warmth.
A heat mat gently warms the soil from below, mimicking the warmth plants would get from the sun in nature. This helps seeds germinate more quickly and evenly. Over the years, I’ve found that most seeds do best with temperatures between 70°F and 80°F. Heat mats give me the ability to control this environment, ensuring better success rates for germination.
Humidity is also a key factor. Some seeds, especially those from tropical or subtropical regions, require higher humidity to sprout. To maintain the right moisture levels, I began using humidity domes or plastic covers on my seed trays. These simple tools trap moisture and prevent the soil from drying out too quickly.
Finding the Right Equipment: Tools That Make a Difference
Once I got a handle on temperature and humidity, the next step was investing in quality equipment. Over time, I found that the right tools made all the difference in how my seeds grew. These investments not only improved germination rates but also helped me manage my garden with less hassle.
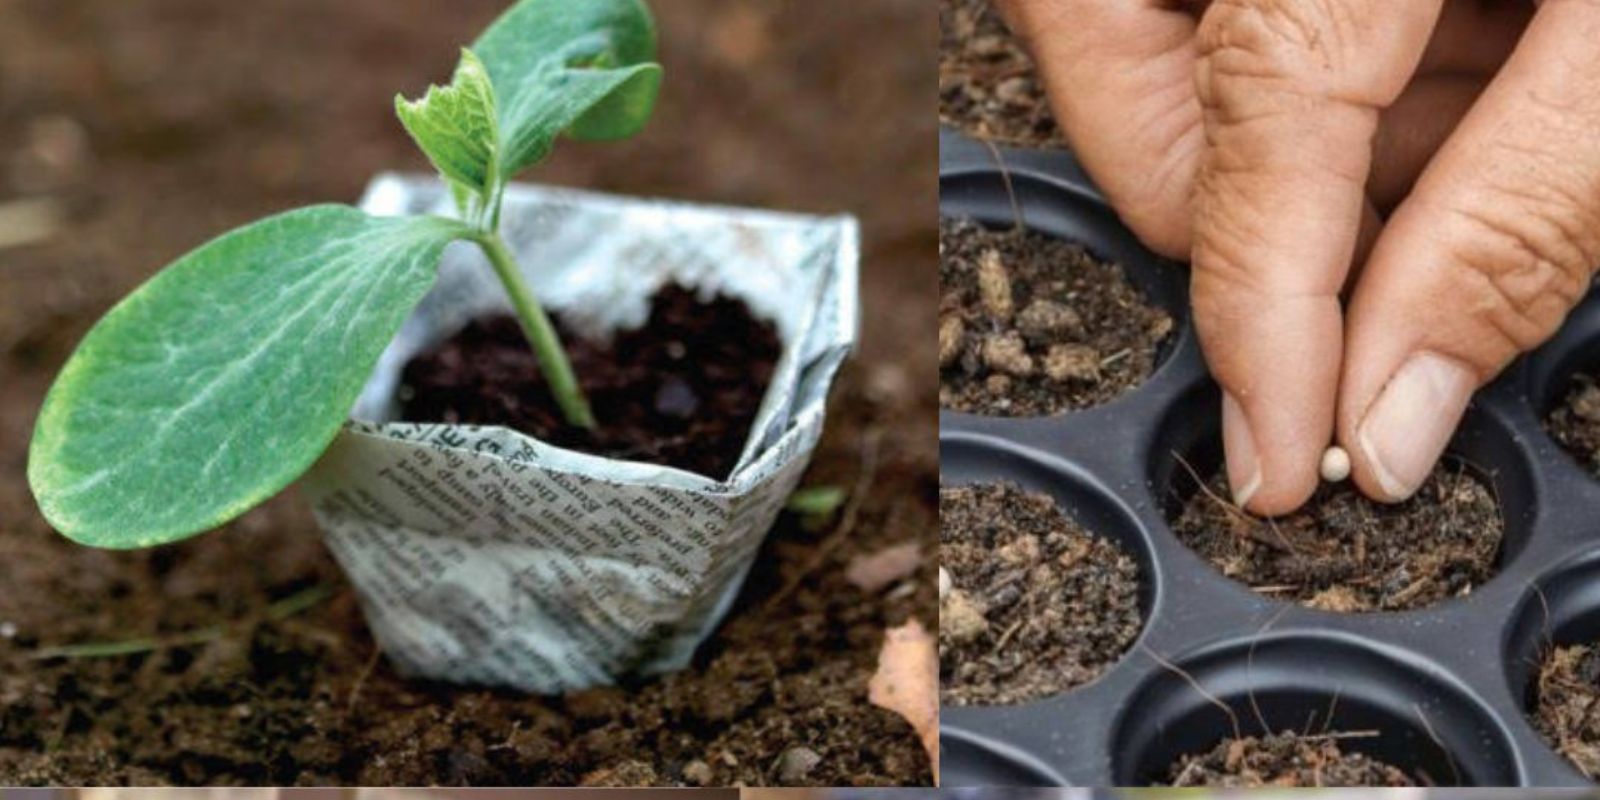
1. Seed Trays and Containers
The basic plastic seed-starting trays with individual cells became my go-to containers for starting seeds. Initially, I used old yogurt cups or any small container I could find, but I quickly realized that proper drainage and consistent watering were essential for healthy seedlings. Seed trays with drain holes prevent water from pooling at the bottom, which can lead to root rot.
As I expanded my seed starting, I also switched to more eco-friendly options, like biodegradable peat pots or compressed coir pots. These pots break down over time and can be planted directly into the soil, eliminating the need for transplanting and reducing root disturbance.
2. Automatic Watering Systems
Watering seedlings can be tricky—too little water and they’ll dry out, too much and they’ll drown. In the past, I relied on manual watering, but I found that I wasn’t always consistent. This led to some seedlings being overwatered, while others went without enough moisture.
To solve this, I started using an automatic watering system, which delivers consistent moisture to my seedlings. This system is perfect for busy gardeners who can’t always check on their plants multiple times a day. It also helps prevent overwatering, as it delivers the exact amount of water the plants need.
3. Ventilation Systems
Proper airflow is crucial for seedlings. Without adequate ventilation, seedlings can develop mold or fungal diseases. To address this, I started using small fans to improve air circulation around my seedlings. Additionally, I learned to remove the humidity domes once the seeds had germinated and had started to develop true leaves. This prevents excess moisture buildup and ensures healthy plant growth.
From Seed to Harvest: The Ongoing Process
As my seed-starting methods have improved, so have my plants. Now that I have the right equipment and knowledge, my seedlings are healthier, grow faster, and are more resistant to disease and pests. However, it’s not just about the initial process. There are a few ongoing practices I’ve developed to ensure my plants continue to thrive.
1. Fertilizing Seedlings
In the past, I didn’t pay much attention to feeding my seedlings. But over time, I learned that providing them with the right nutrients is essential for strong growth. I now fertilize my seedlings with a gentle, water-soluble fertilizer once they develop their first set of true leaves. This gives them the extra boost they need to grow healthy roots and stems.
2. Hardening Off
Once the seedlings are ready to be transplanted outdoors, I always harden them off. This means gradually acclimating them to the outside environment by placing them outside for a few hours each day, starting with just a couple of hours in the shade and gradually increasing their exposure to sunlight.
Hardening off is a crucial step in preventing transplant shock and ensuring that your seedlings can survive the transition from indoors to outdoors.
Conclusion: The Evolution of Seed Starting
Looking back on my journey, it’s incredible to see how my seed-starting process has evolved over the years. From using basic containers and natural light to investing in high-quality equipment like grow lights, heat mats, and automatic watering systems, the improvements have made a significant difference in the health and success of my plants.
As I continue to refine my process, I know there’s always more to learn. Gardening is a constant journey of discovery, and each season brings new challenges and rewards. Whether you’re a beginner or a seasoned gardener, I hope my experiences can help you improve your seed-starting routine. By investing in the right tools, creating the ideal environment, and continuing to learn, you too can enjoy bigger, healthier plants every spring.
So, what tools and methods do you use for starting your seeds? Share your tips and experiences in the comments below!