
The Hollyhock (Alcea rosea) is a beloved garden plant known for its impressive spikes of large, vibrant flowers. Originating from Europe and Asia, Hollyhocks have been a staple in gardens for centuries, admired for their tall, stately appearance and a wide range of colors. These perennial plants bring a classic, cottage-garden charm to any landscape, making them a favorite among gardeners. This comprehensive guide will walk you through the steps to successfully grow and care for Hollyhocks, ensuring that your garden flourishes with their striking blooms.
Introduction
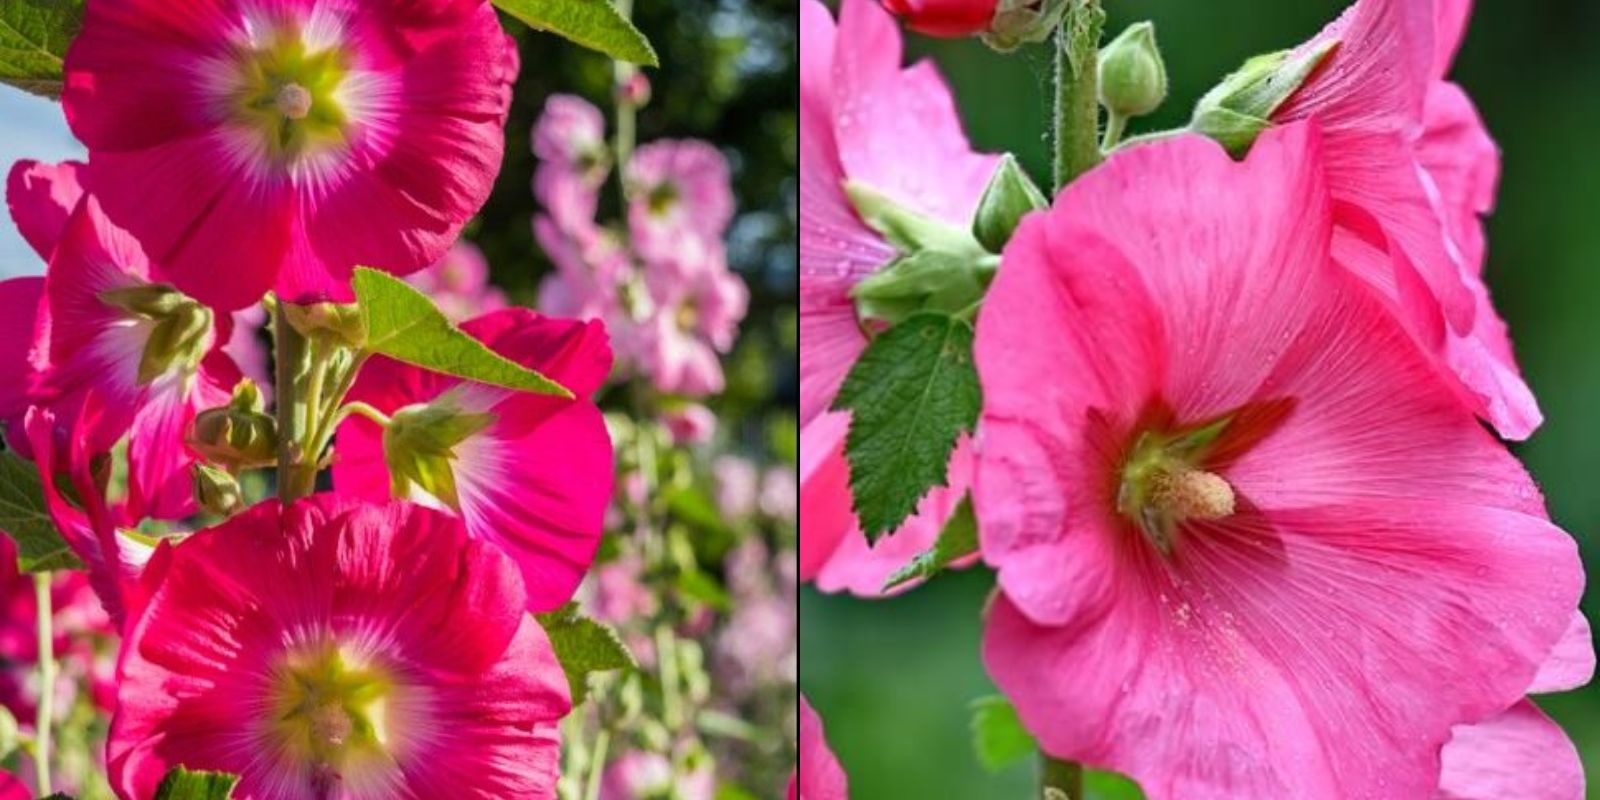
Hollyhocks are renowned for their towering flower spikes, which can reach heights of up to 8 feet. These plants produce an array of colors, including pink, red, white, yellow, and purple, often with a delightful ruffled or frilled appearance. Their ability to attract butterflies and other pollinators adds an extra layer of appeal to any garden. Despite their majestic appearance, Hollyhocks are relatively easy to grow and care for, making them a great choice for both novice and experienced gardeners.
Step 1: Choose the Right Location
Selecting the ideal location is crucial for the successful growth of Hollyhocks. Here’s what to consider:
- Sunlight: Hollyhocks thrive in full sun, meaning they need at least 6-8 hours of direct sunlight each day. Choose a sunny spot in your garden where they can receive ample light to support their robust growth and flowering.
- Soil: Hollyhocks prefer well-draining soil that is rich in organic matter. They can tolerate a range of soil types, but they grow best in slightly acidic to neutral soil (pH 6.0 to 7.0). Ensure the soil drains well to prevent waterlogging, which can lead to root rot.
Tip: Conduct a soil test to determine the pH and amend the soil with compost or well-rotted manure to improve its fertility and structure.
Step 2: Prepare the Soil
Proper soil preparation is key to establishing healthy Hollyhocks. Follow these steps:
- Soil Enrichment: Mix organic matter such as compost or aged manure into the soil before planting. This not only enhances soil fertility but also improves its texture and drainage capabilities.
- Soil Structure: For heavy clay soils, incorporate sand or perlite to improve drainage. For sandy soils, add organic matter to increase moisture retention and nutrient content.
- Soil Depth: Ensure the soil is prepared to a depth of at least 12 inches to accommodate the plant’s root system.
Tip: Adding a layer of mulch around the base of the plants can help retain soil moisture, suppress weeds, and regulate soil temperature.
Step 3: Planting
Planting Hollyhocks correctly is essential for their successful establishment. Here’s how to do it:
- Timing: Hollyhocks are typically grown from seeds sown directly in the garden or started indoors. The best time to plant is in early spring, after the last frost date. If starting indoors, sow seeds 6-8 weeks before the last frost and transplant seedlings outdoors after they are hardened off.
- Spacing: Space Hollyhock plants 12-18 inches apart to allow for their mature size and to ensure good air circulation. Proper spacing helps prevent fungal diseases and supports healthy growth.
- Planting Depth: If planting seeds directly, sow them about 1/4 inch deep. If transplanting seedlings, plant them at the same depth they were growing in their containers.
Tip: Water the soil thoroughly after planting to help settle it around the roots and ensure good seed-to-soil contact.
Step 4: Watering
Consistent and appropriate watering is essential for Hollyhock health. Here’s how to manage watering:
- Initial Watering: Water newly planted seeds or seedlings thoroughly to establish their root systems. This helps them settle into their new environment and encourages germination or growth.
- Ongoing Watering: Keep the soil consistently moist but not waterlogged. Hollyhocks need regular watering, especially during dry periods, but avoid overwatering as this can lead to root rot.
- Watering Frequency: Water plants early in the day to allow foliage to dry before evening, reducing the risk of fungal diseases.
Tip: Use a soaker hose or drip irrigation system to provide consistent moisture while minimizing water waste and reducing the risk of wetting the foliage.
Step 5: Fertilizing
Proper fertilization supports healthy growth and abundant blooming. Follow these guidelines:
- Type of Fertilizer: Use a balanced fertilizer or one specifically formulated for flowering plants. A general-purpose fertilizer with equal parts nitrogen, phosphorus, and potassium (e.g., 10-10-10) works well.
- Application Timing: Apply fertilizer in early spring as new growth begins and again after the first bloom to support continued flowering. Follow the manufacturer’s instructions for application rates and frequency.
- Organic Options: Consider using organic fertilizers like compost or fish emulsion for a more sustainable approach.
Tip: Avoid over-fertilizing, as excessive nutrients can lead to lush foliage growth at the expense of blooms.
Step 6: Supporting
Hollyhocks can grow quite tall and may require additional support to prevent them from toppling over:
- Staking: Use stakes or plant supports to provide stability. Place stakes at planting time to avoid damaging the roots later.
- Tieing: Gently tie the stems to the stakes with soft ties or garden twine, ensuring that the ties are not too tight to avoid damaging the stems.
Tip: Ensure that supports are tall enough to accommodate the mature height of the Hollyhocks and adjust them as the plants grow.
Step 7: Pruning
Pruning helps maintain the health and appearance of Hollyhocks:
- Deadheading: Remove spent flowers to encourage continued blooming and prevent the plant from expending energy on seed production.
- Foliage Care: Allow the foliage to die back naturally after flowering. This helps the plant store energy in the roots for the next season.
- Cutting Back: In the fall, cut back dead or diseased foliage to ground level to prepare the plant for winter and reduce the risk of disease.
Tip: Avoid cutting back the foliage too early, as it is essential for photosynthesis and energy storage.
Conclusion
The Hollyhock (Alcea rosea) is a stunning garden plant that adds a touch of classic charm and vibrant color to any landscape. By following these steps for planting, watering, fertilizing, supporting, and pruning, you can successfully cultivate Hollyhocks and enjoy their impressive blooms throughout the growing season. Whether used in garden beds, borders, or as cut flowers, Hollyhocks will undoubtedly enhance your garden with their beauty and grace. Start growing these timeless blooms today and create a garden that celebrates the elegance and splendor of Hollyhocks. With proper care and attention, your Hollyhocks will thrive and become a cherished feature in your outdoor space.