
Creating a vibrant hanging flower basket is a wonderful way to enhance the beauty of your outdoor space, whether it’s a garden, patio, or balcony. These eye-catching displays not only add color and charm but also create a welcoming atmosphere. This guide will take you through the process step-by-step, ensuring you can craft a stunning hanging basket that thrives and brings joy throughout the growing season.
Introduction
Hanging flower baskets have become a popular choice for gardeners looking to maximize space and beautify their surroundings. They allow you to showcase a variety of flowers in an artistic way while also utilizing vertical space. Whether you want to create a focal point in your garden or simply enjoy fresh blooms from your balcony, a hanging basket can elevate your gardening experience.
With the right plants and a little creativity, you can create a stunning display that attracts admiration. This article will guide you through the 13 easy steps to create a flourishing hanging flower basket, offering tips and tricks along the way.
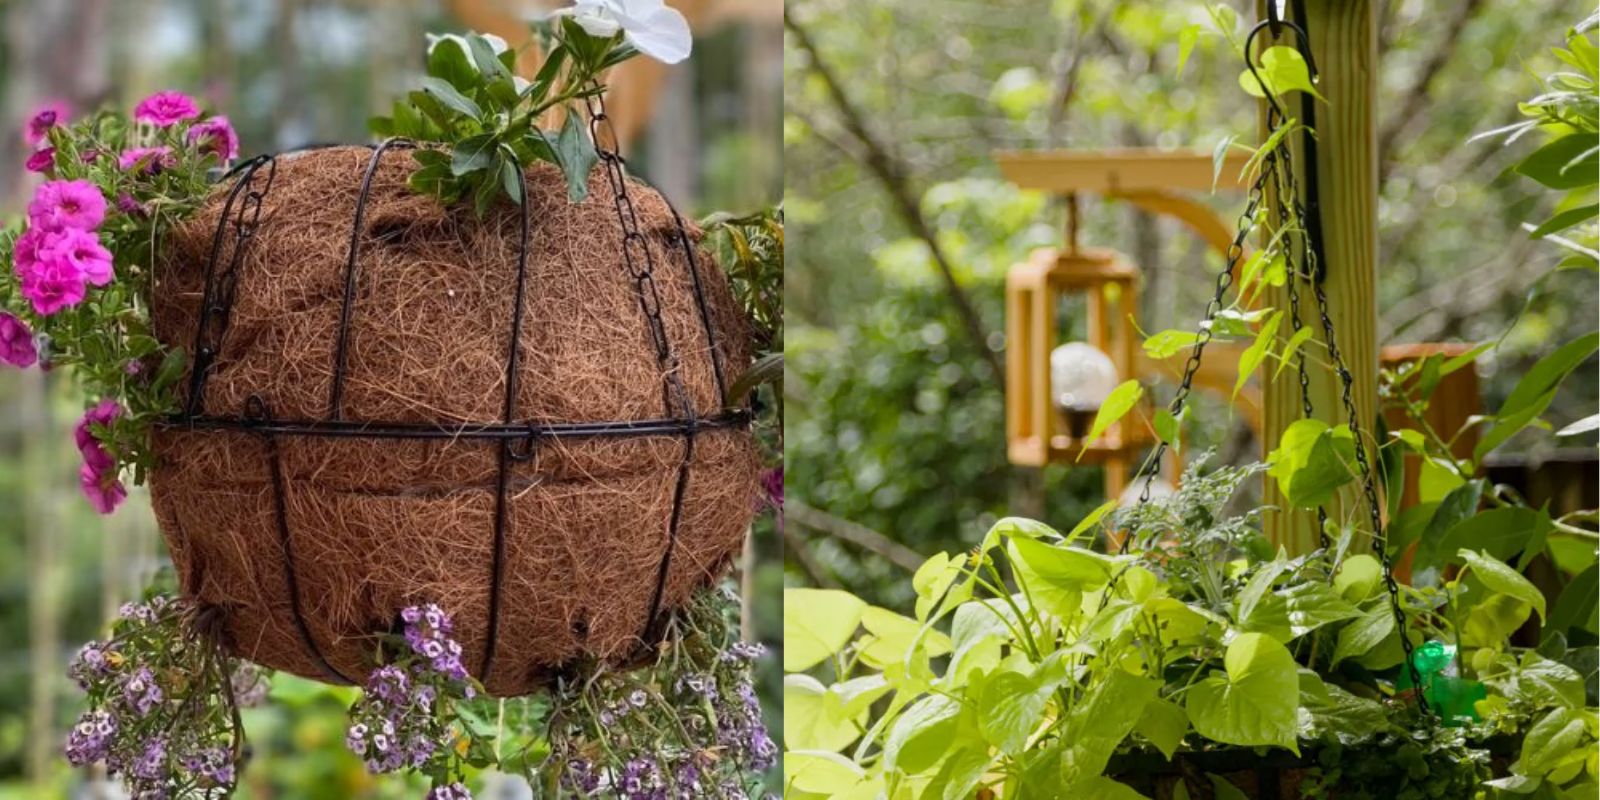
Step 1: Choose Your Basket
The first step in creating your hanging flower basket is selecting the right basket. You have a variety of materials to choose from:
- Wire Baskets: These provide excellent drainage and are often lined with coconut coir or plastic.
- Plastic Baskets: Lightweight and durable, they come in various colors and designs.
- Coconut Coir Baskets: These are eco-friendly and help retain moisture.
When choosing your basket, consider the style that best suits your aesthetic and the space you have available. Also, ensure that the basket is sturdy enough to hold the weight of the soil and plants.
Step 2: Gather Your Supplies
Once you have selected your basket, gather all the necessary supplies:
- Potting Soil: Choose a high-quality potting mix designed for container gardening, as it will provide the right nutrients and drainage.
- Liner: If your basket is wire, you may need a liner to hold the soil.
- Plants: Select a mix of flowers—consider trailing, upright, and filler plants for a balanced display.
- Hook or Chain: Ensure you have a strong hook or chain to hang your basket securely.
Step 3: Prepare the Basket
Before planting, it’s essential to prepare the basket properly. If you’re using a wire basket, line the interior with your chosen liner. This will help retain moisture and keep the soil in place.
Make sure the liner is evenly distributed around the edges of the basket and is secure. If you are using a plastic basket, skip this step, as they typically come with built-in liners.
Step 4: Add Soil
Now it’s time to fill your basket with potting soil. Start by adding enough soil to reach about an inch from the top of the basket. This gap allows you to water without overflowing the basket.
While filling, be sure to break up any clumps of soil to ensure even distribution. A well-aerated mix will provide optimal drainage and root growth for your plants.
Step 5: Select Your Plants
Choosing the right plants is crucial for a successful hanging basket. Consider the following tips:
- Trailing Plants: These will hang over the edge of the basket, adding softness and a cascading effect. Great options include Petunias, Fuchsia, or Million Bells.
- Upright Plants: These will provide height and structure. Look for plants like Marigolds, Zinnias, or Snapdragons.
- Filler Plants: Use these to fill in gaps and add texture. Coleus, Dusty Miller, or Begonias work well.
Mixing colors and textures will create visual interest and a lush, full appearance.
Step 6: Planting
Begin the planting process by placing the larger upright plants in the center of the basket. This creates a focal point and allows for optimal growth. Next, arrange the trailing plants around the edges, positioning them so they will hang down elegantly.
When adding filler plants, place them in between the larger plants to create a dense look. Be mindful of the height and spread of each plant to ensure they won’t overcrowd one another as they grow.
Step 7: Space Plants Properly
Proper spacing is key to a healthy hanging basket. Be sure to follow the spacing guidelines for each type of plant. As a general rule, allow 6-12 inches of space between larger plants and about 4-6 inches for smaller ones.
Leaving room for growth will prevent your plants from becoming root-bound or competing for nutrients.
Step 8: Fill Gaps
After placing your main plants, assess the arrangement and look for any gaps. Add smaller plants to fill these spaces, ensuring a fuller and more vibrant display.
Utilizing a variety of foliage textures and colors will create a lush appearance that draws the eye.
Step 9: Water Thoroughly
Once your plants are arranged, it’s crucial to water the basket thoroughly. Use a watering can or hose, ensuring that water seeps through the drainage holes. This helps settle the soil and provides moisture to the roots.
Avoid overwatering, as this can lead to root rot. Ensure that the soil is damp but not soggy.
Step 10: Hang Your Basket
Choose a suitable location for your hanging basket. Look for a spot that receives partial to full sunlight, as most flowering plants thrive in bright conditions.
Use a sturdy hook or chain to hang your basket securely. Ensure it’s at a height that allows for easy maintenance and watering.
Step 11: Regular Maintenance
To keep your hanging basket thriving, regular maintenance is essential. Check the soil moisture frequently and water when the top inch feels dry.
Remove any dead leaves or spent flowers to encourage new growth and prevent disease. Regular deadheading will also promote further blooming.
Step 12: Fertilize
Providing nutrients is critical for the success of your hanging basket. Use a balanced liquid fertilizer every couple of weeks during the growing season to encourage healthy growth and vibrant blooms.
Follow the manufacturer’s instructions on dilution and application to avoid over-fertilizing.
Step 13: Enjoy and Share
Once your hanging basket is complete, take time to enjoy your hard work! Observe how the plants grow and flourish over time. Don’t forget to share photos of your beautiful creation with friends, family, or on social media.
Your hanging flower basket can inspire others to create their own vibrant displays!
Conclusion
Creating a hanging flower basket is an enjoyable and rewarding gardening project that can beautify any space. By following these 13 easy steps, you can craft a stunning floral display that brings joy throughout the growing season. With a little care and attention, your hanging basket will flourish, providing a delightful showcase of colors and fragrances.
So gather your supplies, unleash your creativity, and start your journey to creating the perfect hanging flower basket today! Happy gardening!
#HangingBaskets #FlowerPower #GardenInspiration #DIYGardening #BloomingBeauty